


I've been thinking back to my old house a fair bit recently so when Skirtings R Us got in touch about exploring Edwardian house decoration it seemed timely and I wondered how much my house had influenced how I'd decorated it. But to do that I needed to know more about the decor of the time. In researching this post I've learnt the Edwardian era was relatively short - as was Edward VII's spell as monarch - lasting between 1901 and 1910, although "Edwardian" is often extended at both ends from as early as 1890 until just before the first world war. Which in anyone's terms, is quite an extension!
Edward VII was by all accounts someone who was a leader of the fashionable elite and often influenced by European arts and fashions. And the decor style must have been a welcome relief from the dark colours and heaviness of Victorian interiors.
The Edwardian style is lighter and brighter and must have been a breath of fresh air and includes many pastel blues, greens, pinks and creamy yellows. As I'm writing this my mind can't help but wander to The Country Diary of an Edwardian Lady, which I remember having a resurgence in the late 80s, just before I bought my house in 1992.
Examples of typical Edwardian decor
The National Trust property, Polesden Lacey is a typical Edwardian home and it's one I've visited, albeit a while back. The pictures I've shared of it here before focussed on it being a party house, which it very much was, but looking at it again today it is typical of its time.

A PENDANT LIGHT AT POLESDEN LACEY IN SURREY
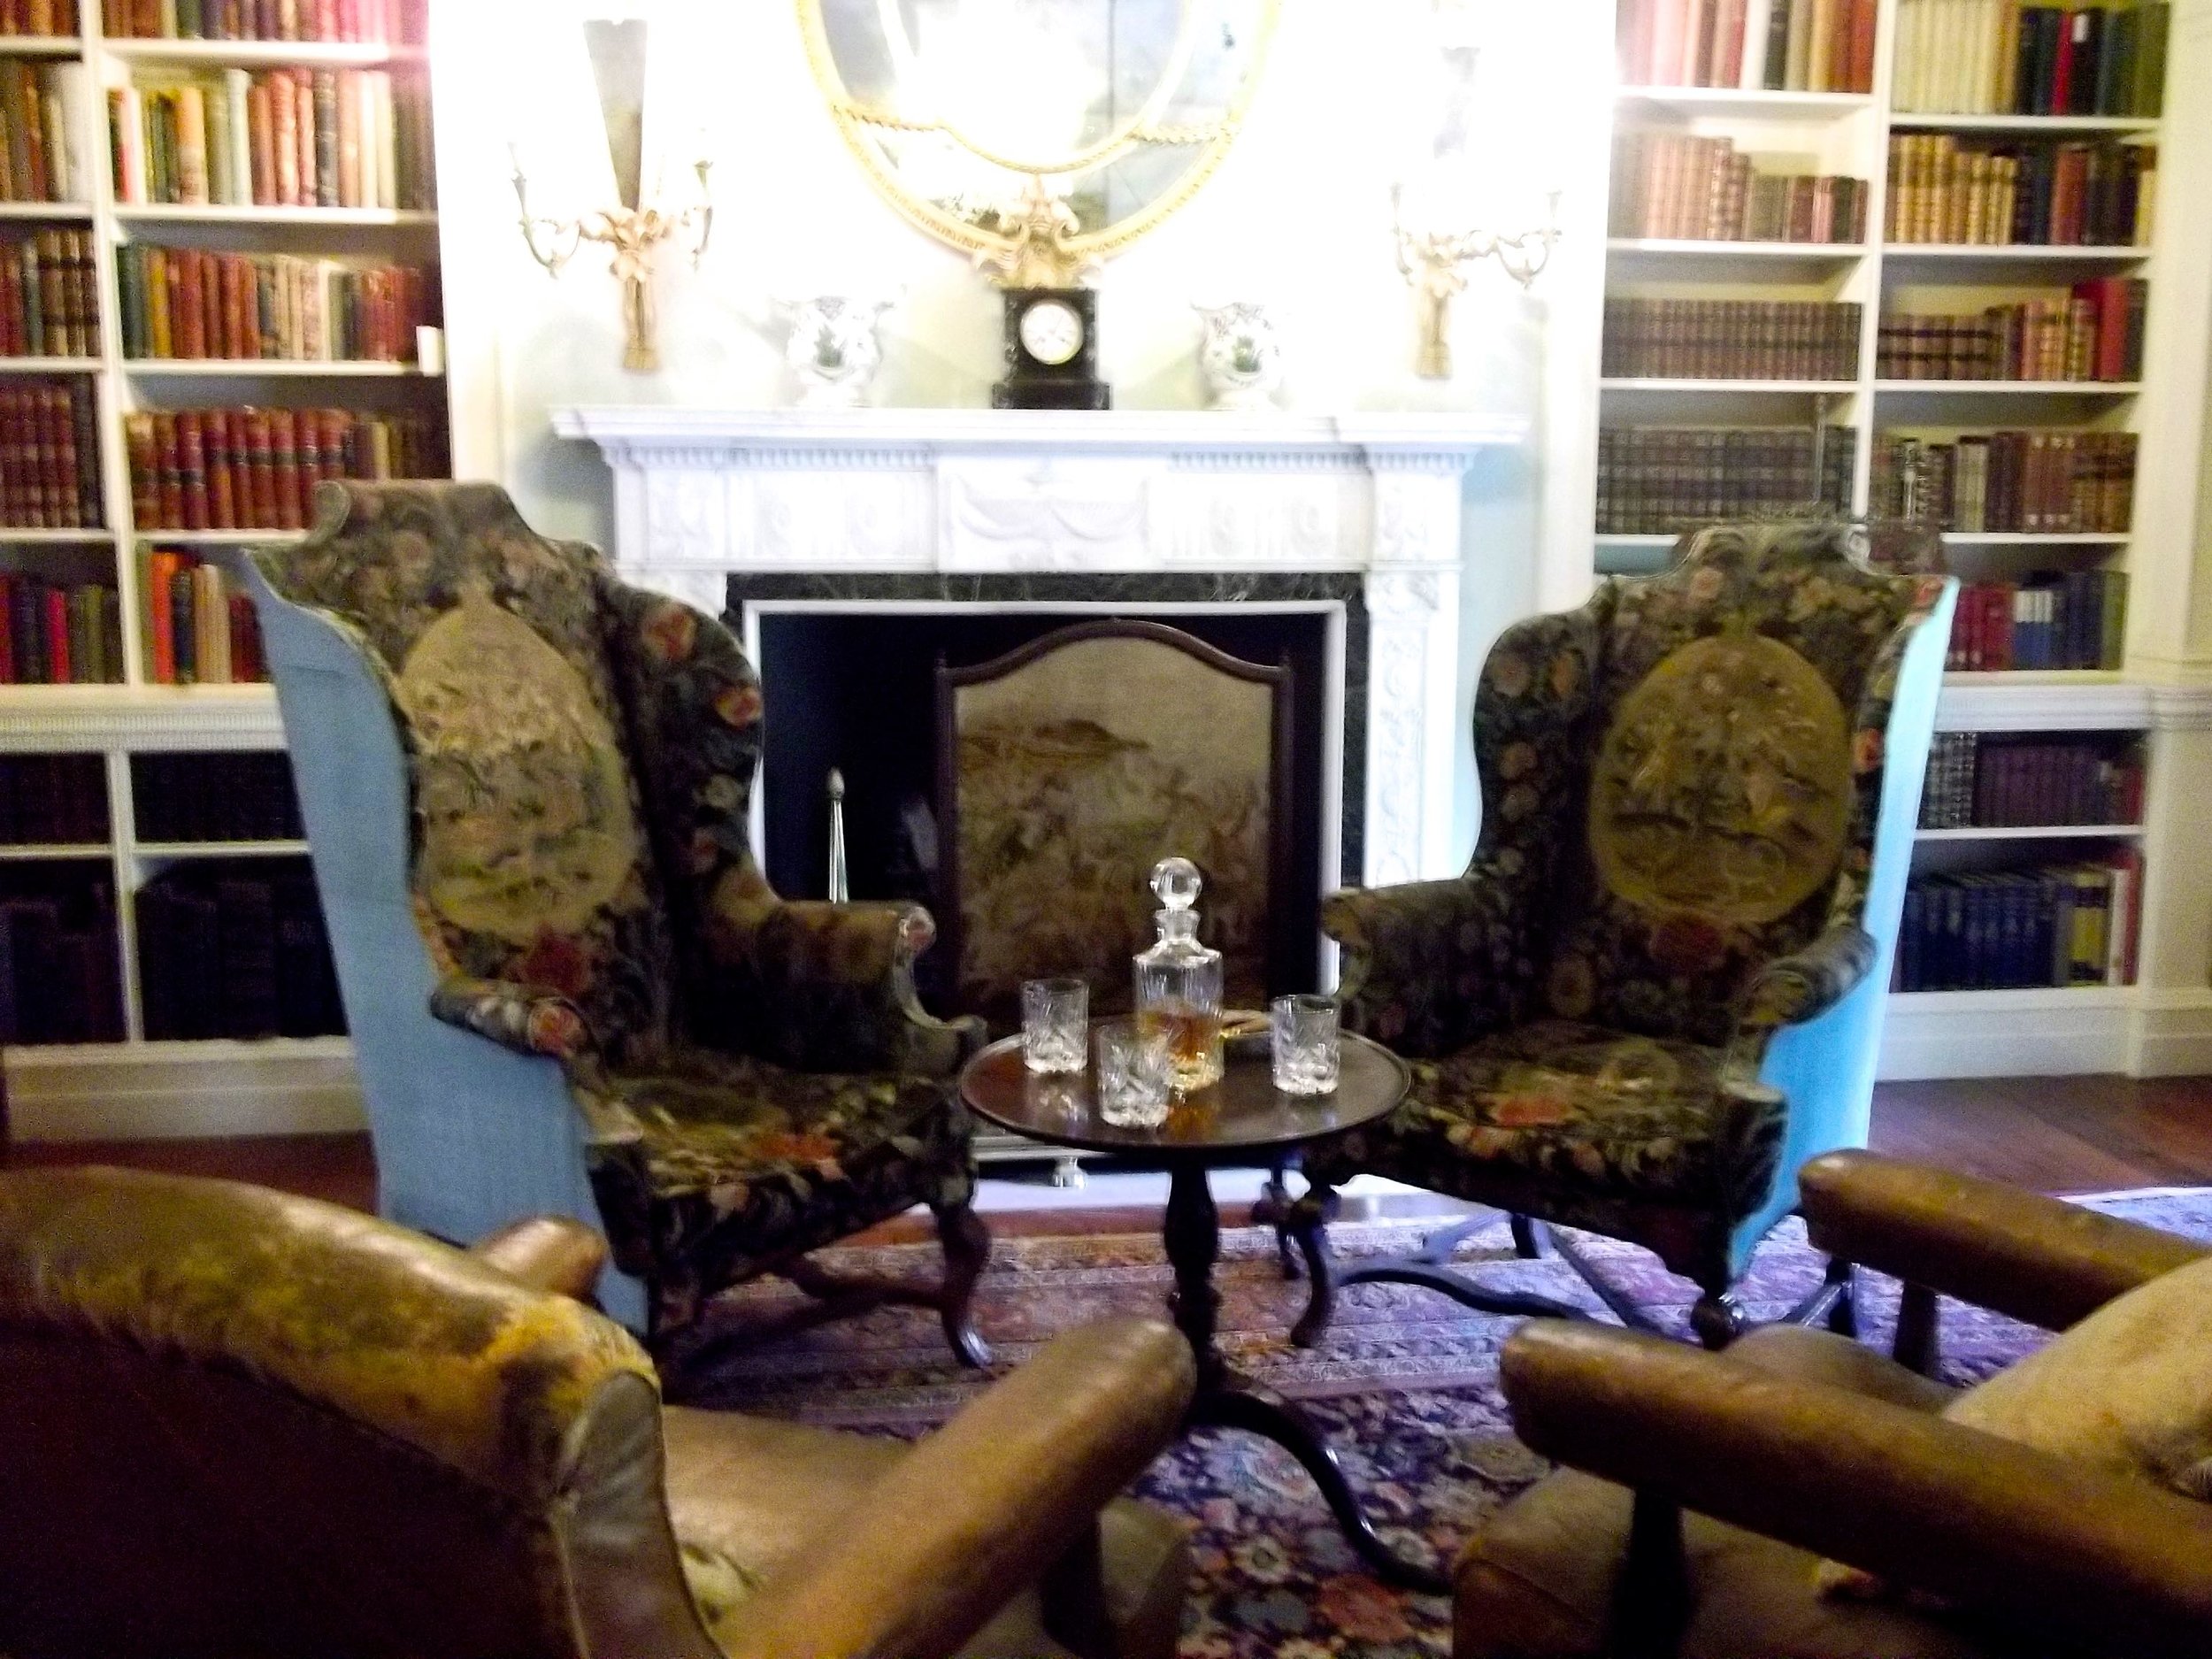
WING CHAIRS AT POLESDEN LACEY
Pendant lights in a smoked glass were often used as central lights in a time when electric lighting was just beginning to be introduced in grander homes. Ceiling roses were used to disguise the light fittings, and fabric lampshades with frills and tassels were popular too.
The furniture was reproduction and included a range of styles from baroque to rococo, with wing chairs being a typical shape, often upholstered in chintz and damasks.
Fireplaces were smaller than Victorian ones often with decorative tiles, with even smaller versions installed in bedrooms.
Polesden Lacey is clearly a grander house than my old mid-terraced house, but the Edwardian room set at the Geffrye museum is more likely the style we'll still see in domestic houses even today, and much closer to mine too.
The picture rail is typical, as is the style of front door - both of which were retained in my house as original features. I've said in a recent post how I was fortunate to discover original fireplaces which had been boarded up by previous owners. And that wasn't all. The original panelled doors had been covered in hardboard and many years and layers of paint, the picture rail remained in the front room and the high and moulded skirting boards were also mostly in place. Replicating the Edwardian look is relatively easy to achieve by installing a picture rail and skirting board similar to those in the pictures below:

THE EDWARDIAN LIVING HALLWAY AT THE GEFFRYE MUSEUM IN LONDON
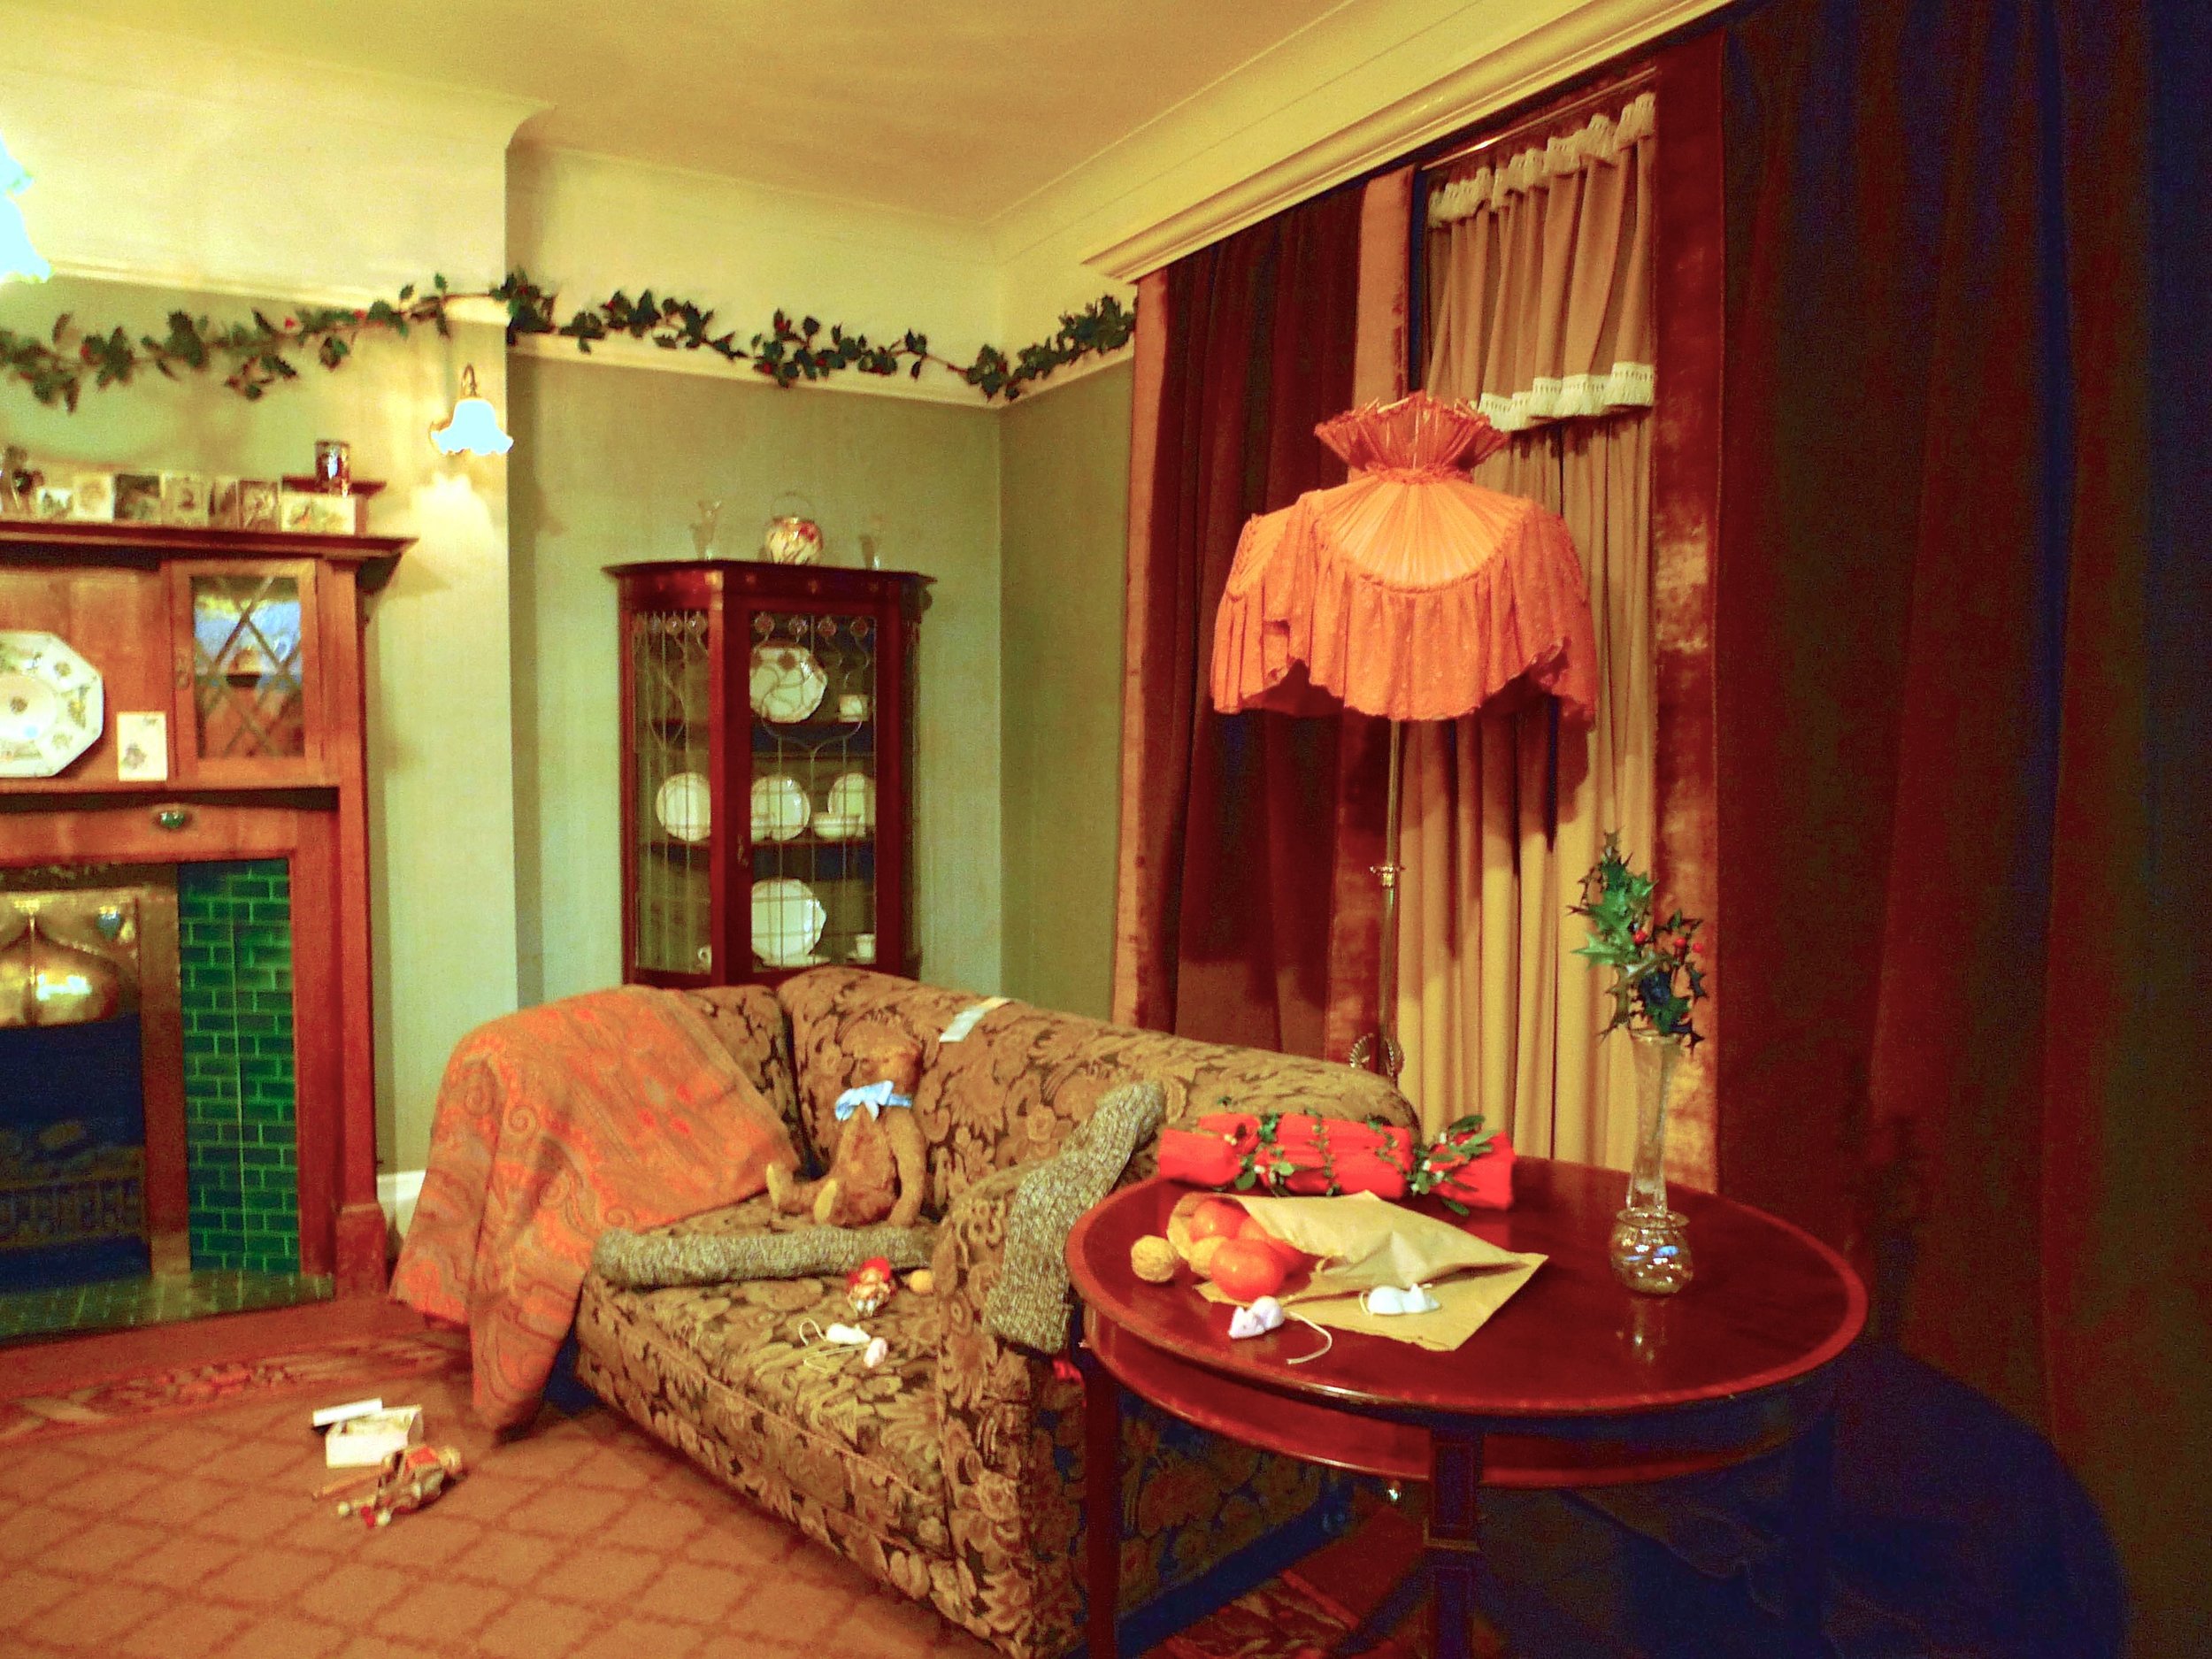
THE EDWARDIAN LIVING ROOM AT THE GEFFRYE MUSEUM DECORATED FOR CHRISTMAS (IT'S NEVER TOO EARLY, RIGHT?!)
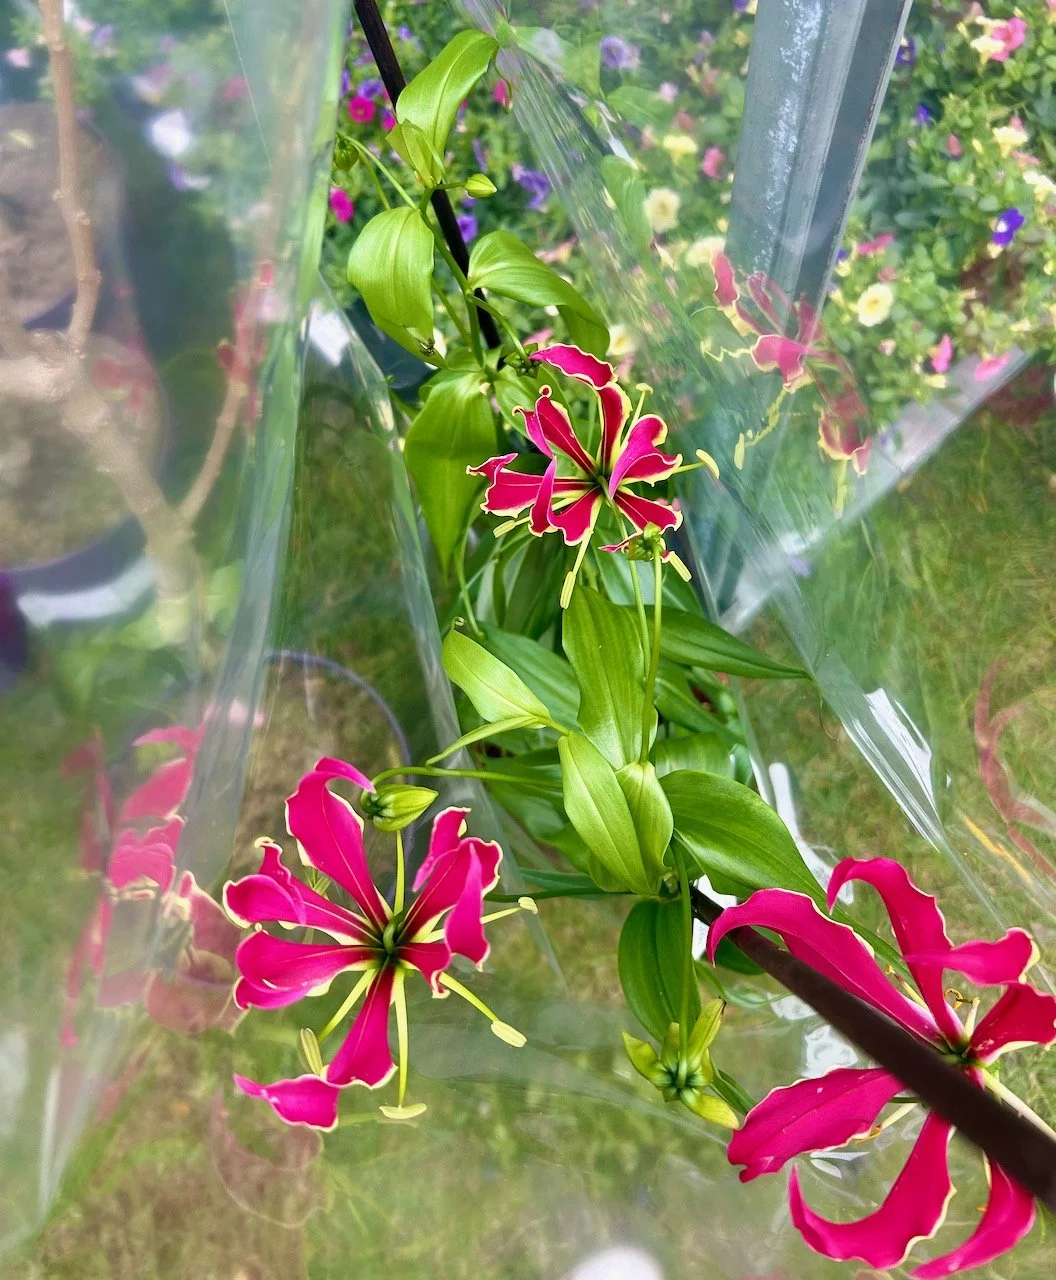
Looking through my pictures I realised that Mottisfont in Hampshire, another National Trust property also fits into the Edwardian decor style even though it was reconfigured and redecorated by Maud Russell in the 1930s, so right at the end of the extended Edwardian era. As you can see the flowers, which are loosely arranged, as per the style of day, also have a natural and pastel feel to them.

FLOWERS IN THE EDWARDIAN HOUSEHOLD WERE OFTEN LOOSELY ARRANGED AND ECHOED THE WALLPAPER

While the wallpaper is still quite formal, its colour is lighter than it would have been and the addition of fresh flowers in the fireplace add a further feminine touch. As does the reading material on the nearby desk.

Even in the maids room, the Edwardian style is apparent - stripes were another favourite for wallpaper, and the pretty hand painted coat hanger is one I'd happily have in my house today.

STRIPED WALLPAPER AND A PRETTY FLORAL HANGER IN THE MAIDS ROOM AT MOTTISFONT
So that's a glimpse into decorating in the Edwardian style, fascinating isn't it? And I'm sure that like me you'll see elements of the style maybe in your home, and definitely on the high street. It's a style that's calming and relaxing, but is it a style you'd choose to decorate in, leave a comment and let me know what you think.
* This is a collaborative post, but all views and opinions are my own.