Love this #69: Saltcreake Designs

A sunny Saturday morning in Norfolk and we popped along to see who and what was in the pop-up shops at the Dalegate Market in Burnham Deepdale. A fantastic idea and somewhere I'll be stopping in again the next time we're in Sunny Hunny. 

This weekend there was a sweet company, an artist and some woodcraft with items made from new and reclaimed wood. MOH was quite taken with a standard light made from an old beam, and it was lovely but something else had caught my eye.

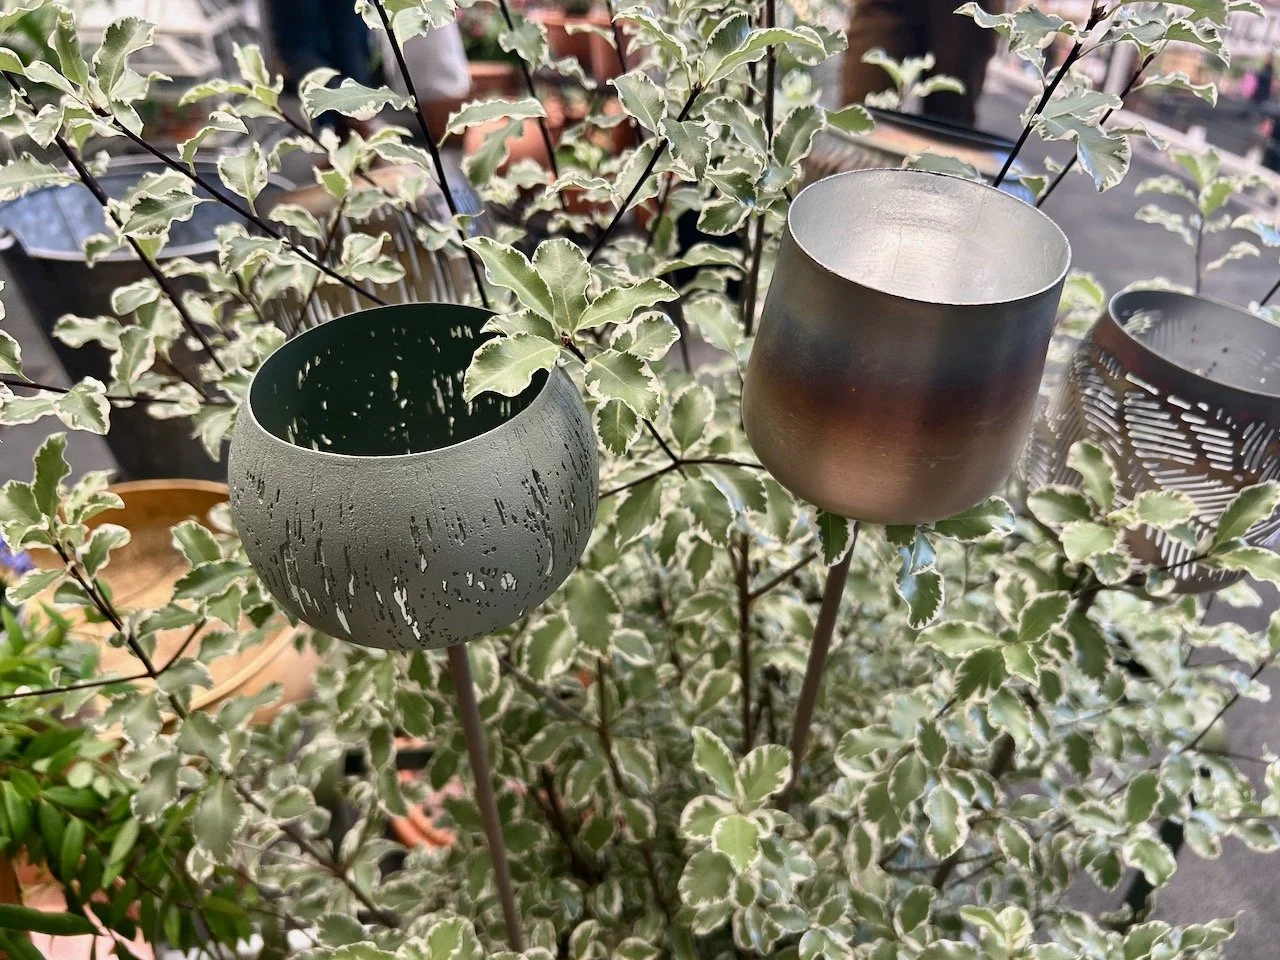
And that was these upcycled home decor pieces by Saltcreake Designs - aren't they fab?

I loved them, but just don't have the space for them right now so I didn't leave with one, although I would have been more than happy to. I am though, adding these to an ever growing list of home items so that when I have the right space I know just what to buy. 

My favourite was the picture frame and chicken wire noticeboards, such a lovely idea. My dad and MOH were in agreement though and couldn't see the attraction of some jubilee clips on a board with some old jars, or a picture frame with chicken wire. Clearly it's one of those things that divides the genders in my family.

What do you think?

Home Etc

A tray transformed!

As soon as I'd finished my first Pinty Plus project I was on the look out for what to spray next. I racked my brains, looked around the house and in fact anything that stood still for long enough was a contender, then bing! my next project emerged. 

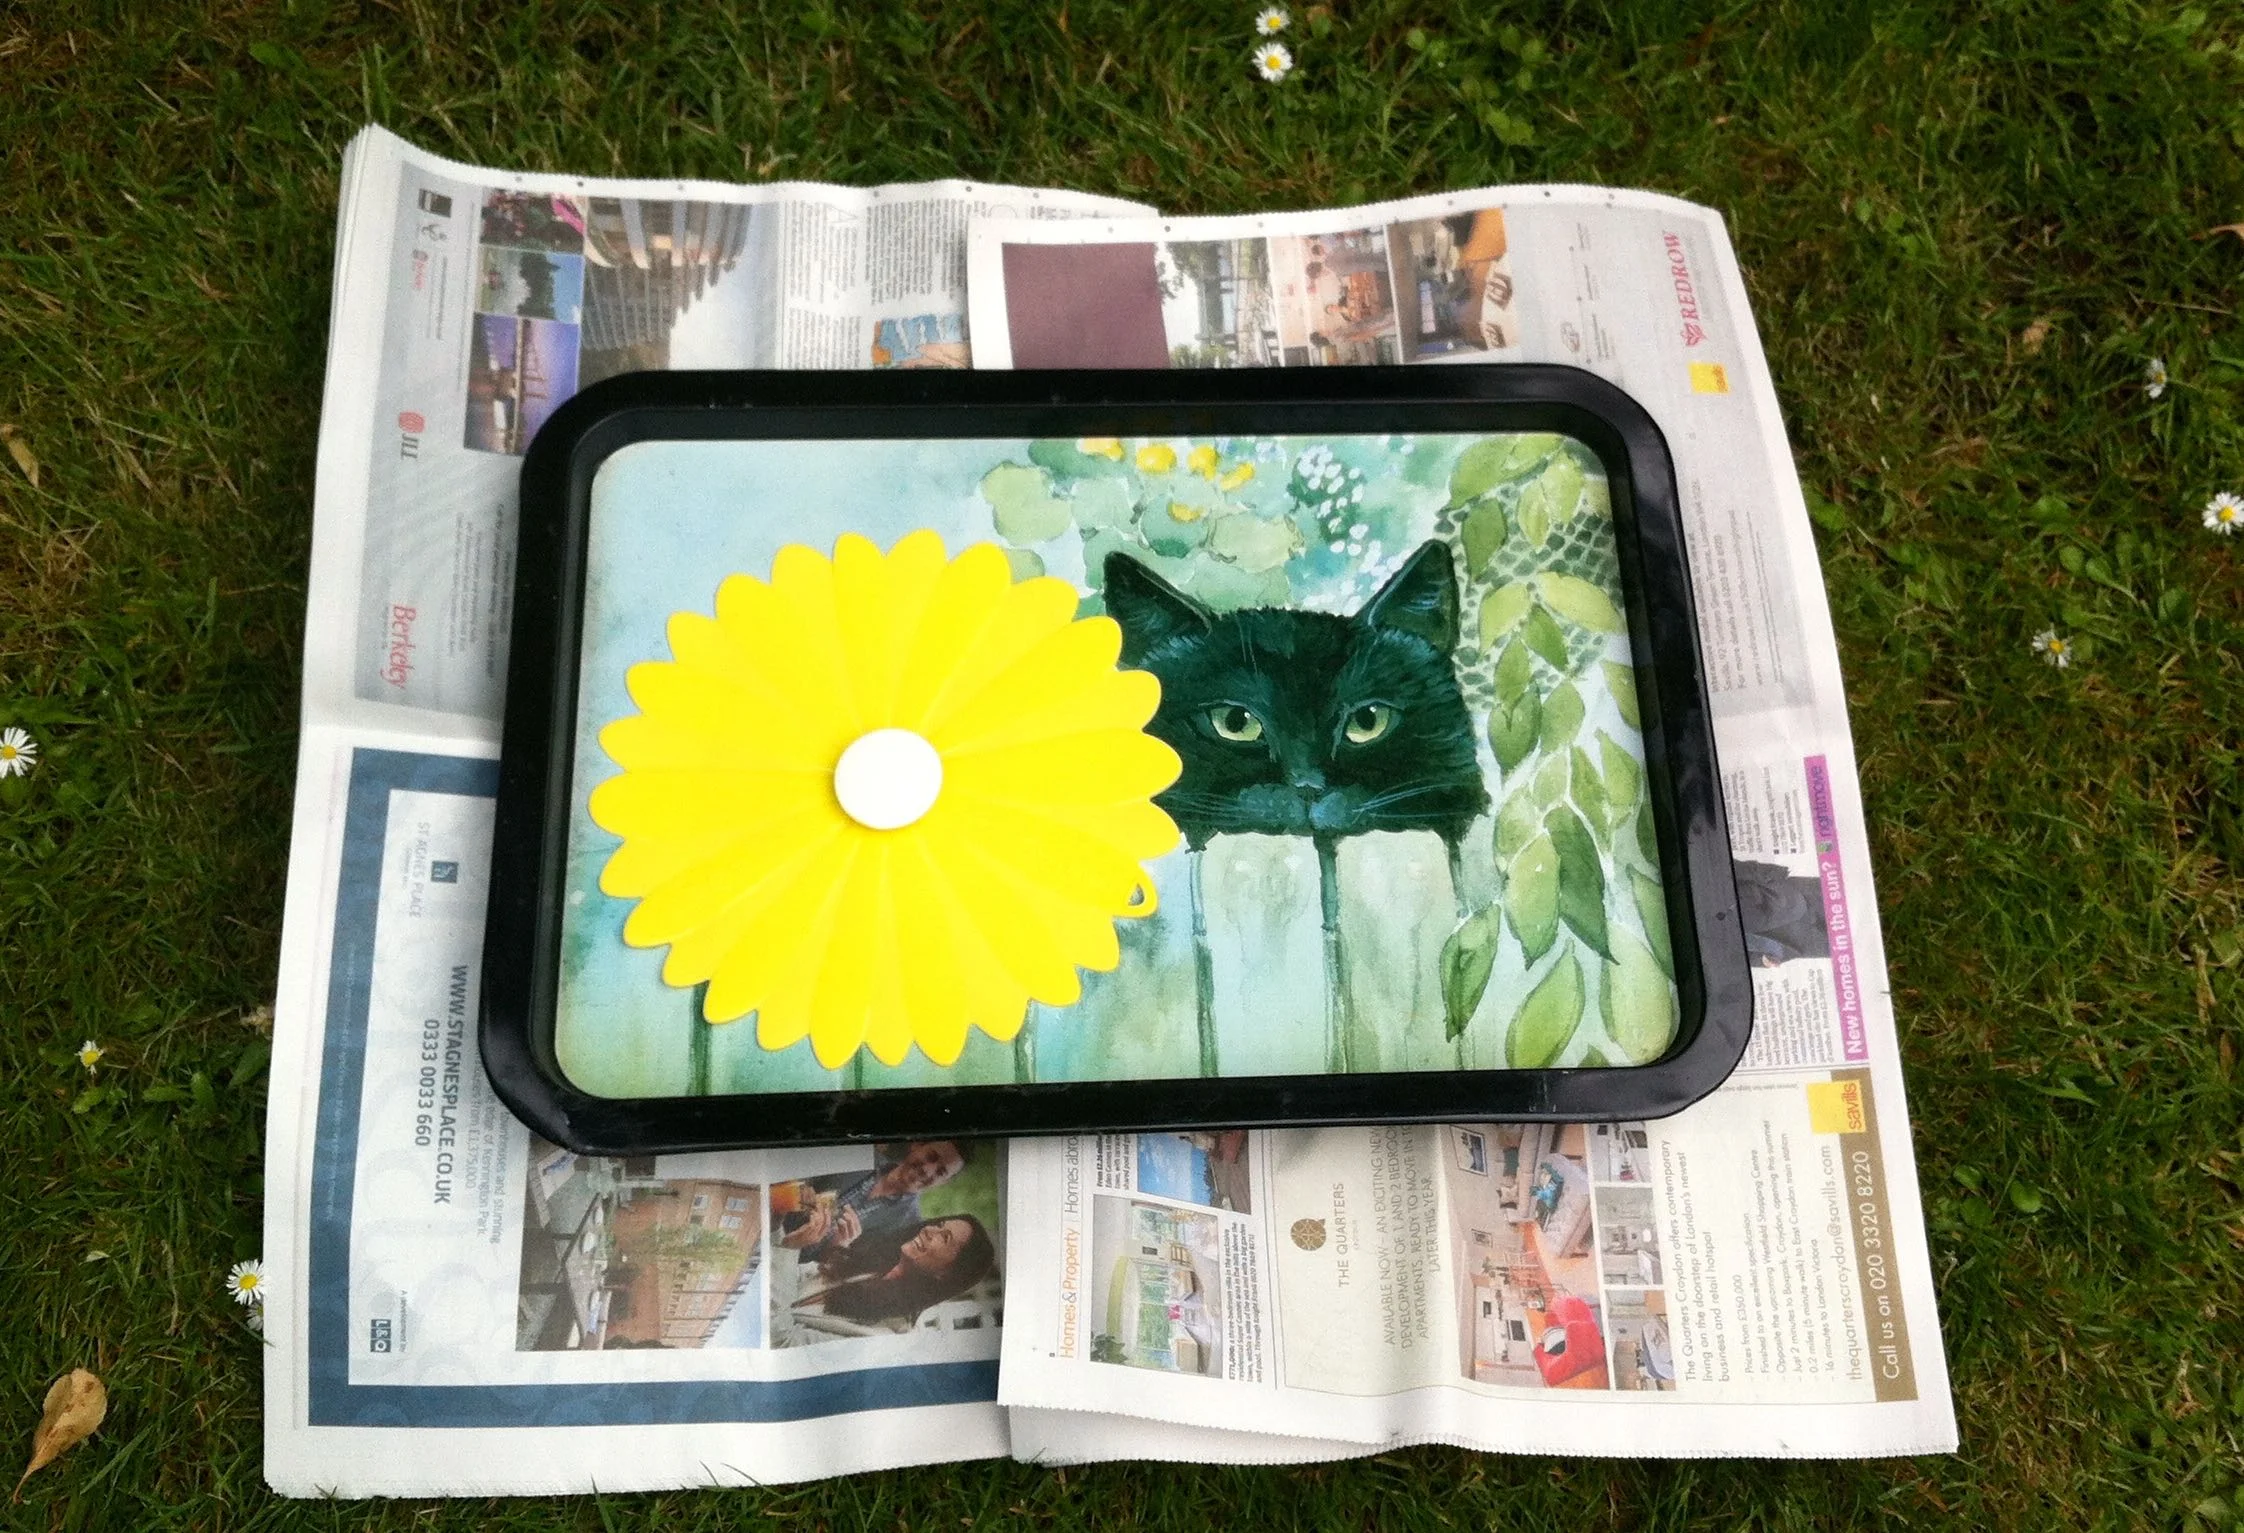
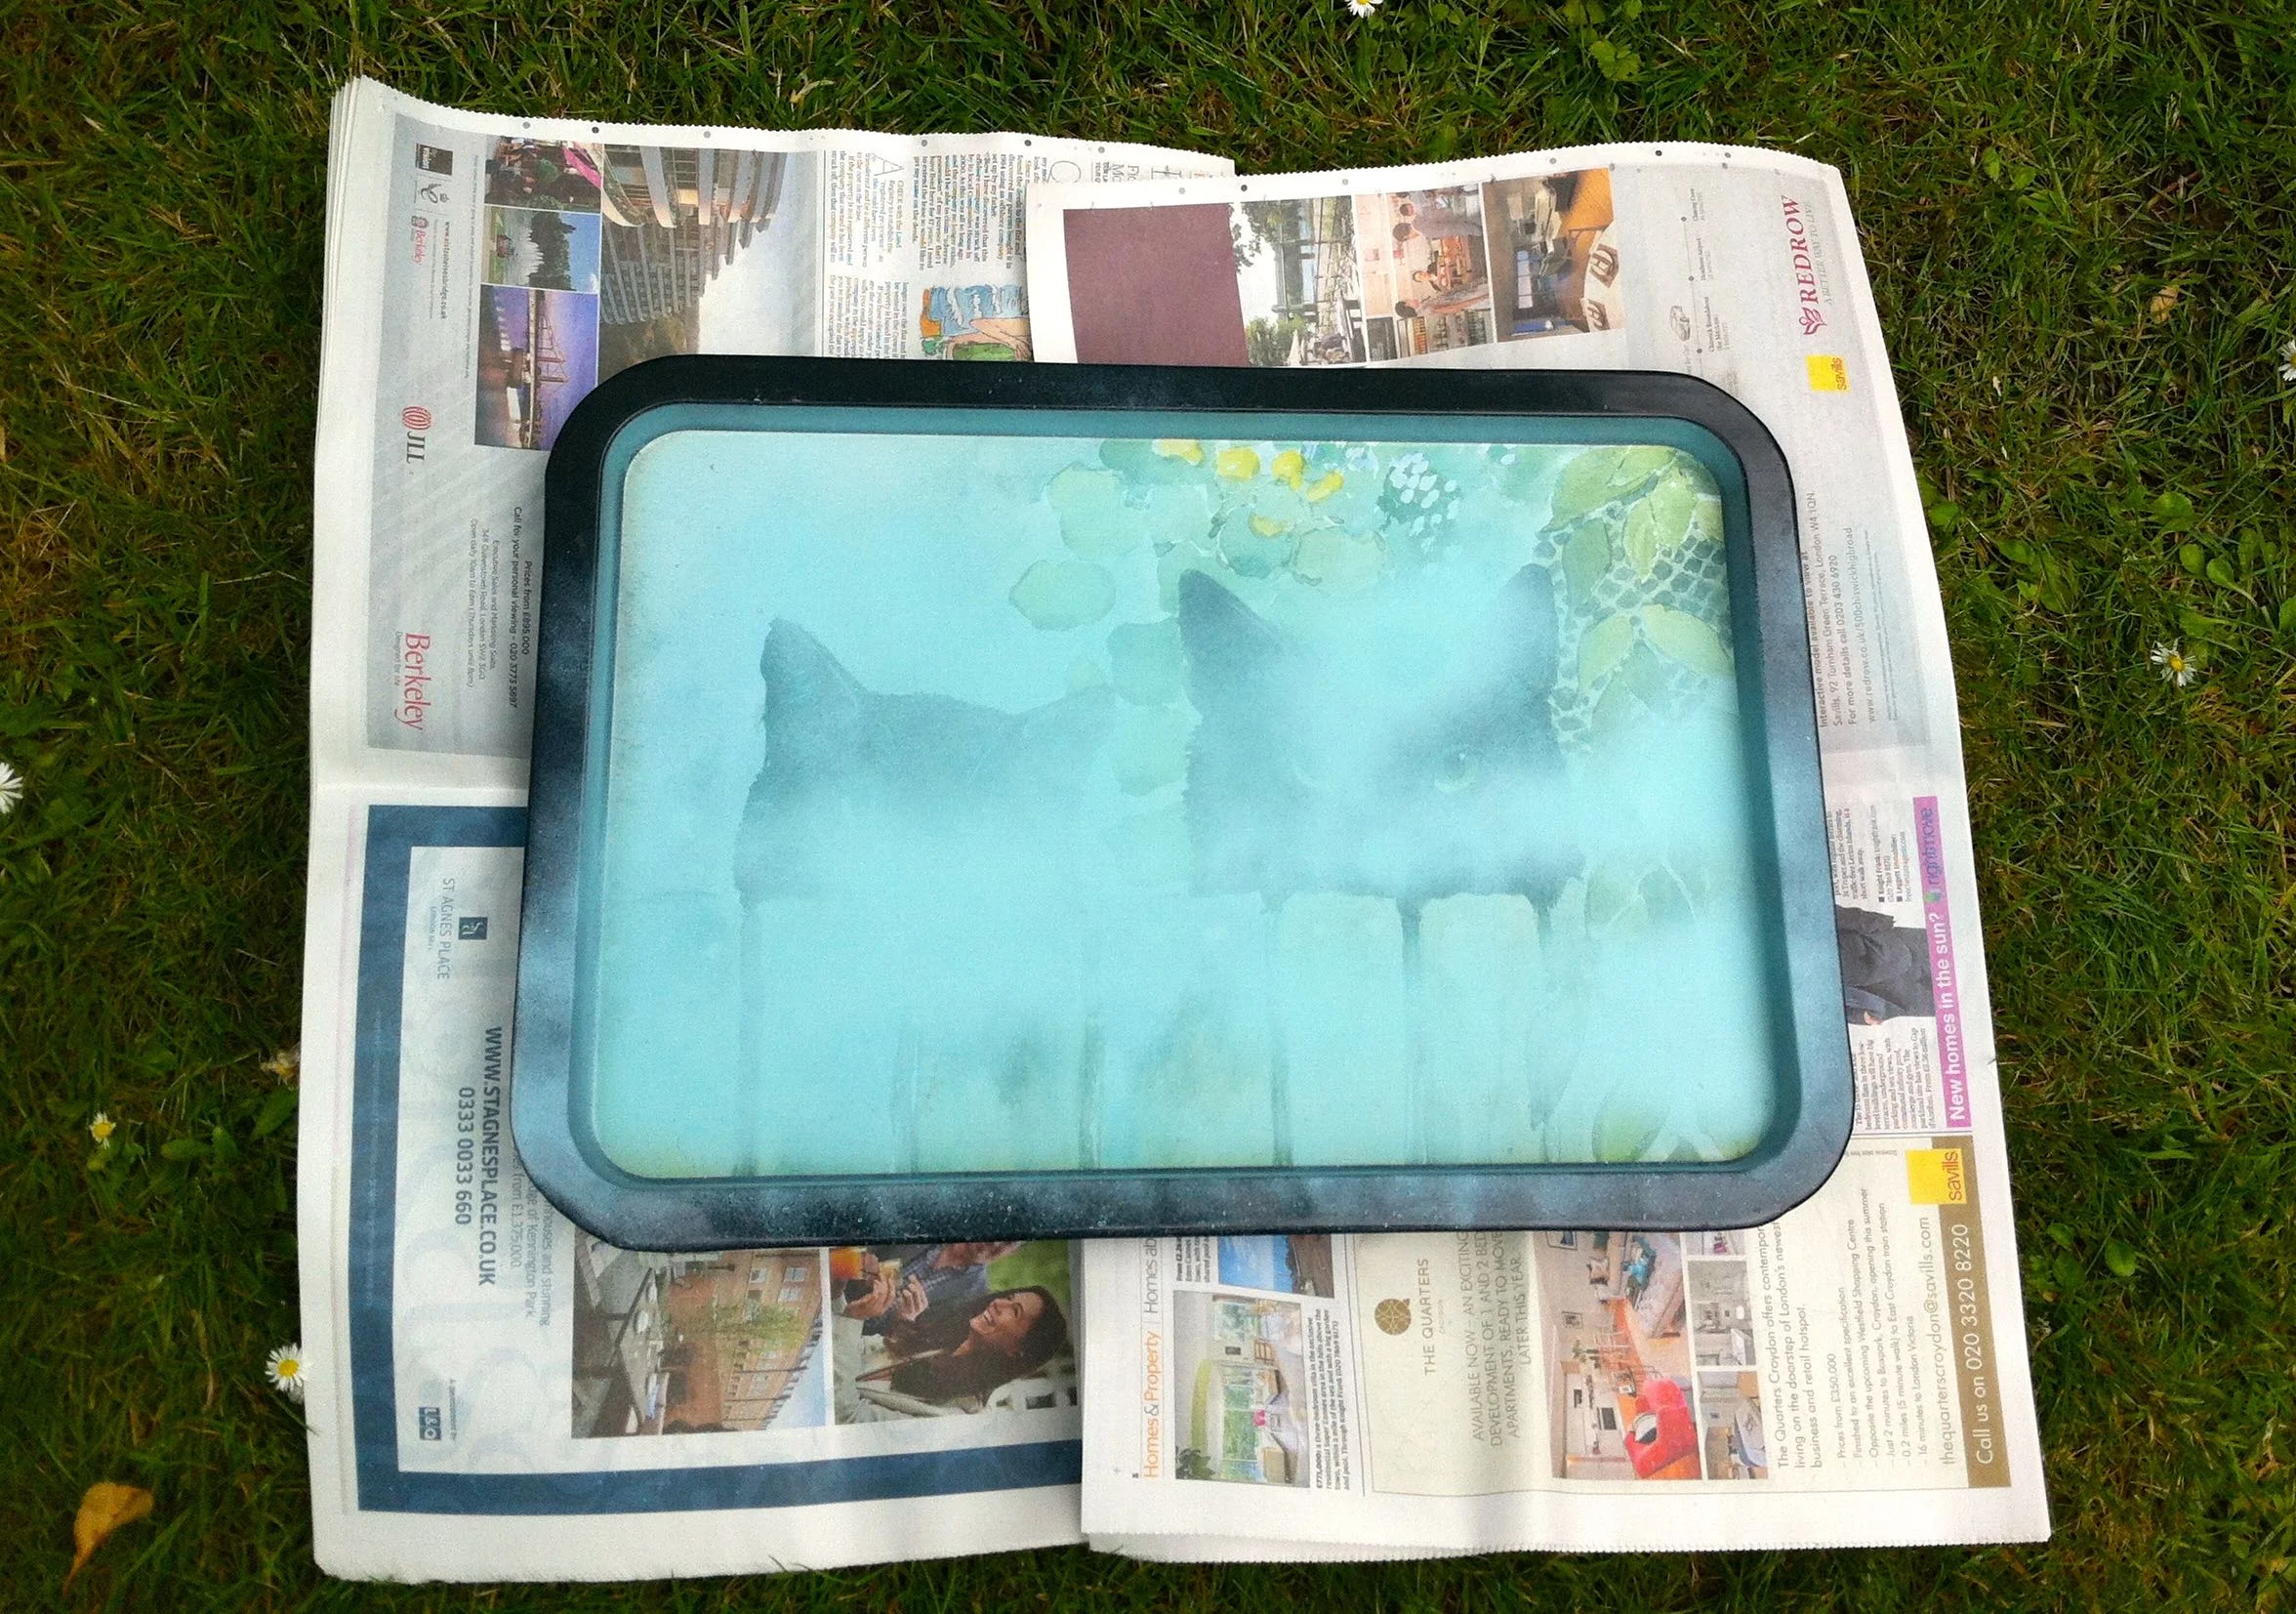
A 1990s tray with two cats looking over the fence quickly became my second Pinty Plus project

Yes, the time was up for this perfectly functional but slightly dated metal tray. It's something I'd had from new and it used to get a lot of use, but rarely does these days. The cat on the right looks very much like my Dylan did and while I didn't think he'd appreciate being covered up, I knew it was time for something new.  He's been gone over ten years, so I think I'm allowed.

So I set to work. The tray was given a thorough clean before I started. I decided against straightening the bashed up corner (bottom left) as while I've no idea how it happened now, it seemed part of the tray's history.

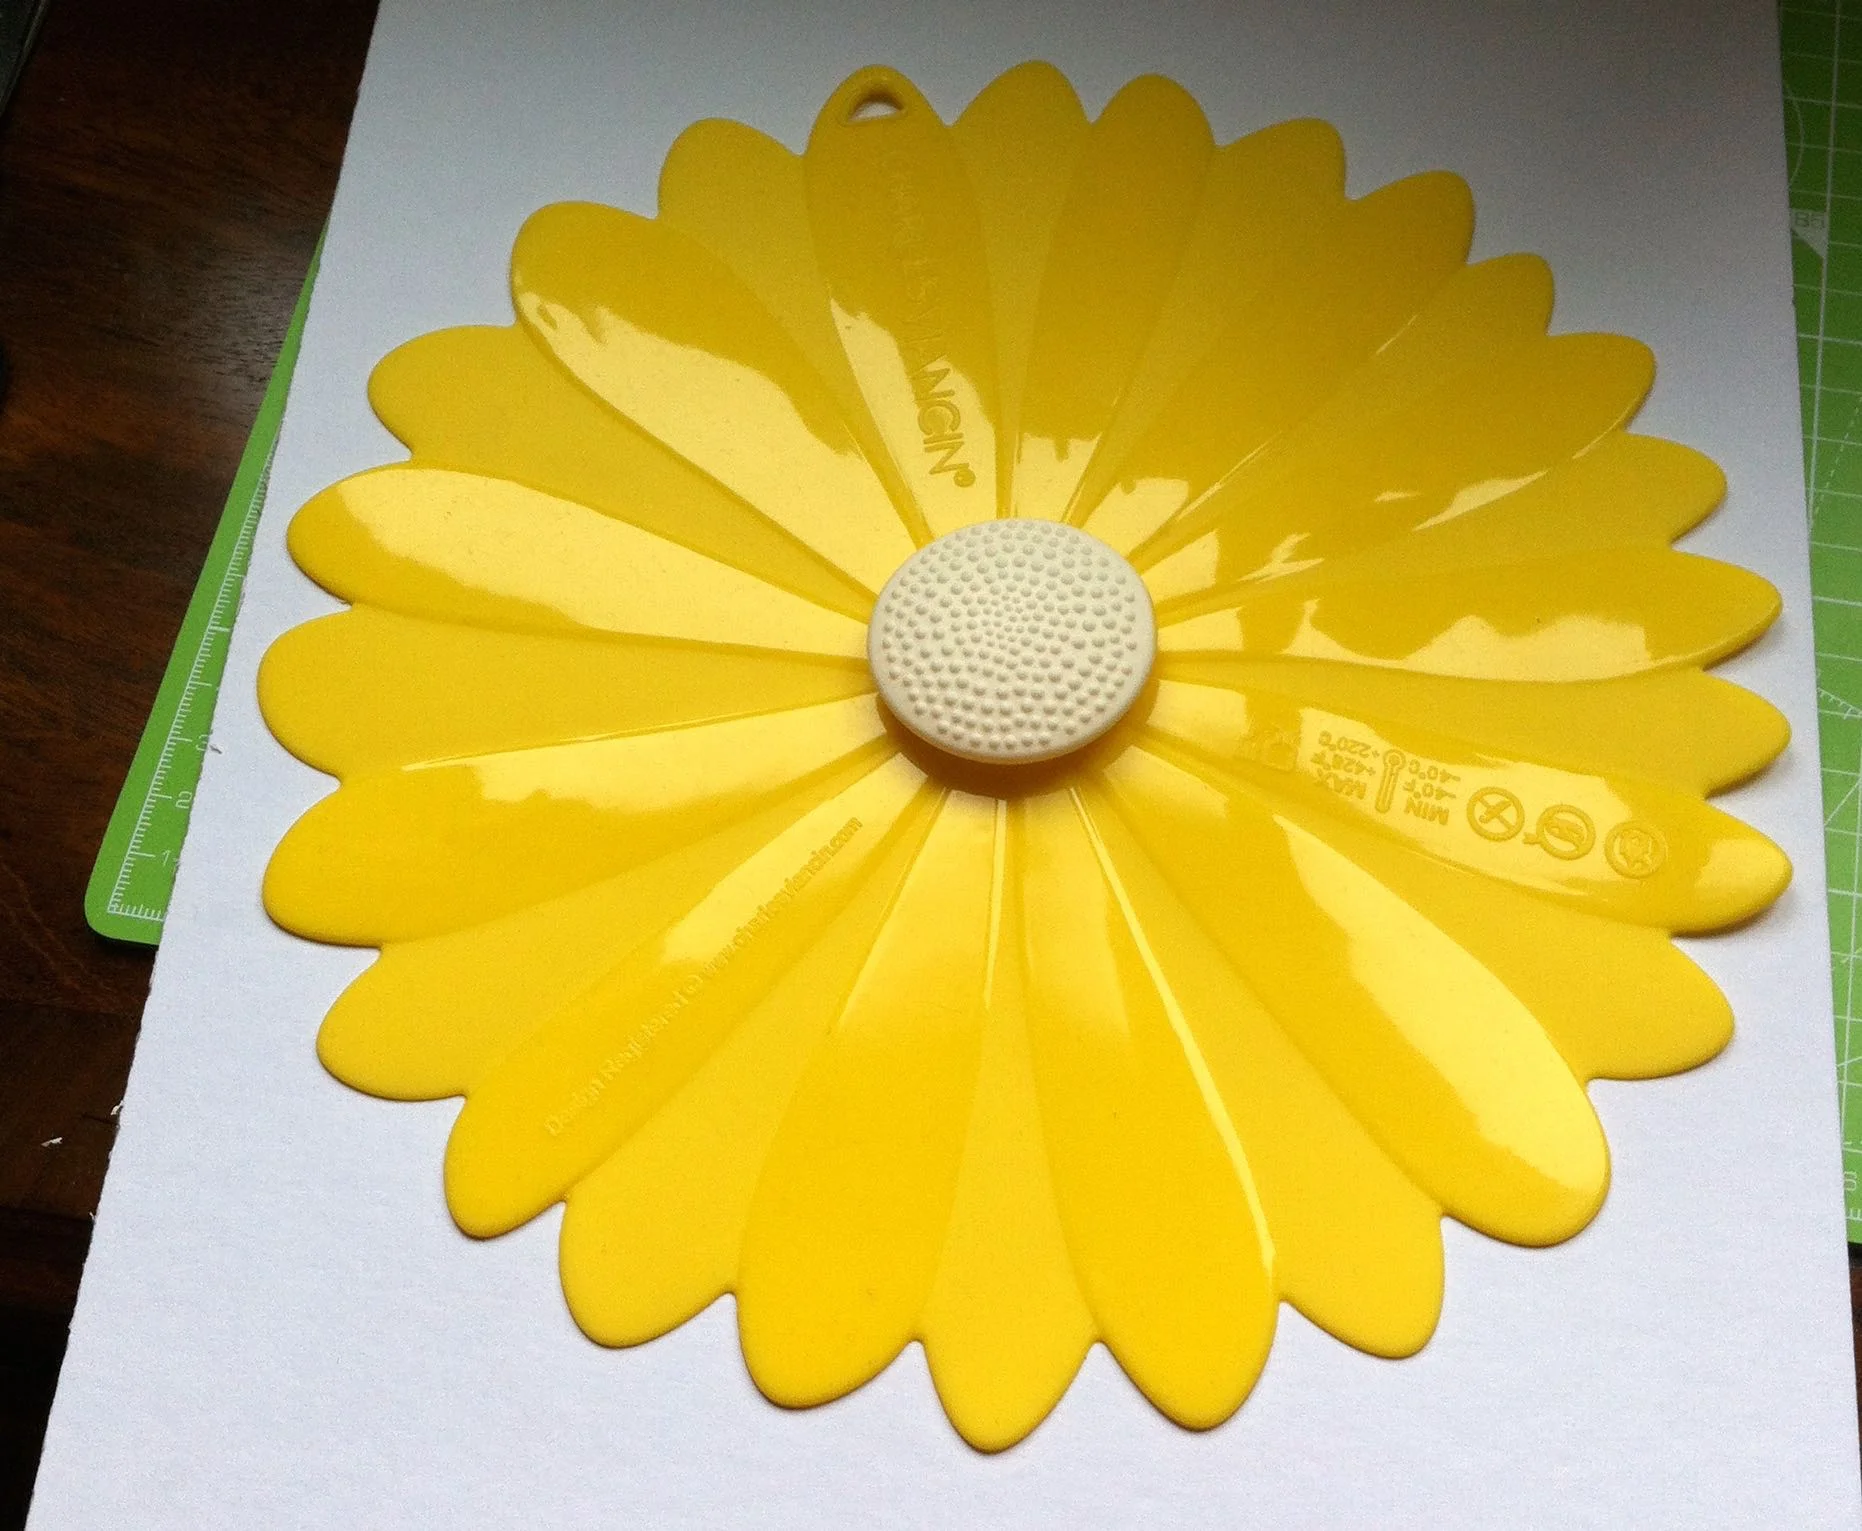
I also knew that I wanted to try something different for this project and planned to add a flower shape to the design.  My silicone lids proved to be the perfect template.

Planning the final look of my upcycled tray

With my plan established I started to spray. 

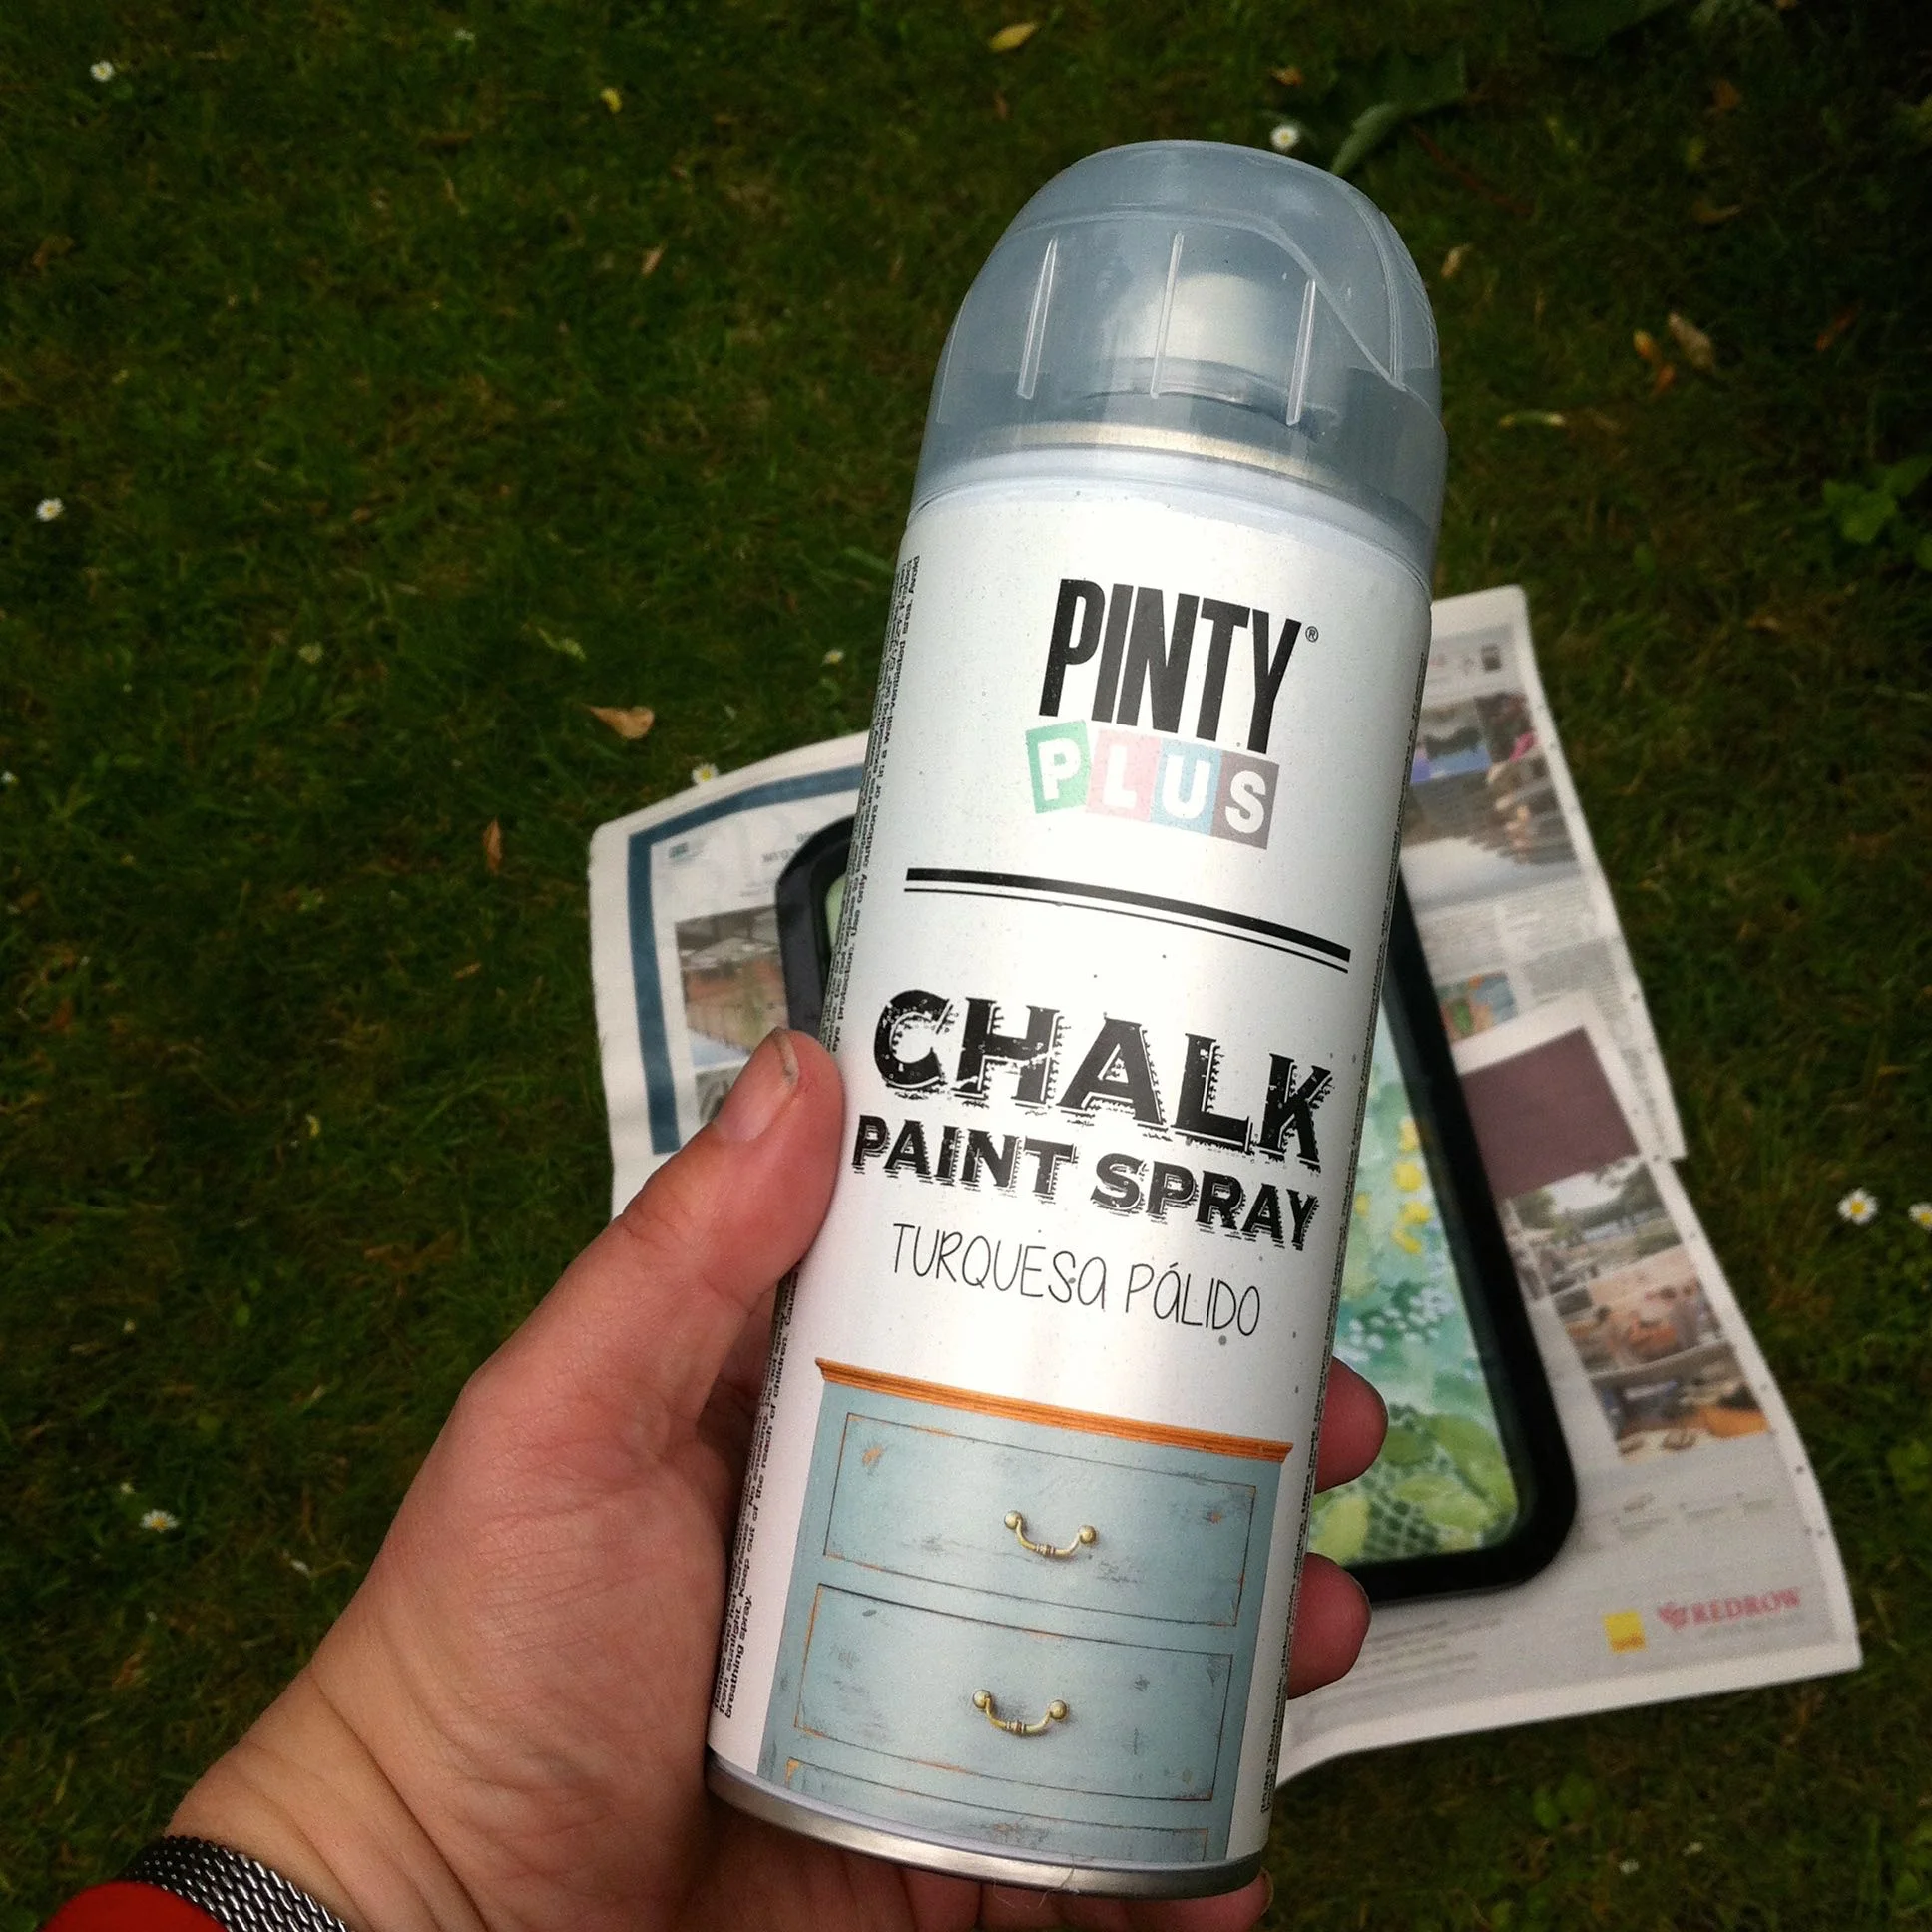
Pinty Plus Chalk Paint Spray Light Turquoise

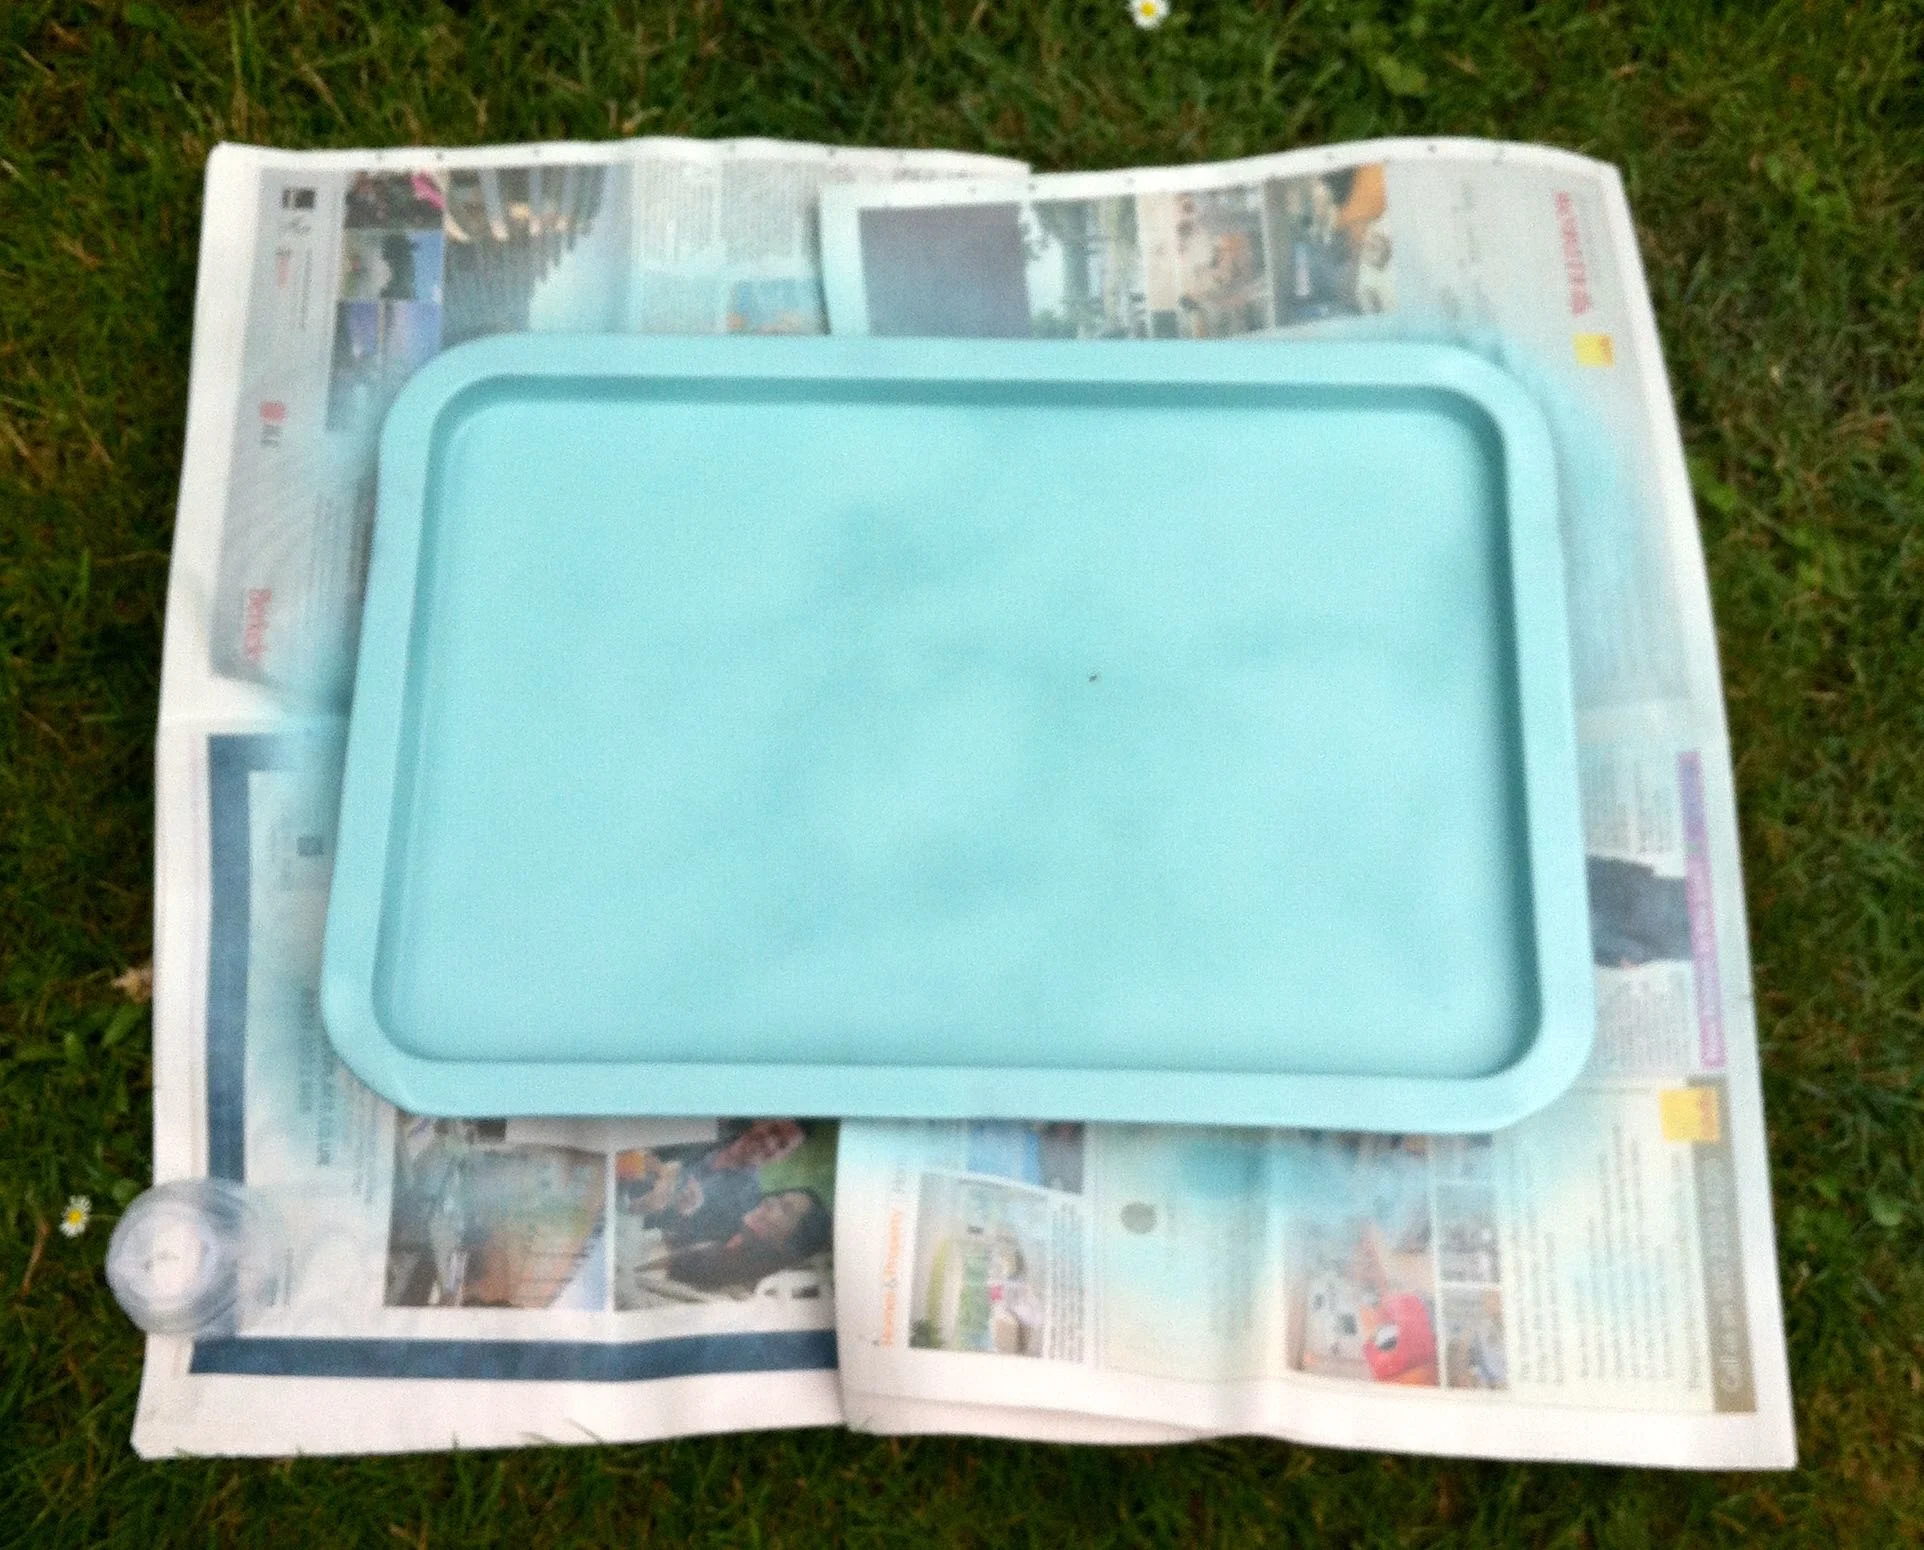
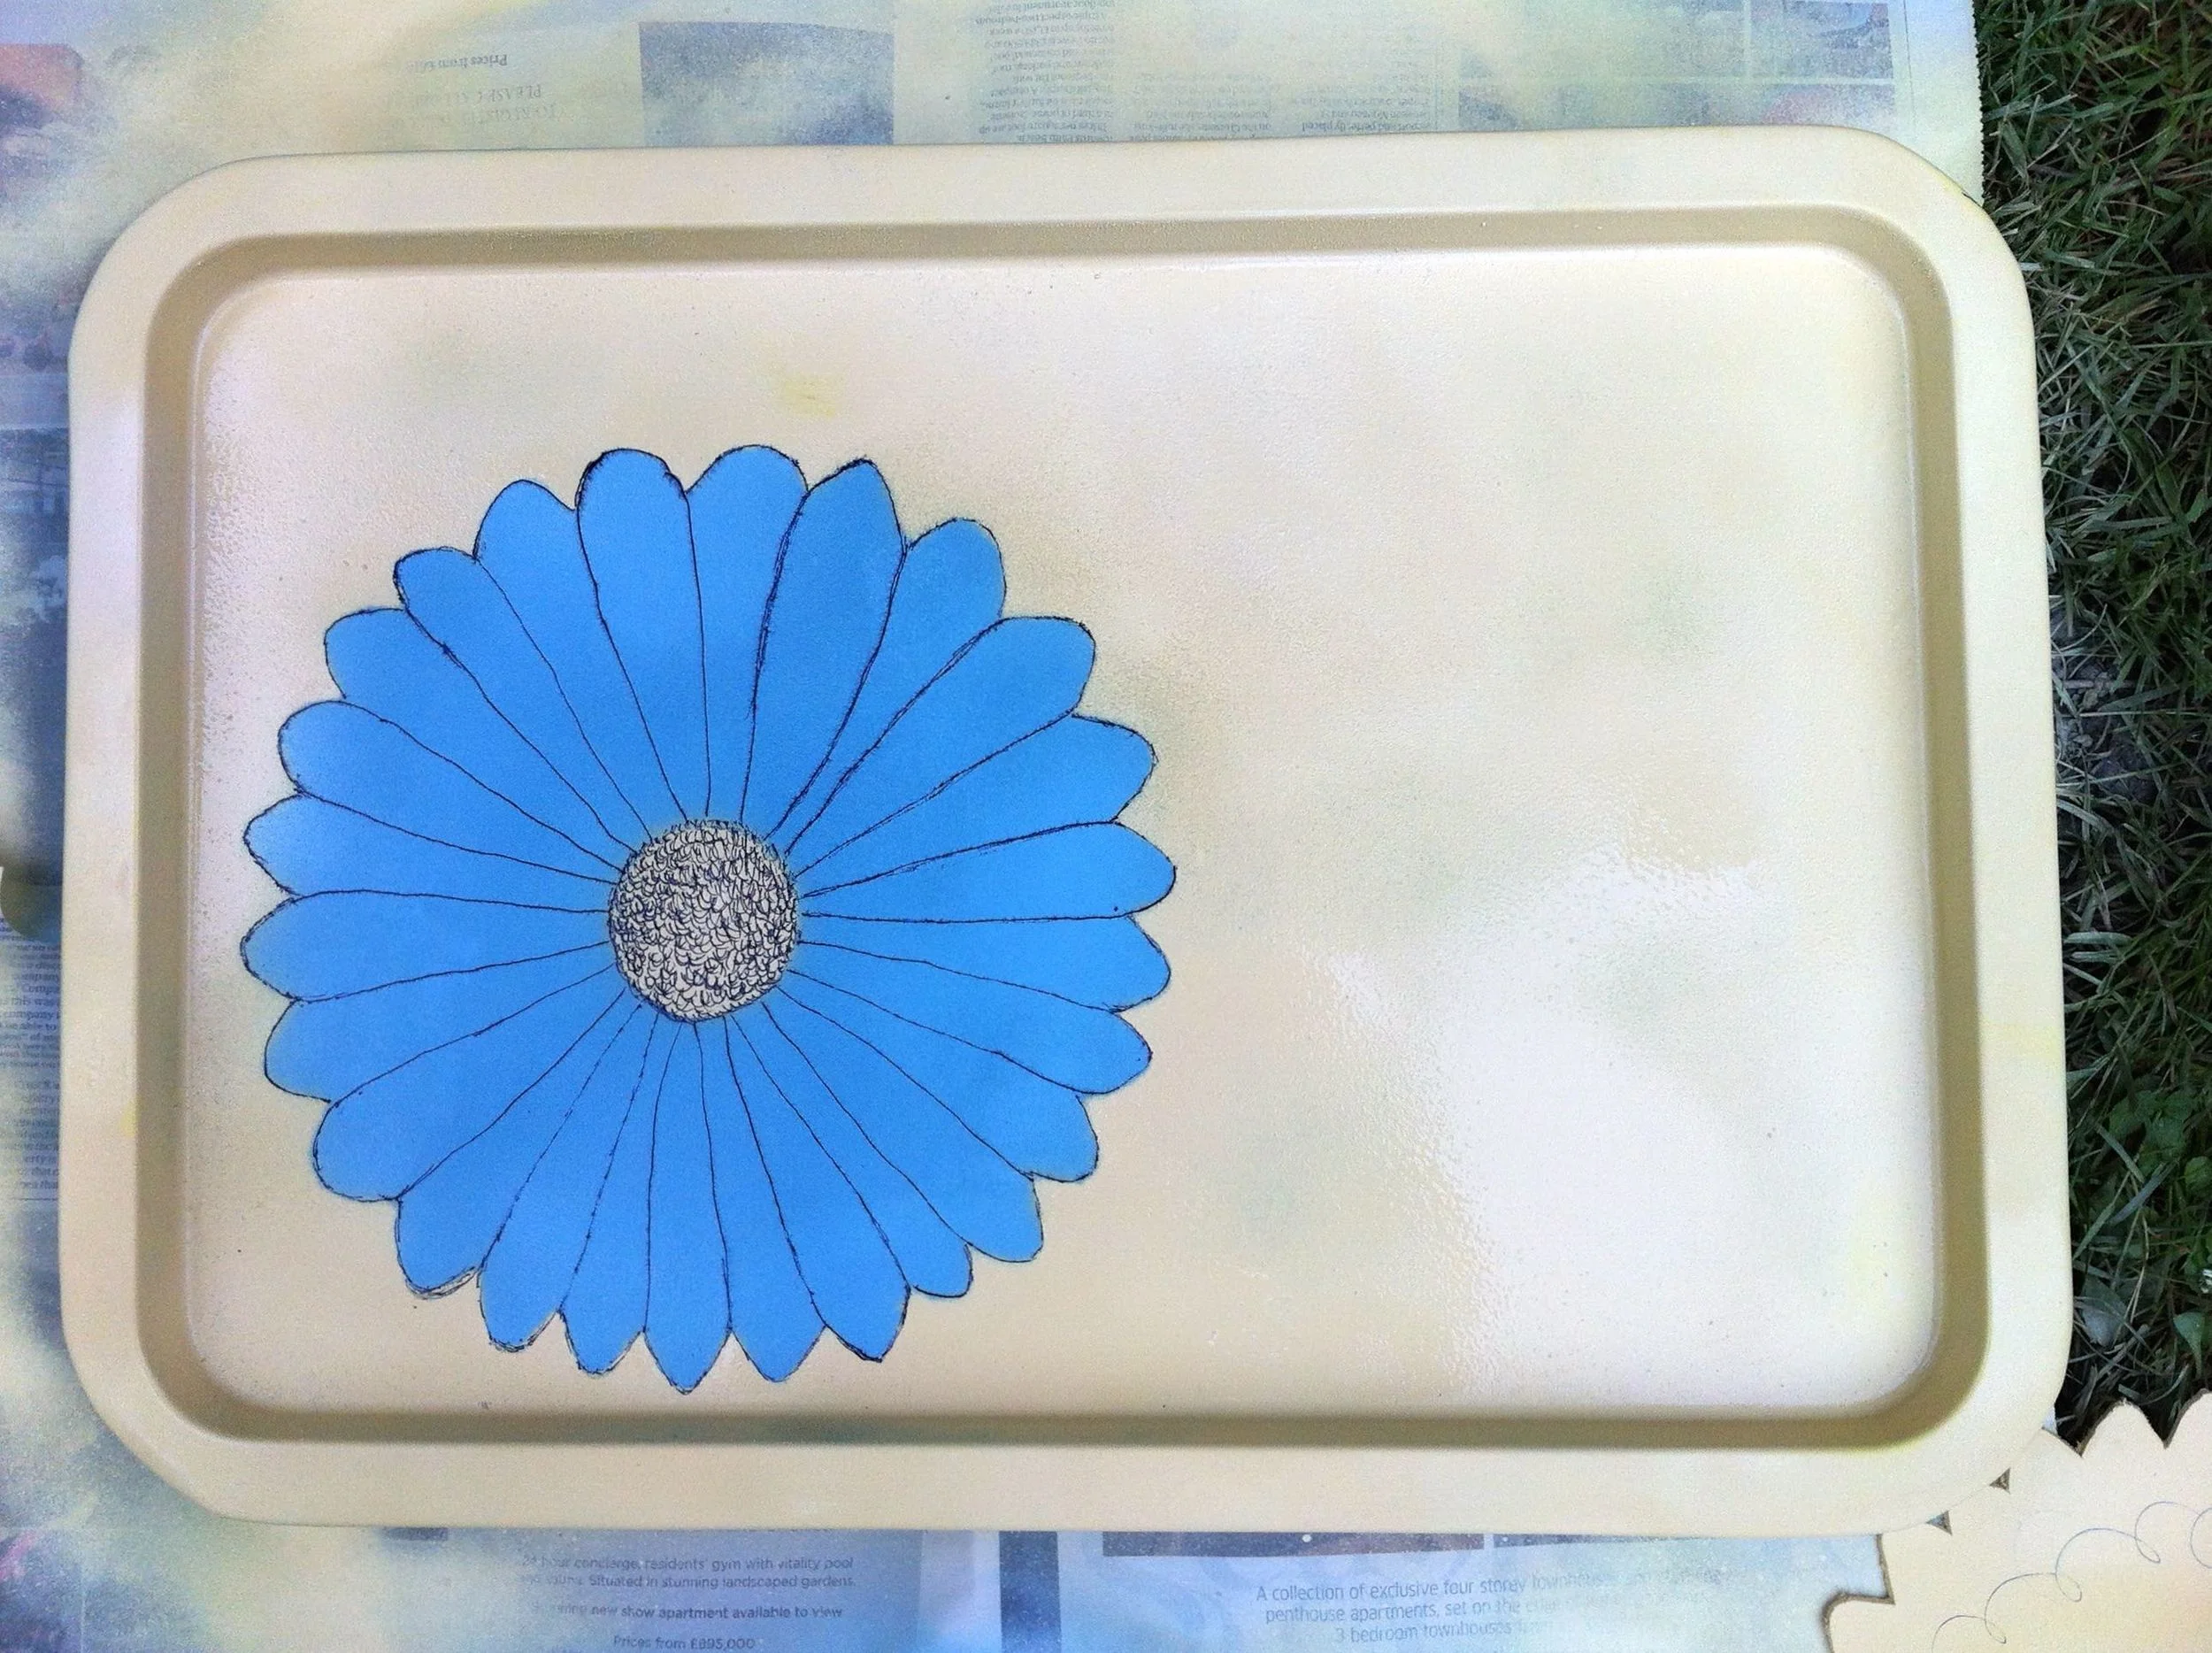
I wanted a blue flower on a yellow tray and started spraying the front of the tray in the same light turquoise that I used on the inside of my sewing box.  I did feel a bit guilty spraying the cats and I'm sure they were giving me a stern look as I did.

Spraying the metal tray with Pinty Plus Chalk Paint Spray
First coat of Pinty Plus Chalk Paint Spray done

With the blue base layer completed and drying I started to make my template. I'd considered using a stencil approach but decided against it as I wanted the centre of the flower yellow too, without any connecting lines. 

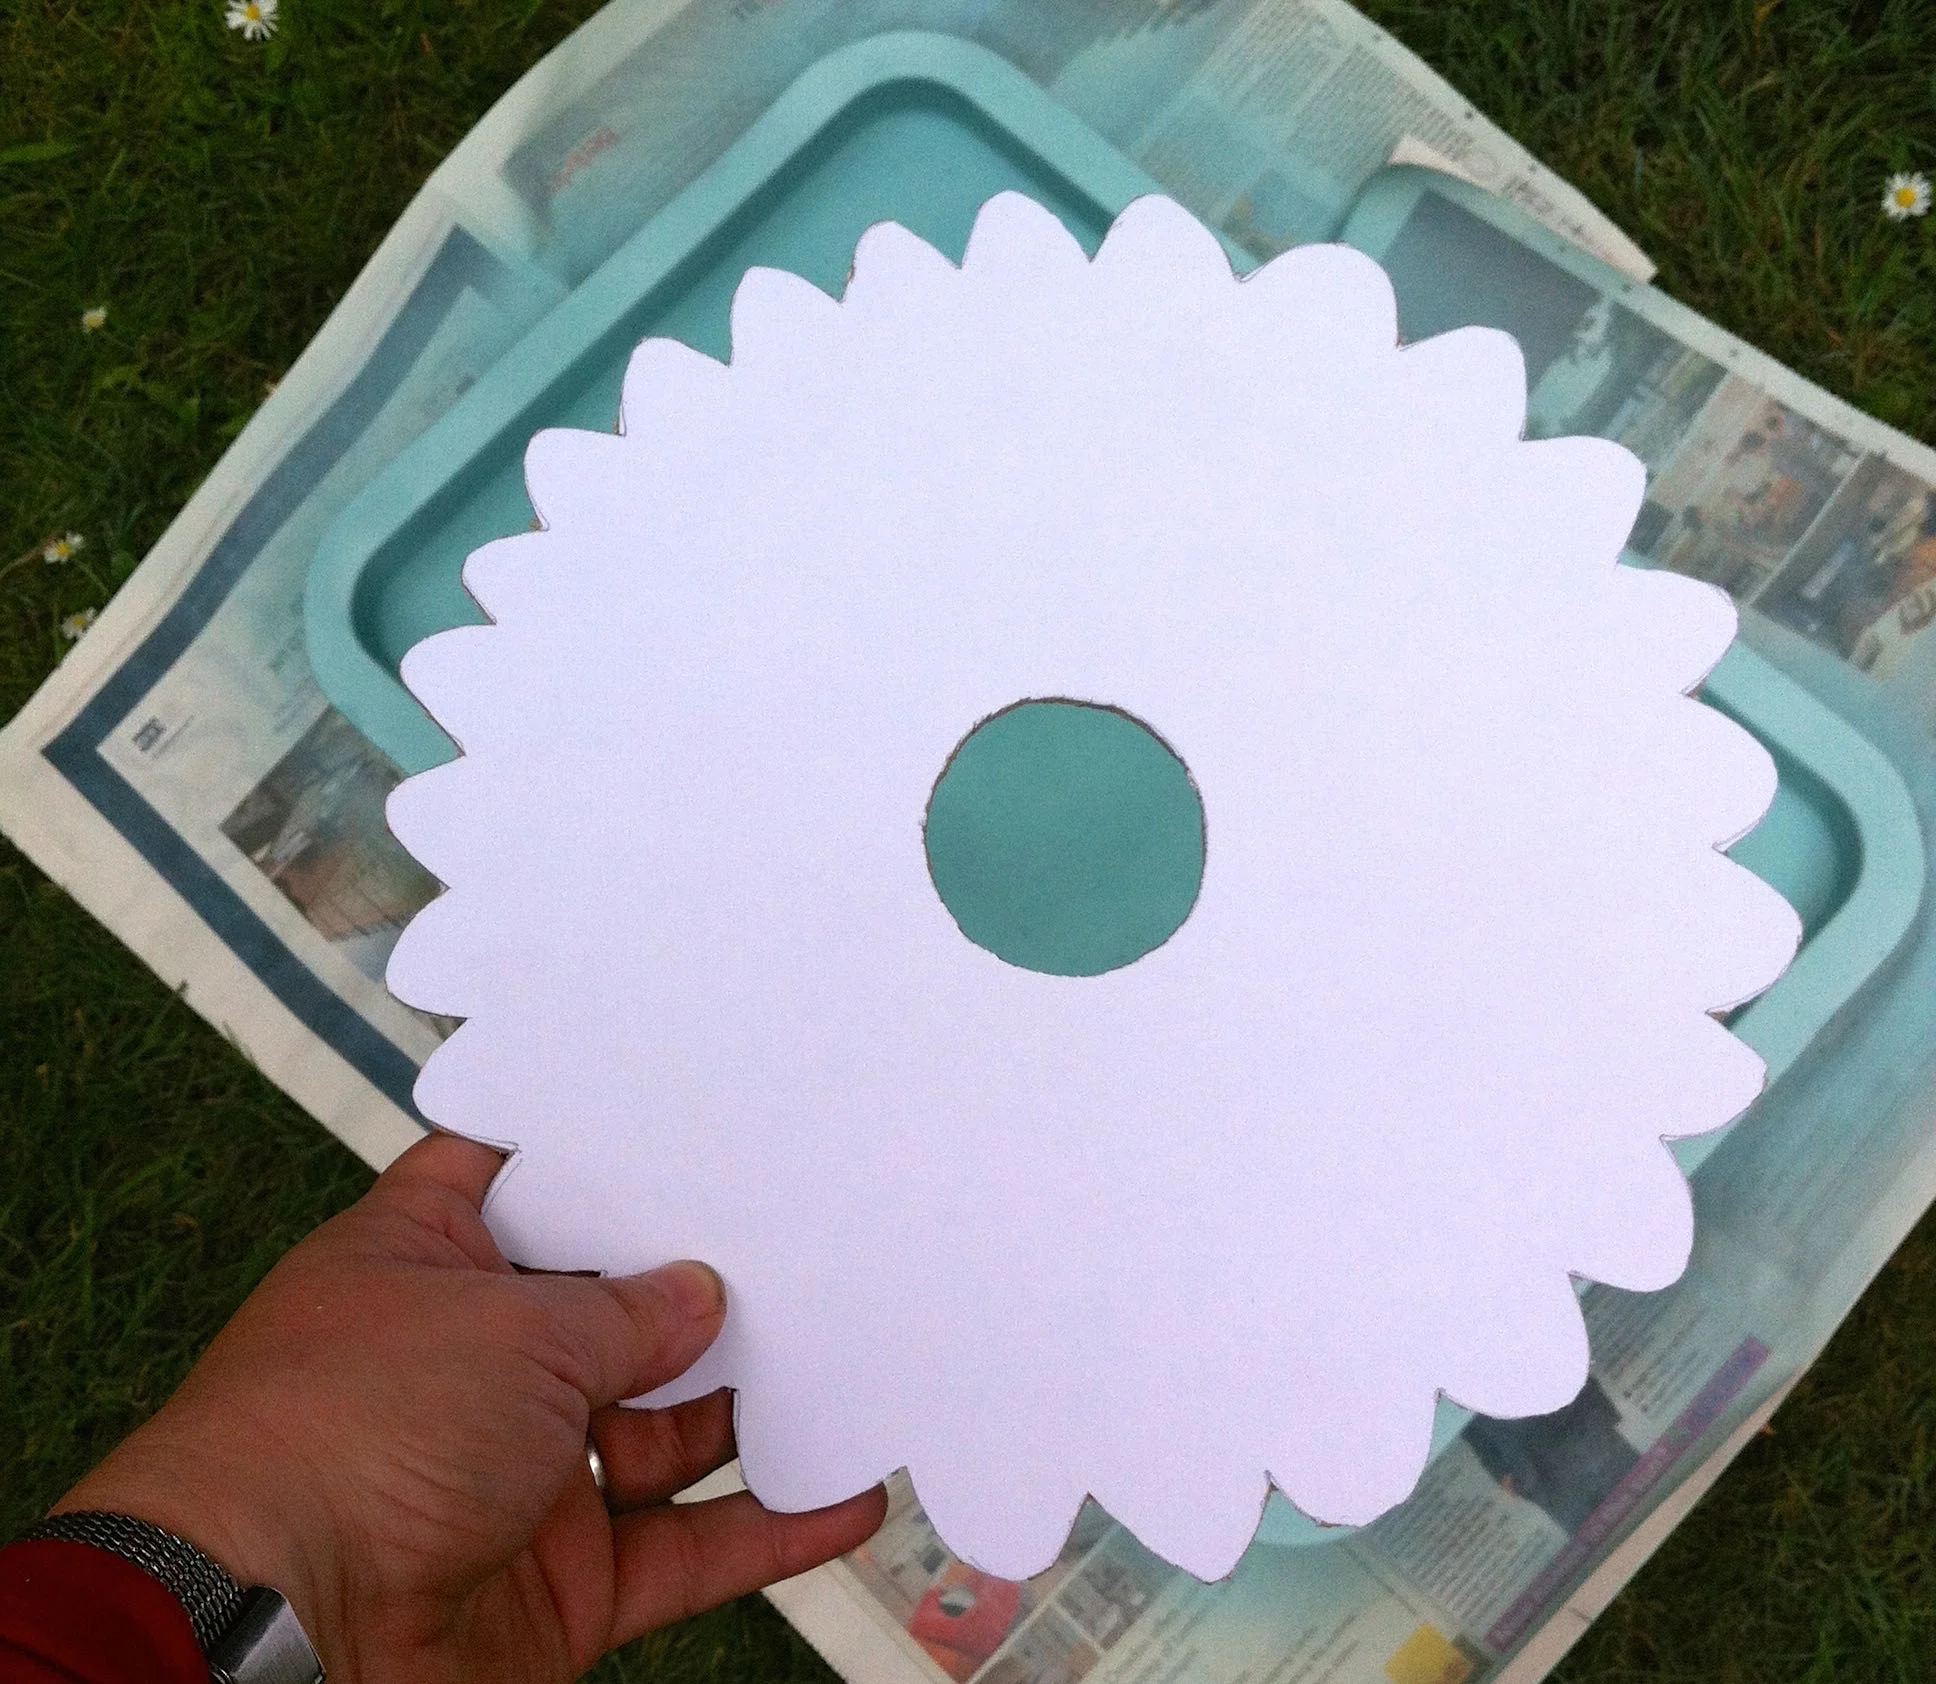
Taking the silicone lid I placed it on a thick piece of card - an insert I'd saved from some bedding I'd bought, which I knew would come in handy one day. Today was its day!

Making a flower shaped template from card
Making a flower shaped template from card and using a roll of washi tape for the centre

I drew around the shape and discovered that a roll of washi tape was a similar size as the centre so used that to make my middle.

Using a craft knife I carefully cut it out, without cutting myself at all (phew) - and as it was a nice day the garden table became my workspace.

Using a craft knife to cut out my flower shaped template
A completed flower shaped template

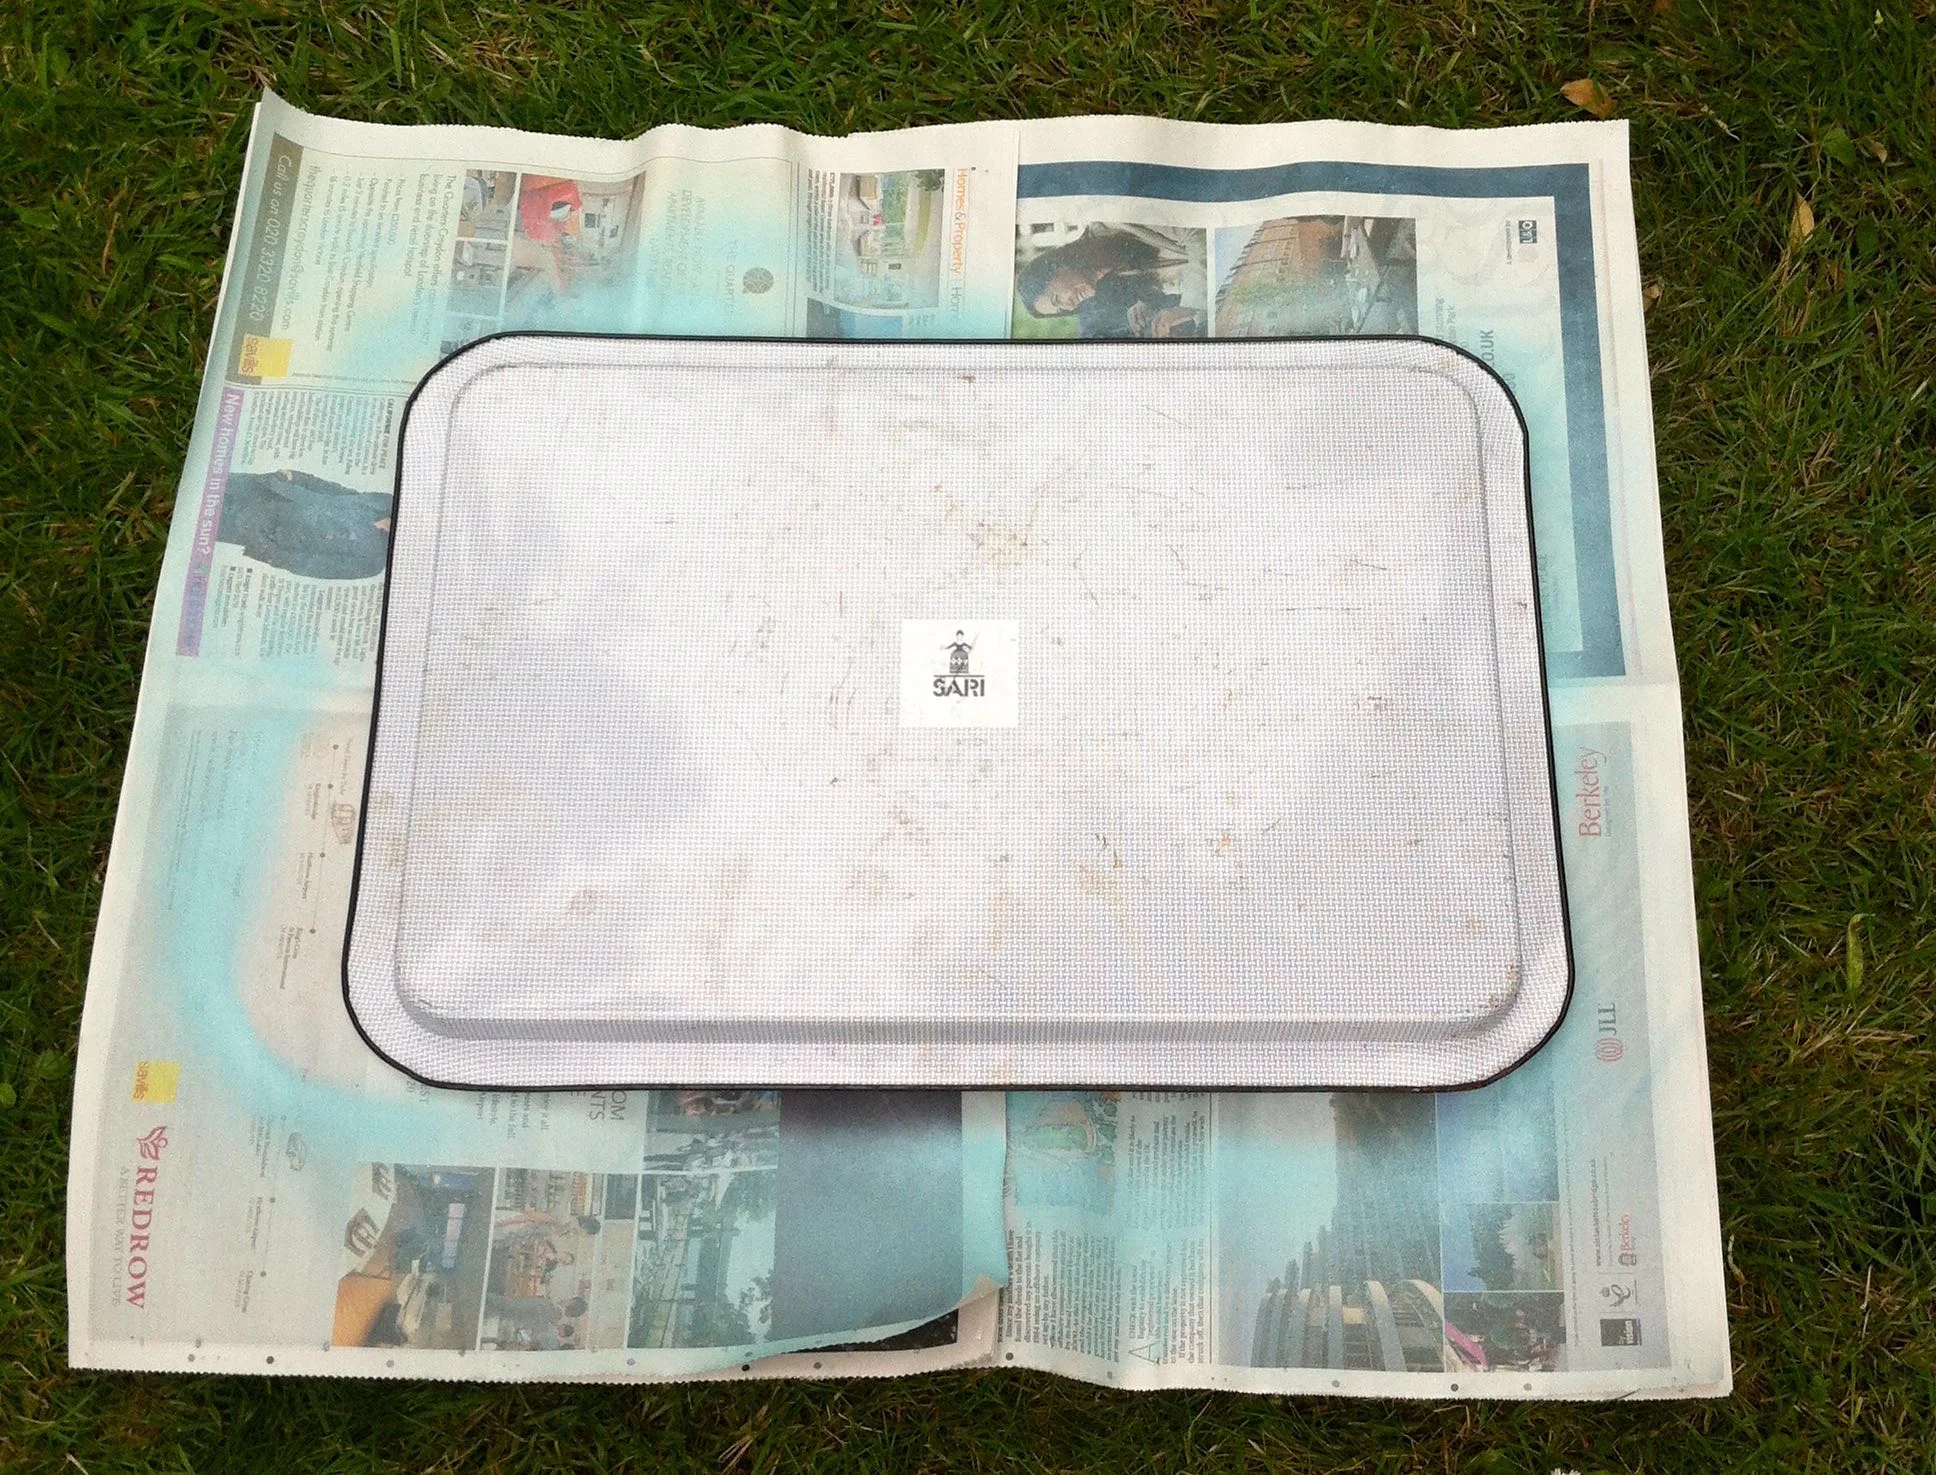
Before I could use my template though I wanted to spray the back of the tray. It was a bit scratched and well tatty, and it gave me the chance to see the colour of the new spray Mostaza.

The reverse of the tray when I started
The reverse of the tray covered with Pinty Plus Chalk Paint Spray in Mostardo

I'd been hoping for a mustard yellow - and while I like the colour it is - it's paler than I thought it would be.  I've been on a quest since we bought our mustard dining chairs (just two - I will show them to you soon) to add more yellow to our house, and this yellow works equally as well.

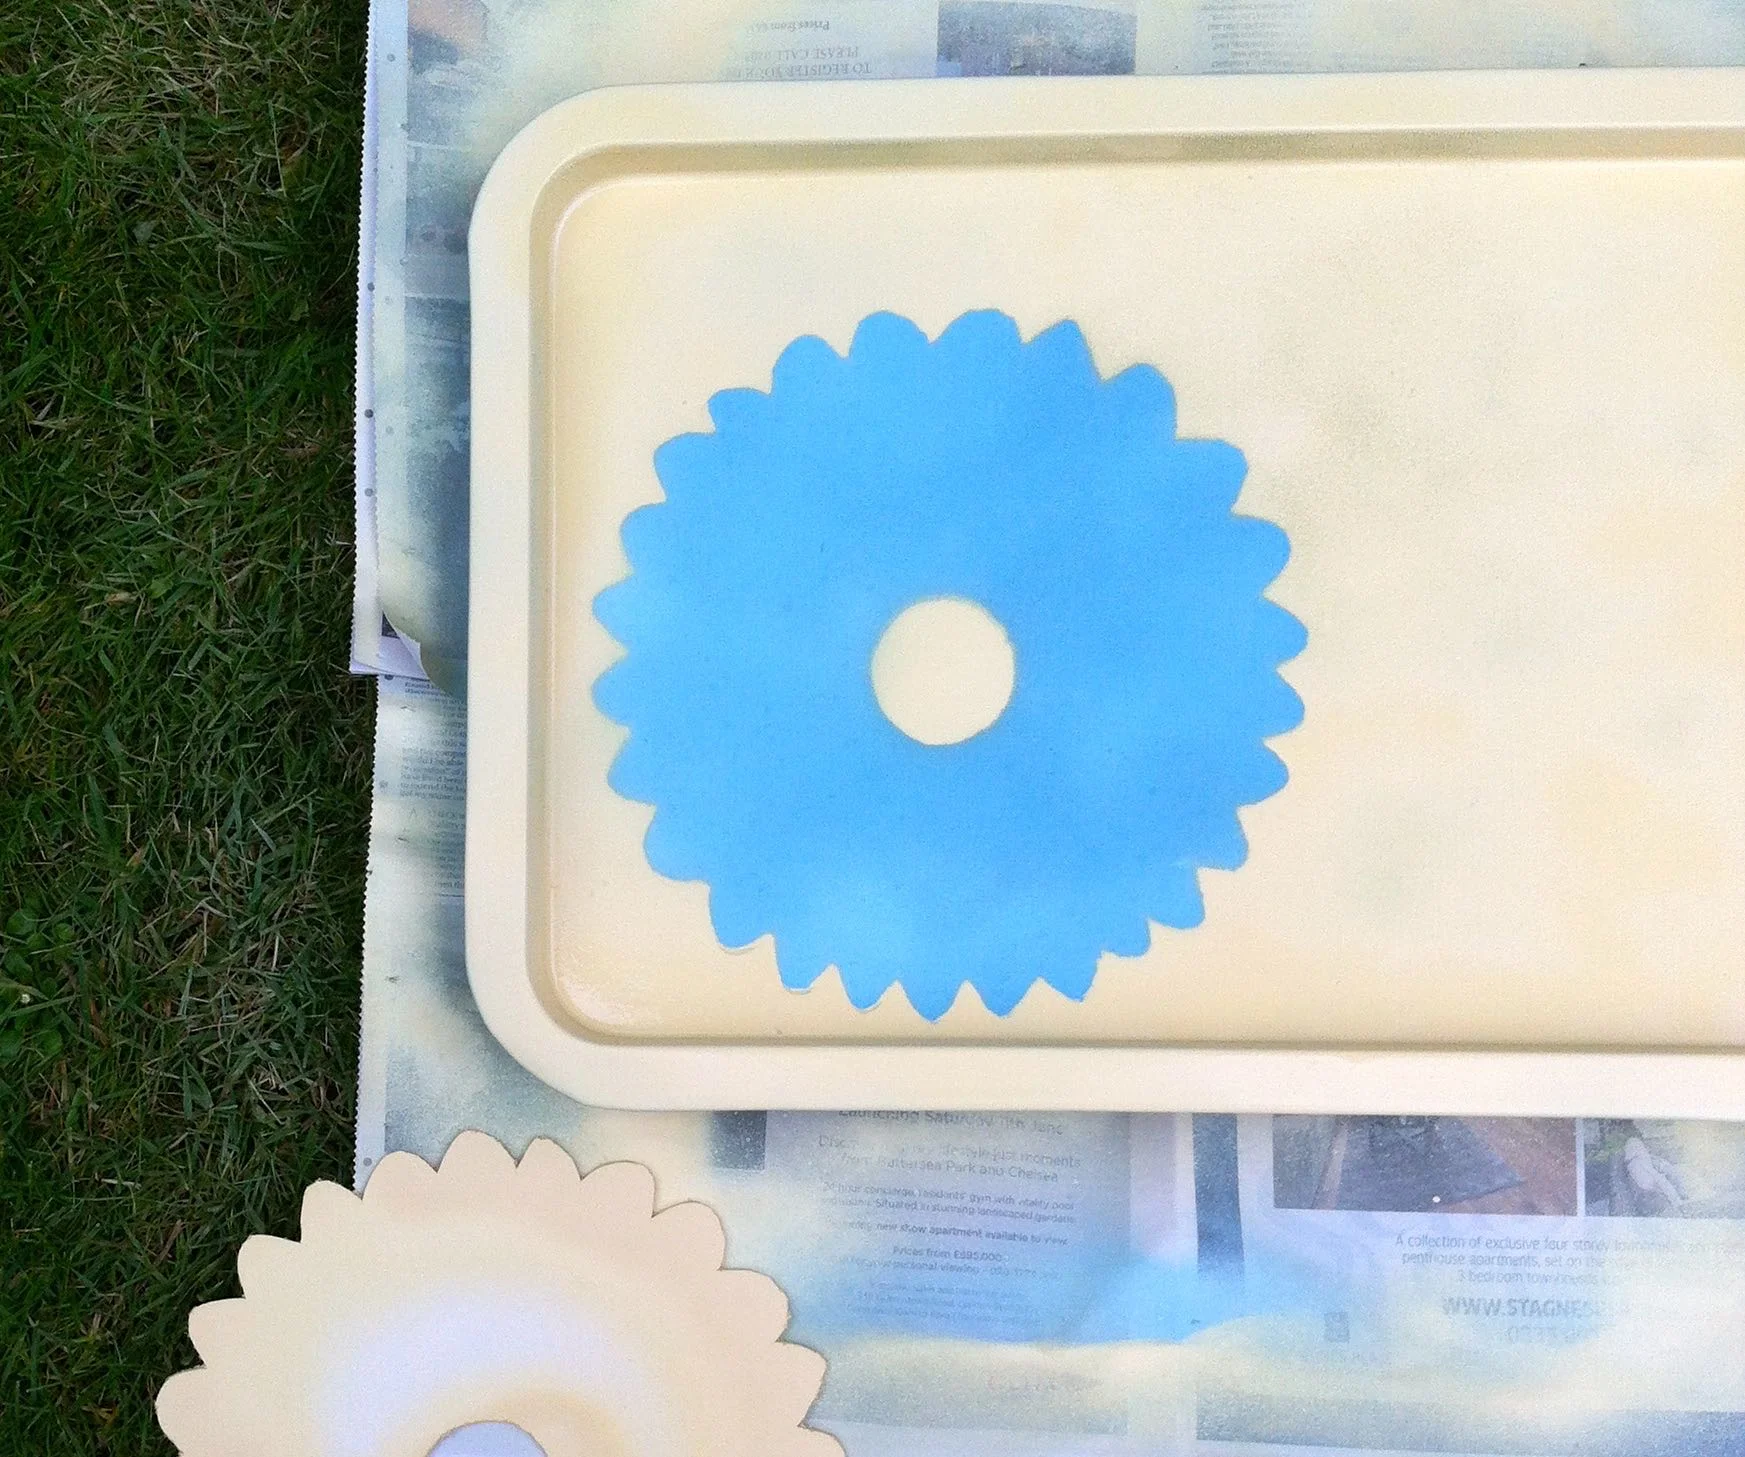
So having tried the yellow, I was keen to spray my design.  Another reason for choosing to block out the blue in this way was that I thought it would leave a cleaner line.

Adding the design to the font of the tray, spraying in mostardo Pinty Plus Chalk Paint Spray
Removing the template to reveal the blue flower shape

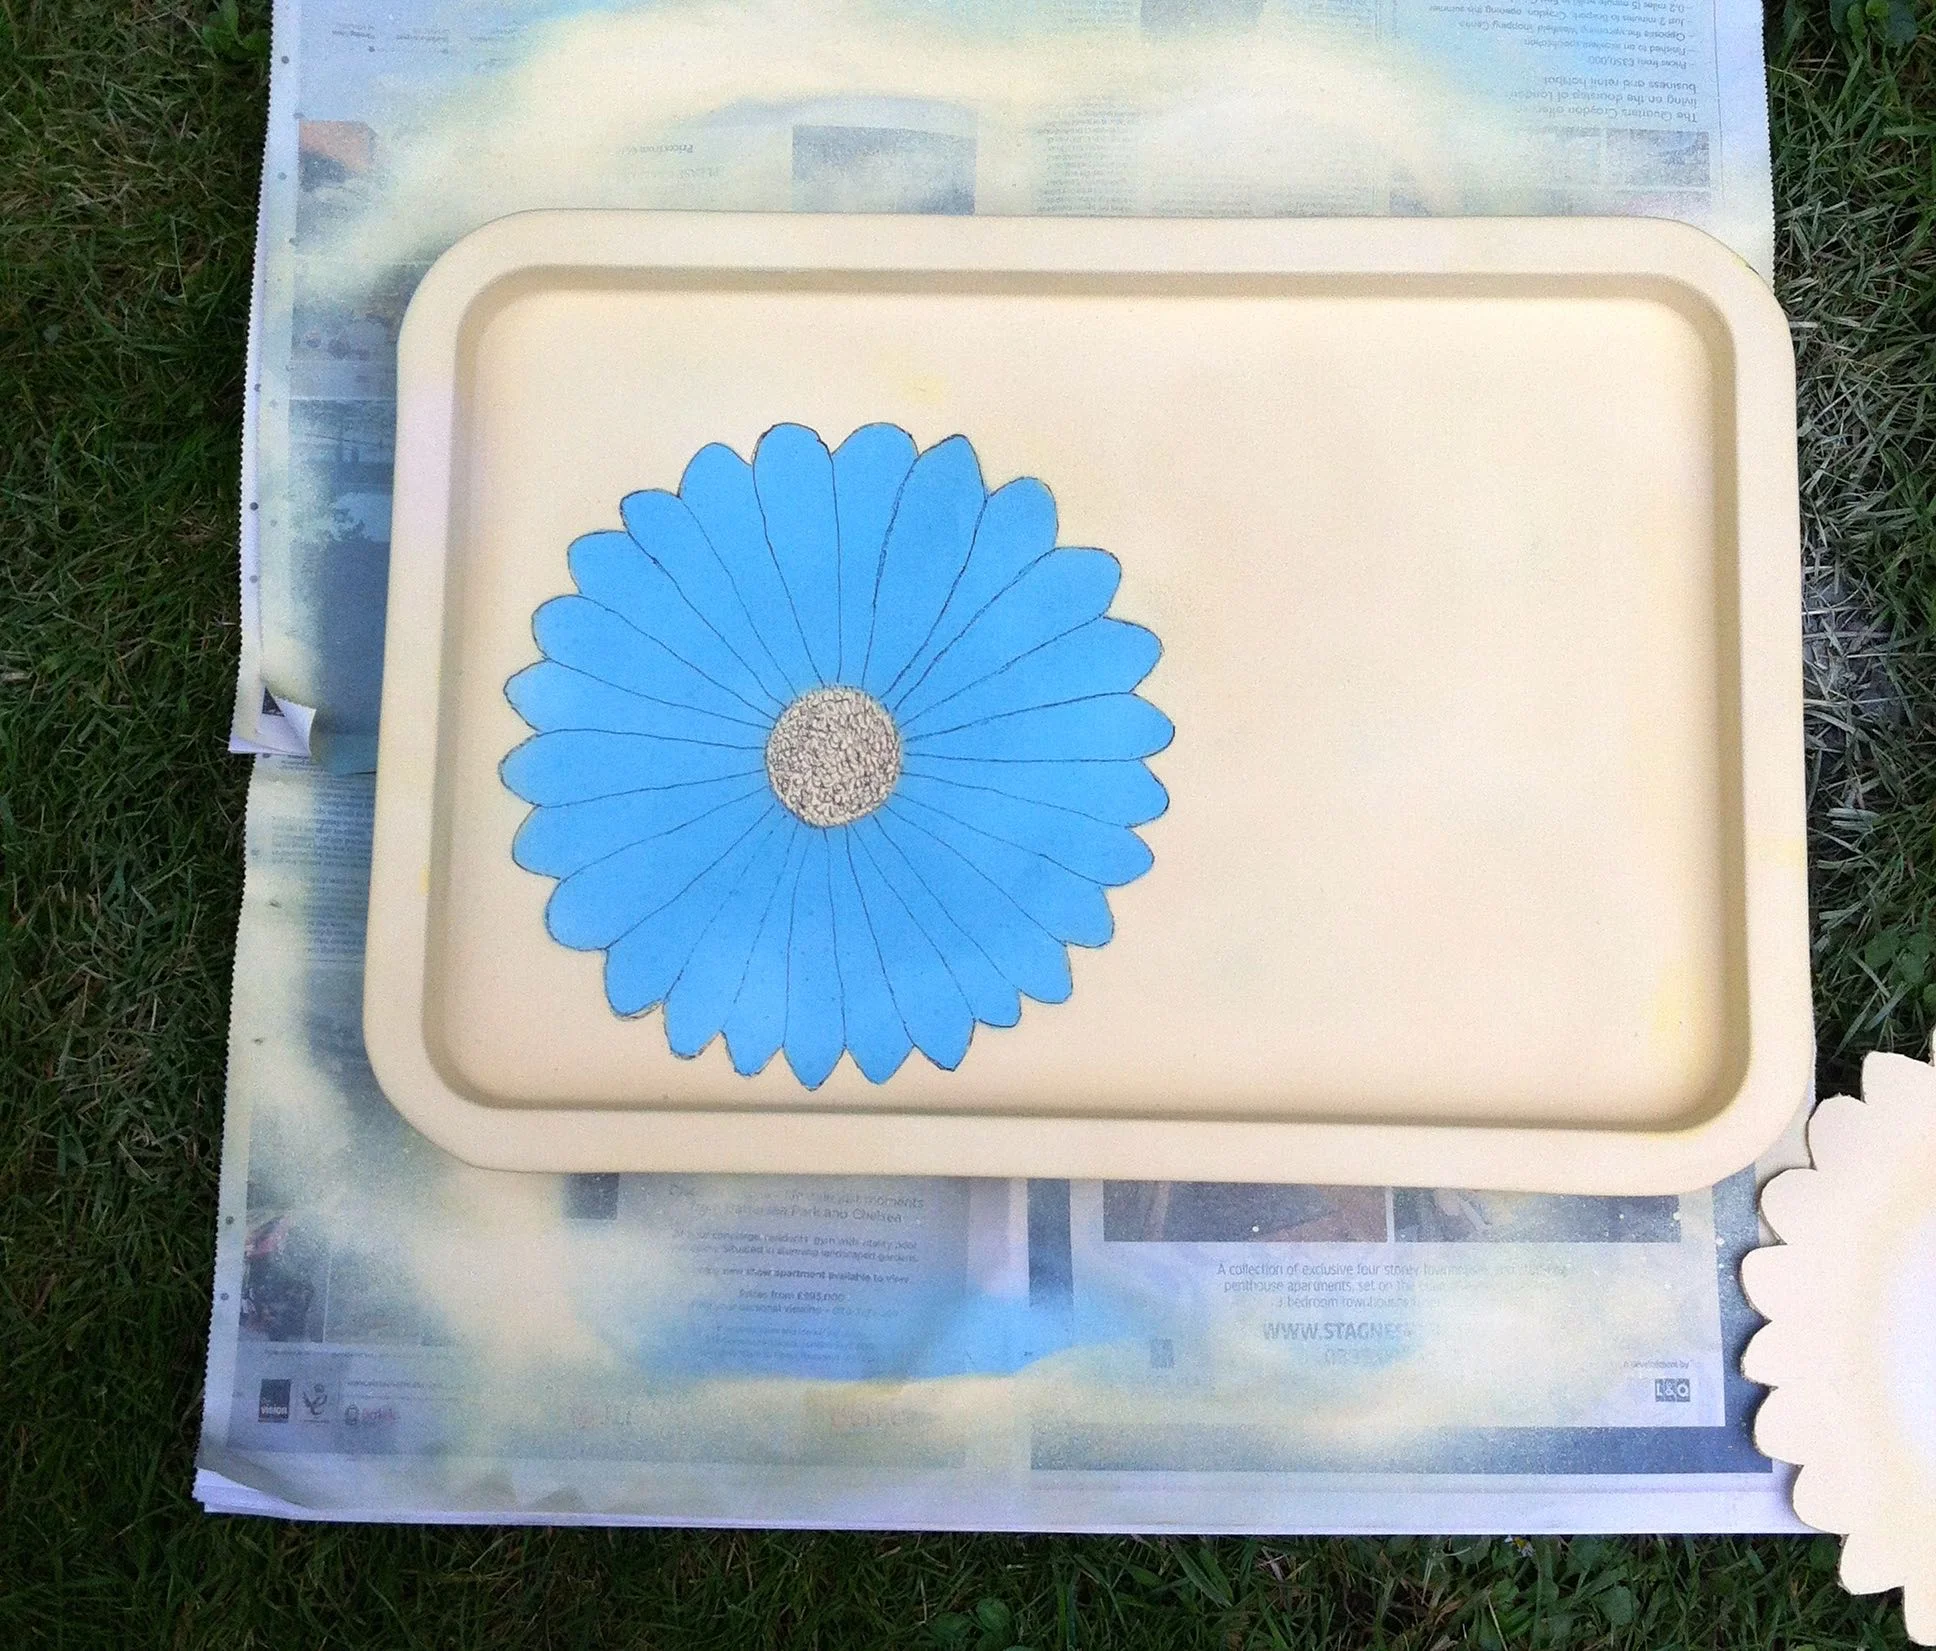
And it turned out well.  But I thought it needed more.  Don't you agree?

So out came my fine line black pen and I drew freehand around the petals, and added some texture to the middle.  The lines aren't perfect - and that's ok - but don't they make a difference?

Adding depth and definition to my blue daisy with a black pen

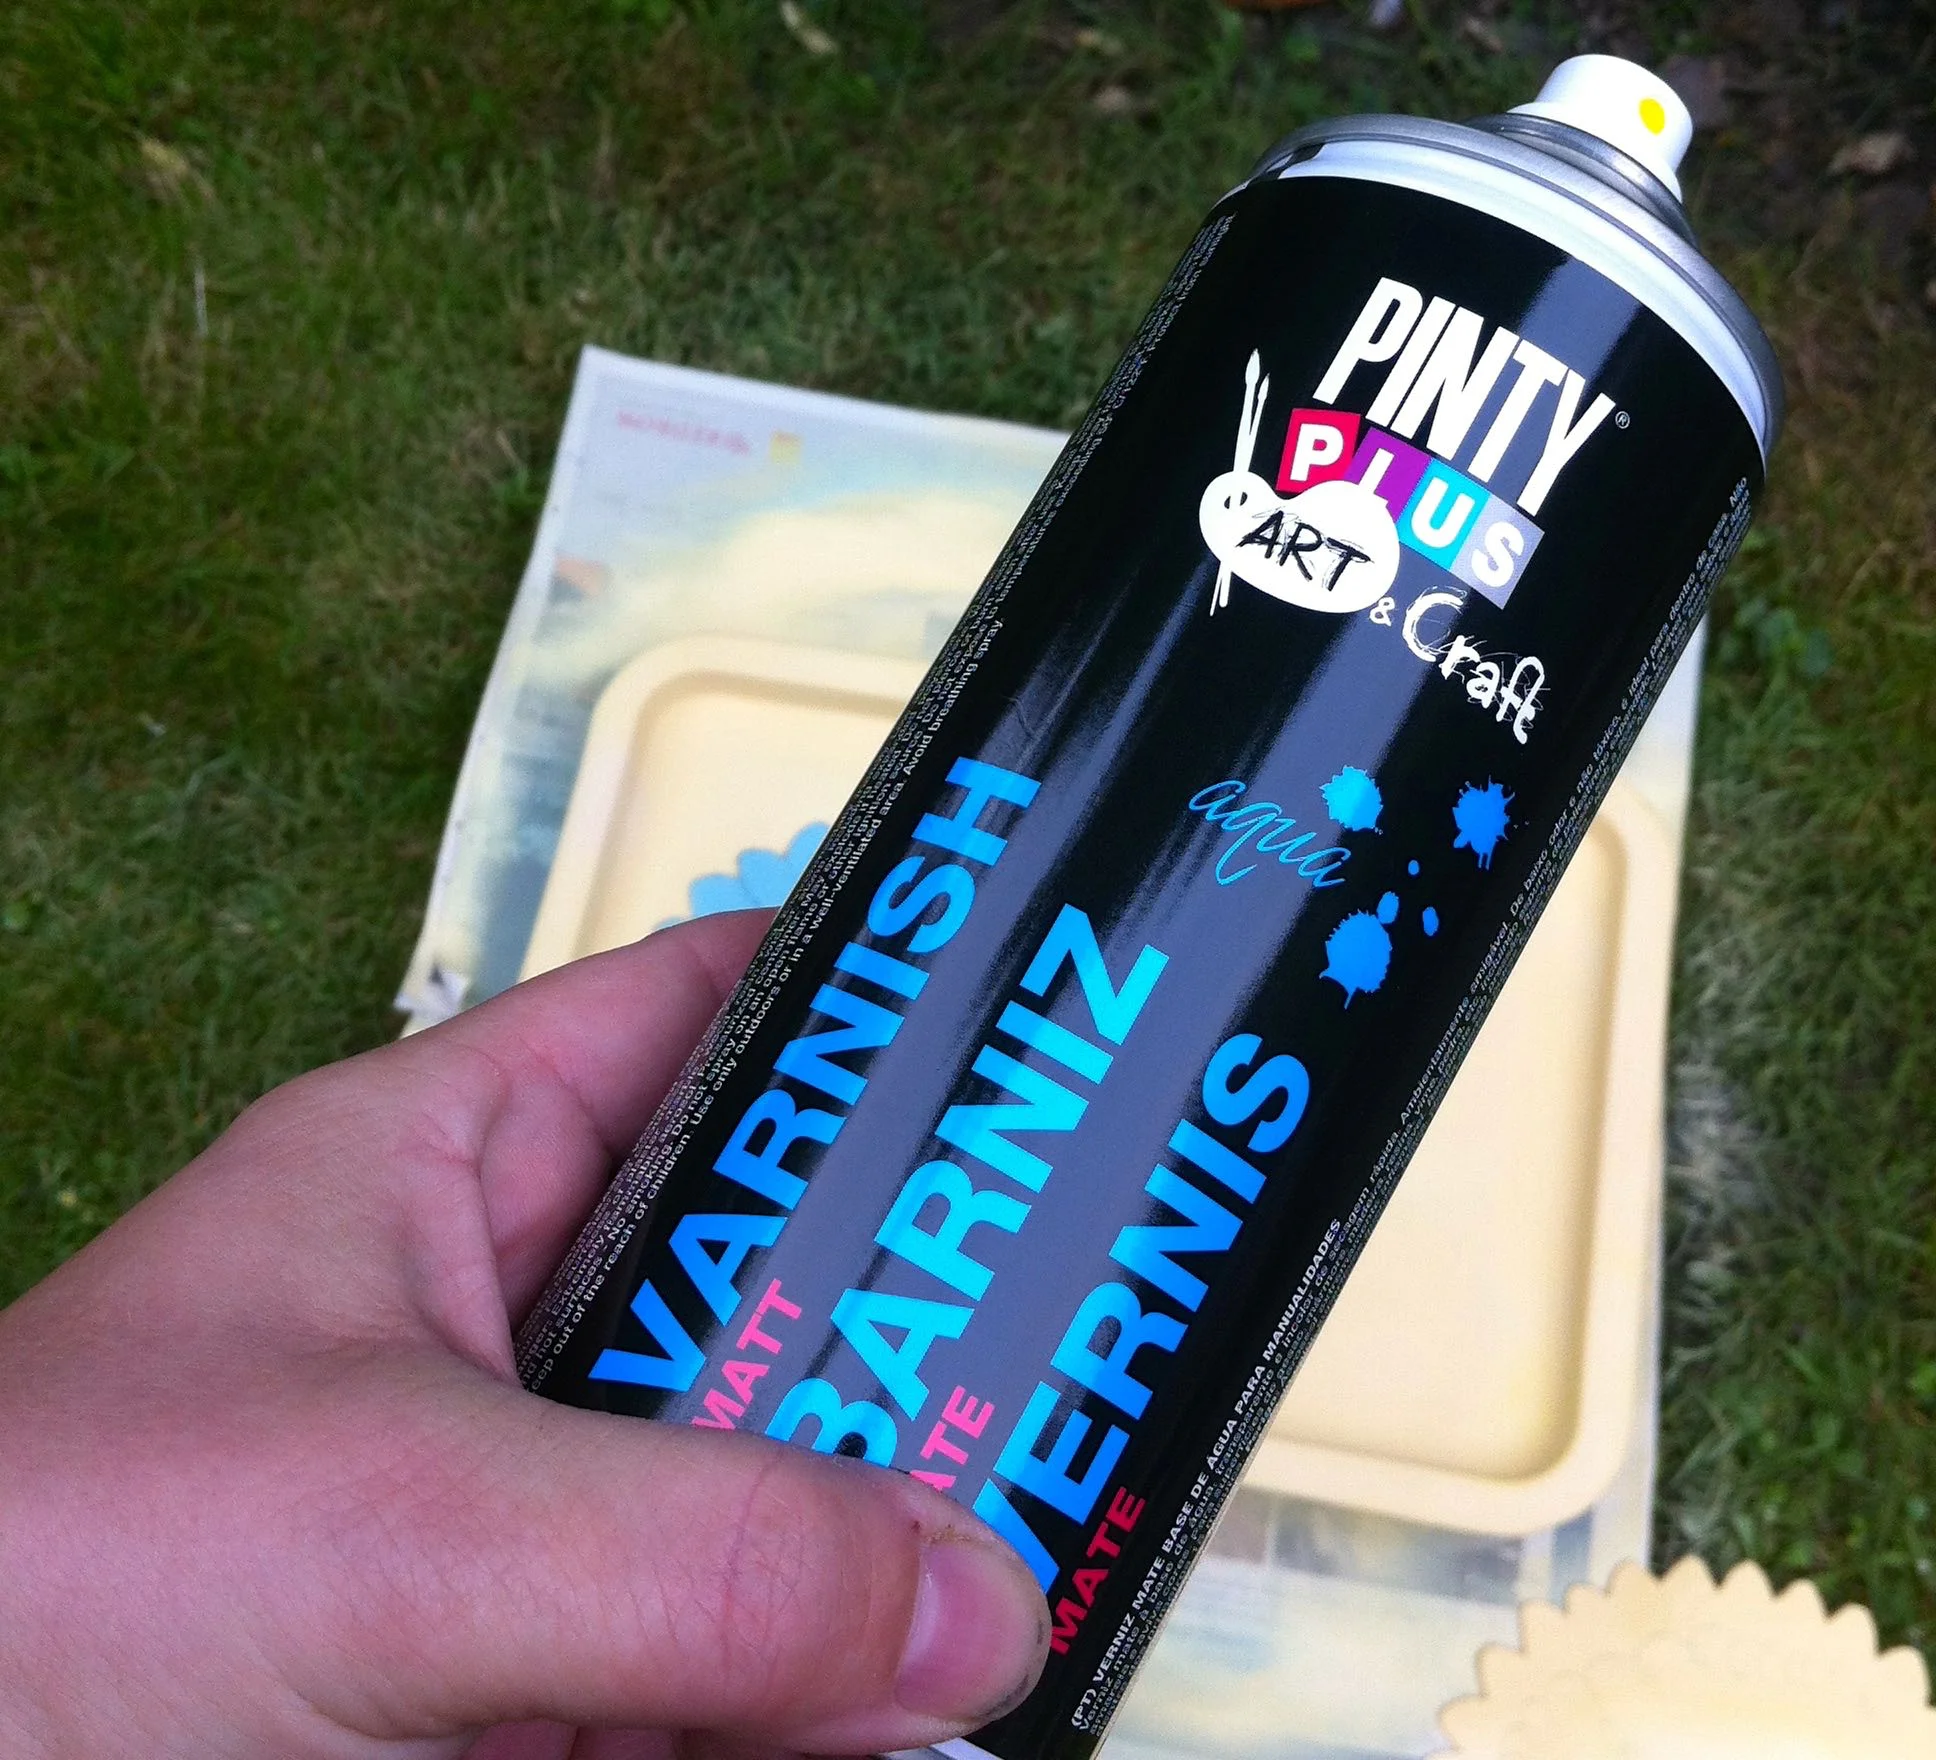
Now pleased with the depth and detail added with a simple black pen I wanted to seal the tray. For this I used the Pinty Plus Matt Varnish, which was equally easy to use. And I think it has deepened the colours a little.  

As my tray is likely to be in use much more often now I think it was important to varnish it. I didn't use this on the sewing stool because when I'd completed it I didn't think it needed it.  

Pinty Plus Matt Varnish Spray

So there you have it, a tray transformed! 

Close-up of the completed daisy

What do you think?

The Pinty Plus Chalk Spray Paint is available from the Novasol Spray website, each 400ml can of Chalk Paint Spray and Matt Varnish costs £11.50.


This is a collaborative post with Novasol Spray who provided me with the materials for this project, but all words and opinions are my own.

Happy and Home at A Residence blog

Giving my sewing box a new lease of life

When Clare from Maybush Studio got in touch about getting involved with a project using Chalk Paint Spray I couldn't tell you how keen I was. I've been wary about using chalk paint because I thought it couldn't be as good as everyone says and I was tempted to see how it worked as a spray.

I also had the perfect project in mind.

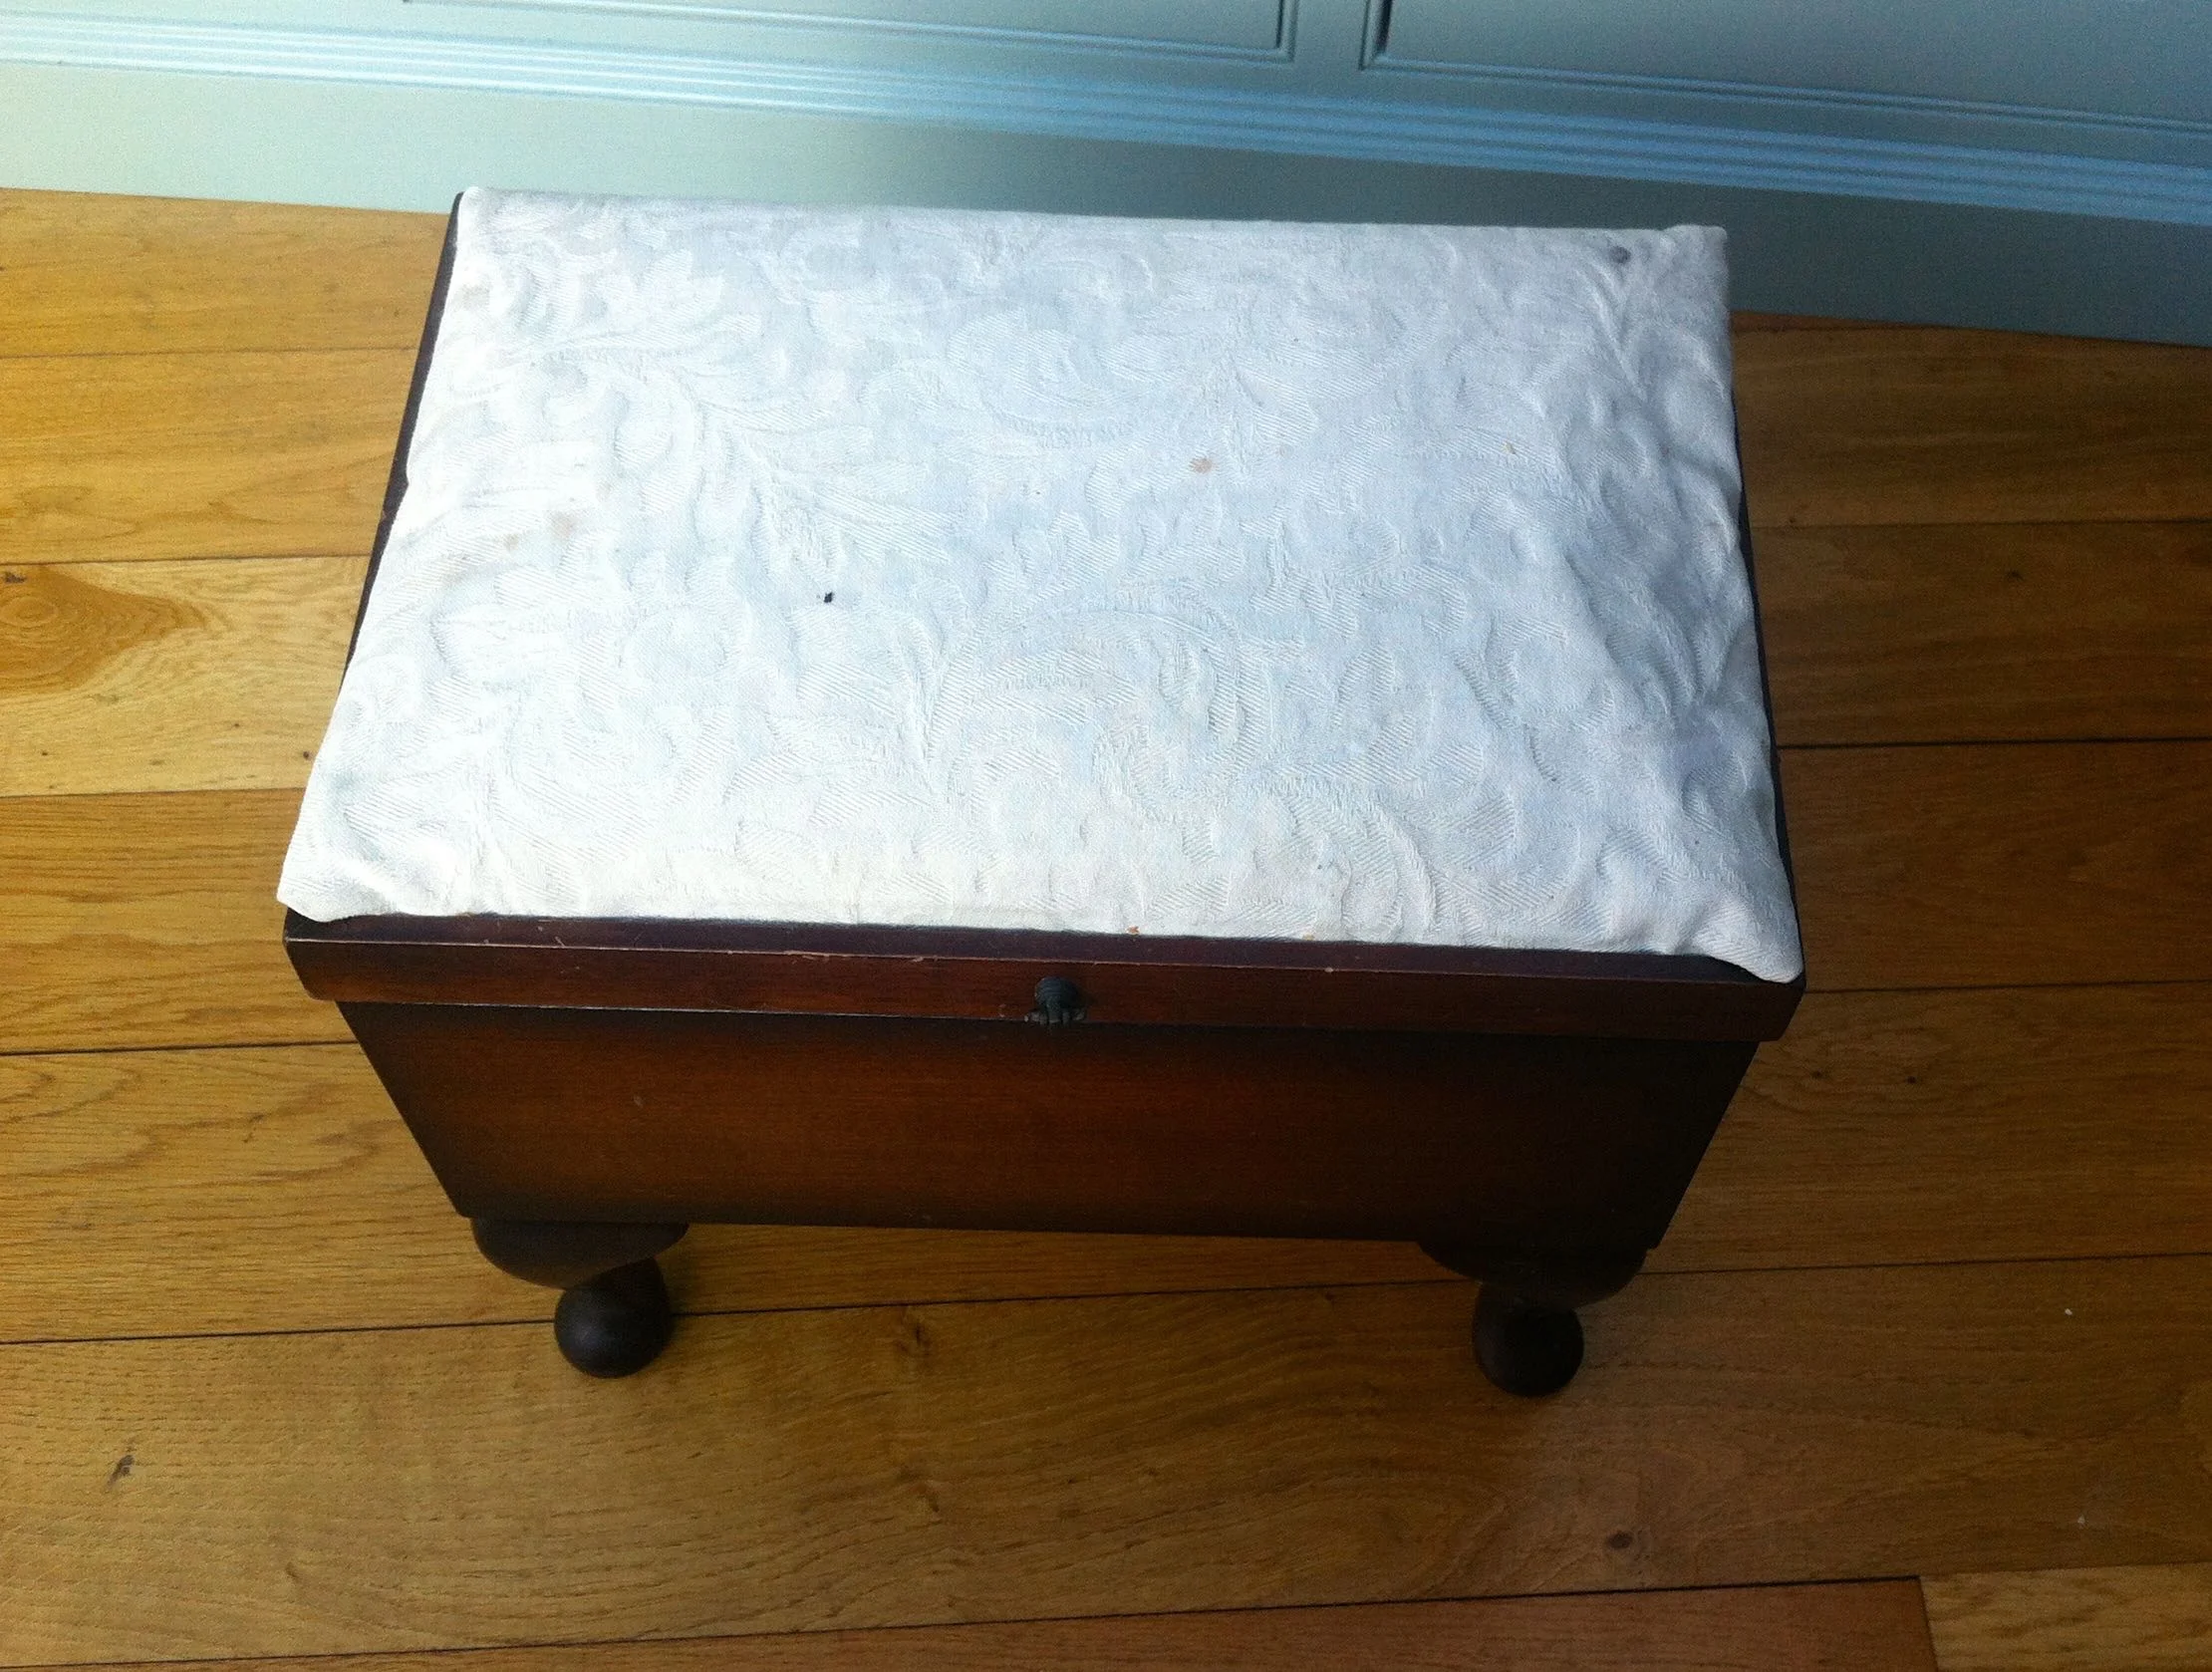
I've had this sewing stool for many years and for a while now it's been relegated to our conservatory and was one of the things I planned to get rid of in my 2016 items in 2016.  But I knew it'd be perfect for this so it was promptly promoted to My Next Project!

BEFORE

BEFORE

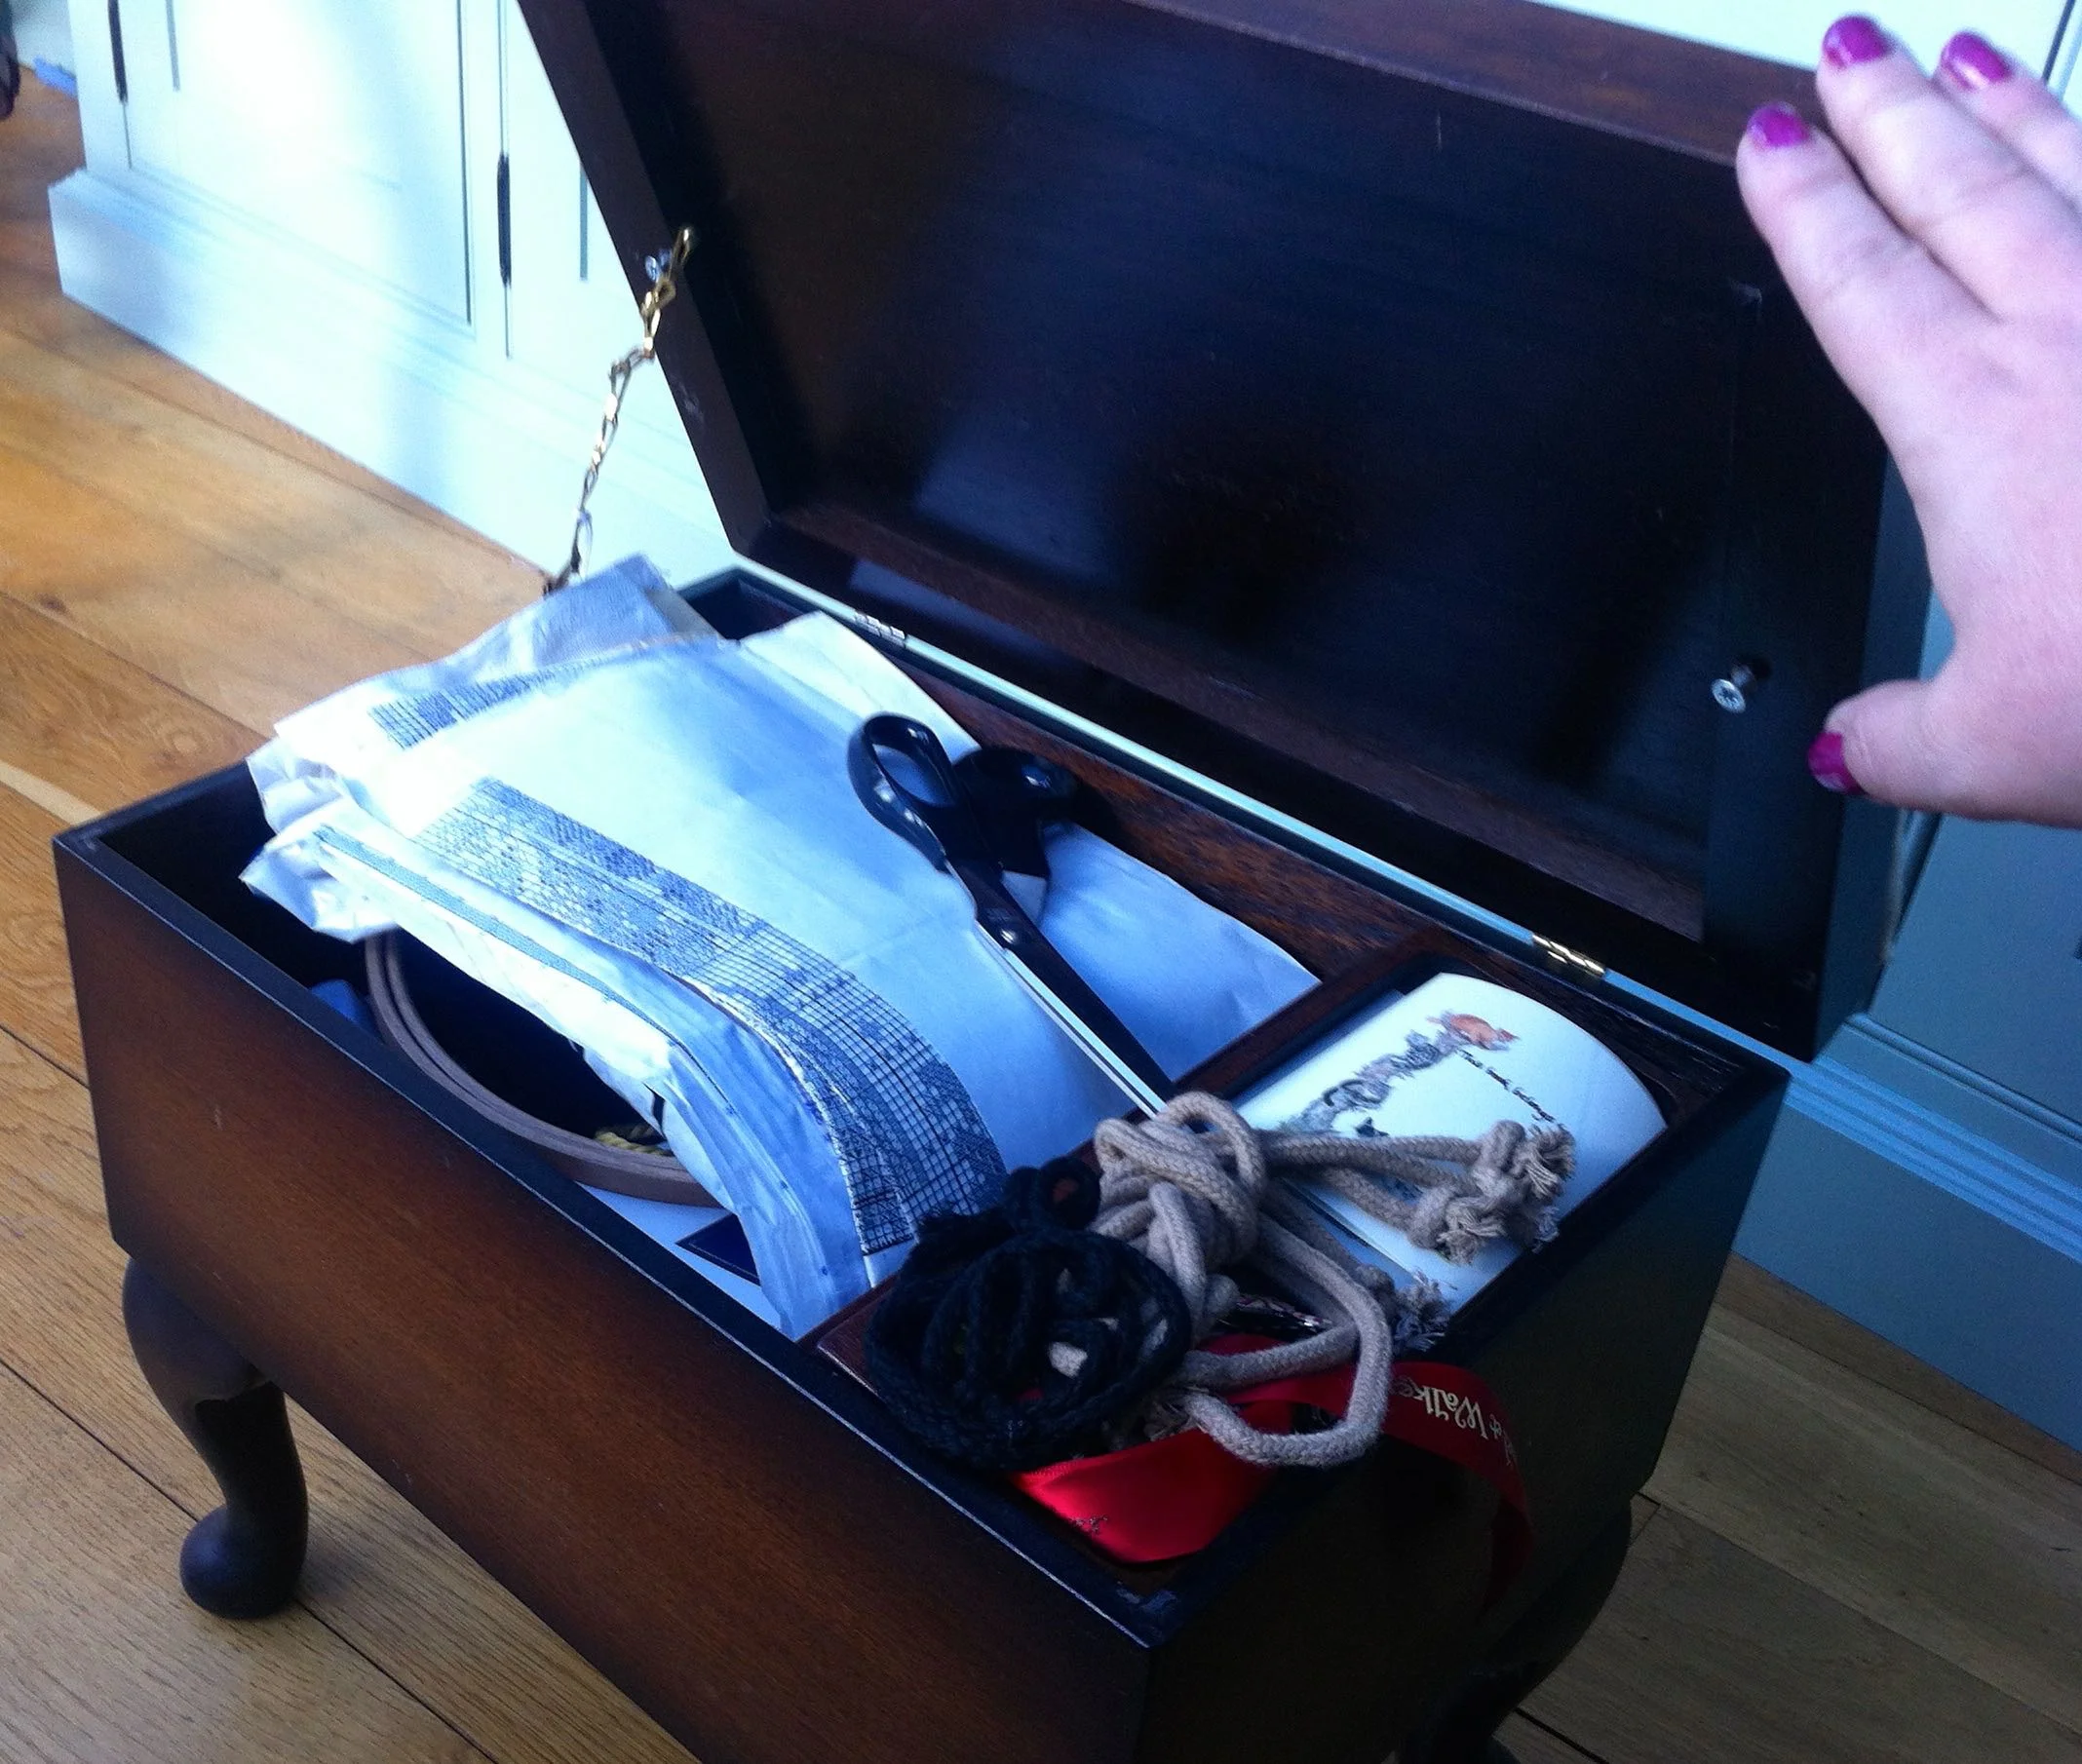
AND FULL OF STUFF...

AND FULL OF STUFF...

First though I had to empty it. It was stuffed full of stuff - most of it craft-related but also randomly a runner for the table. I wondered where that had gone...

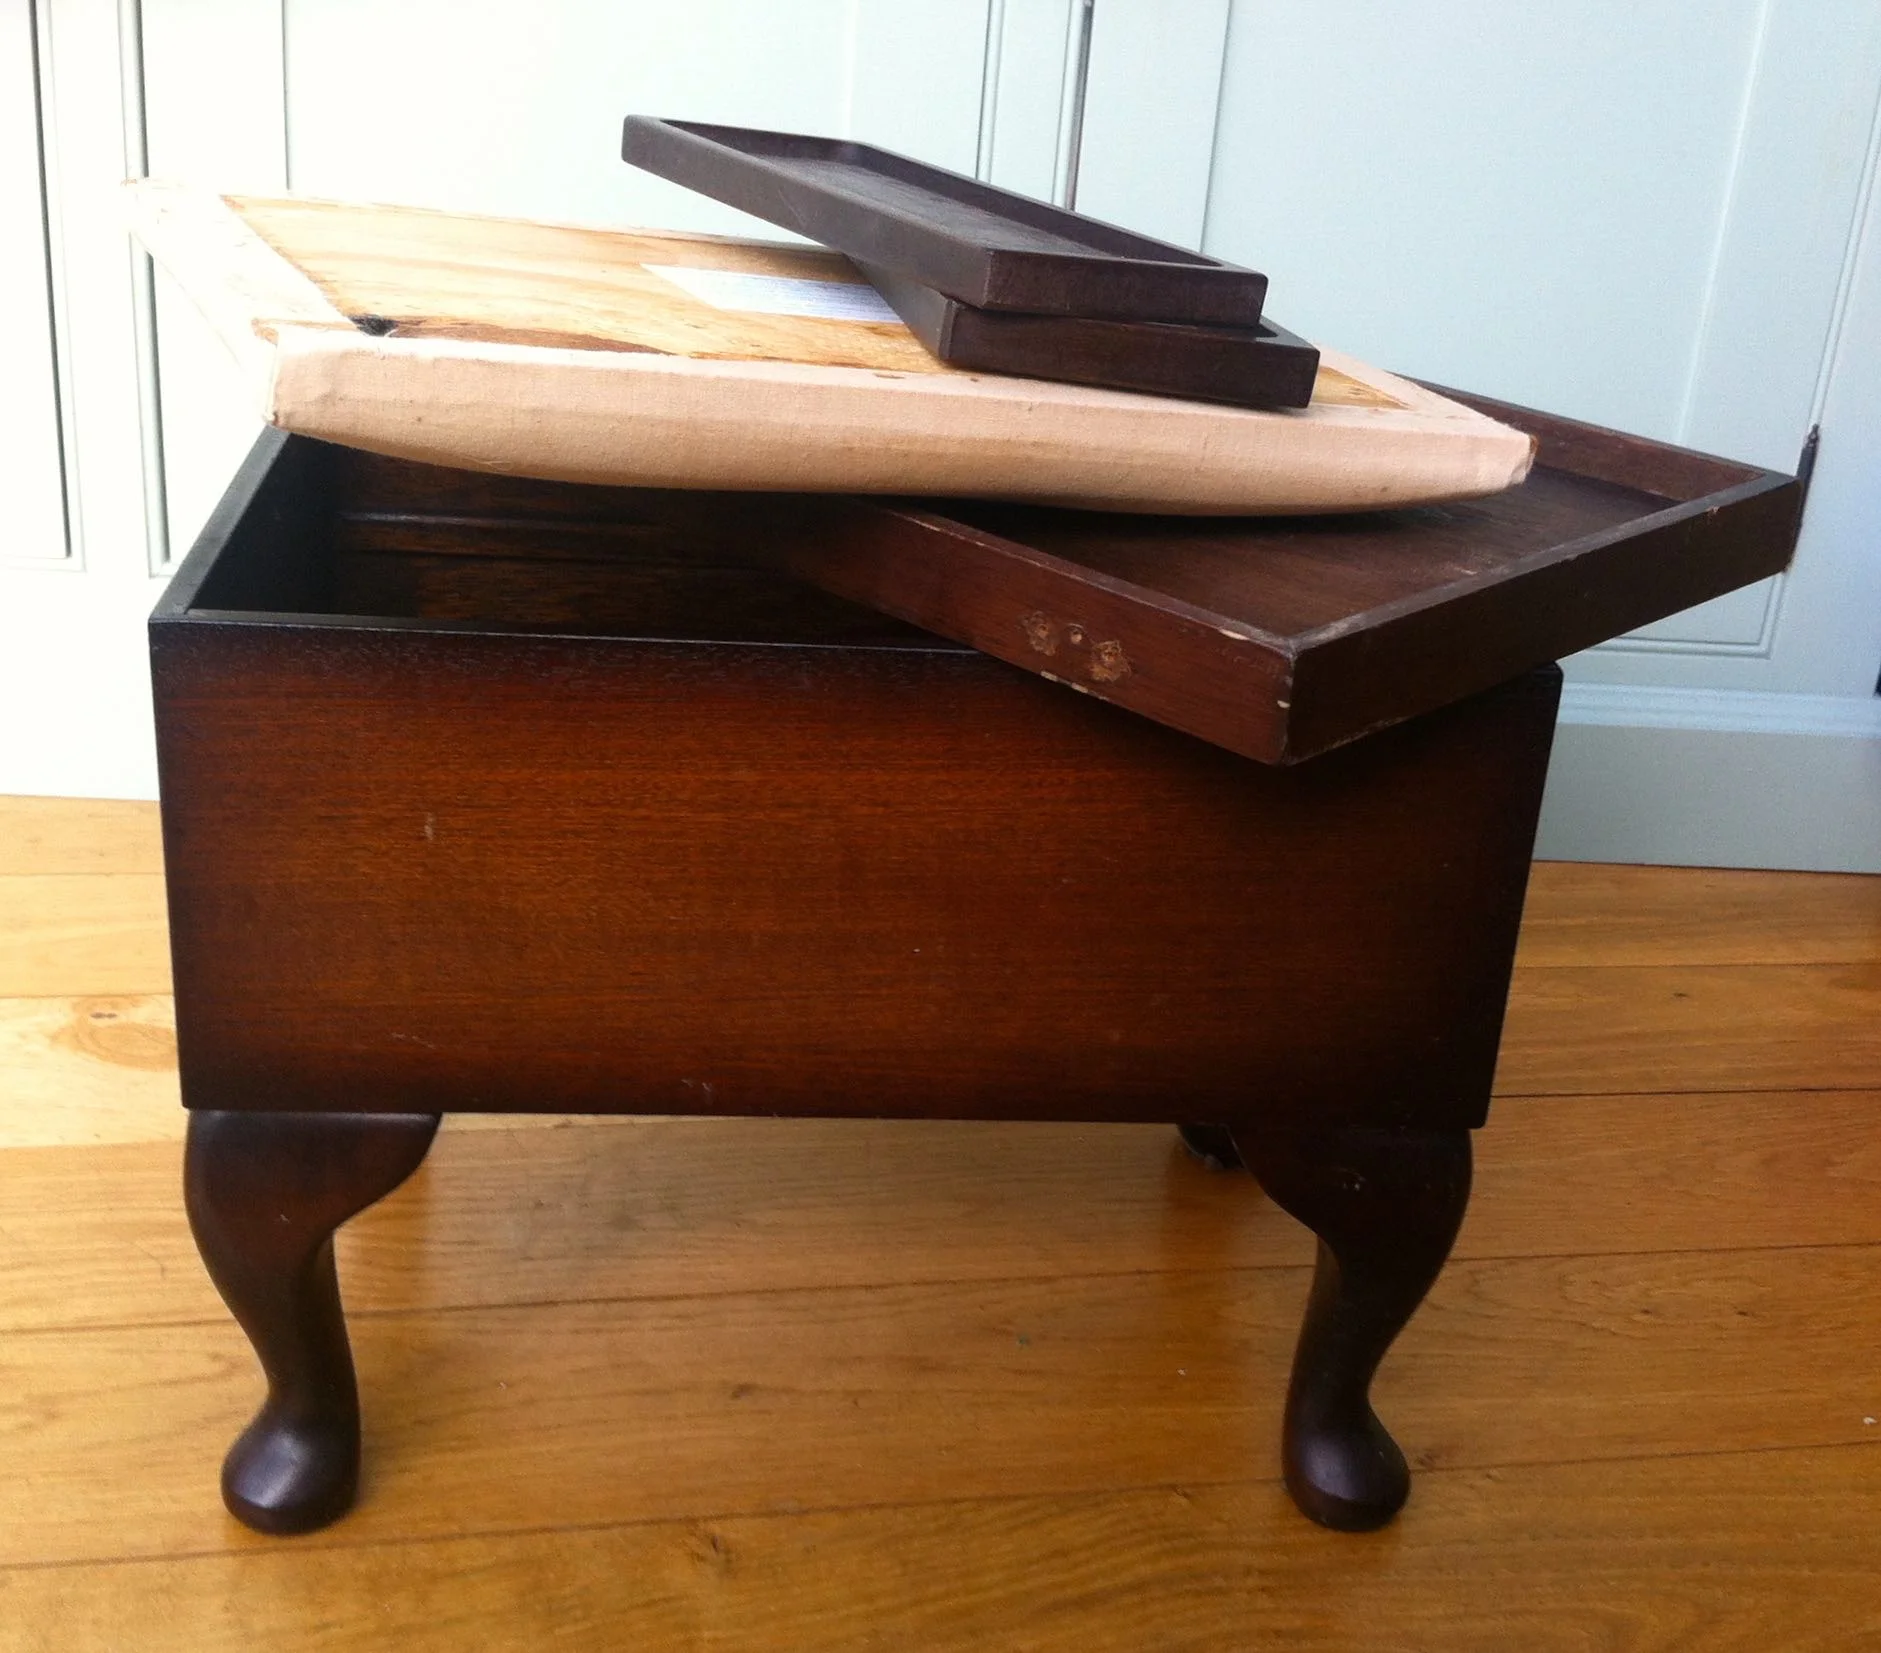
With it emptied I dismantled it, removing the cushion pad, its cover, the hinges and other ironmongery.

DISMANTLED!

DISMANTLED!

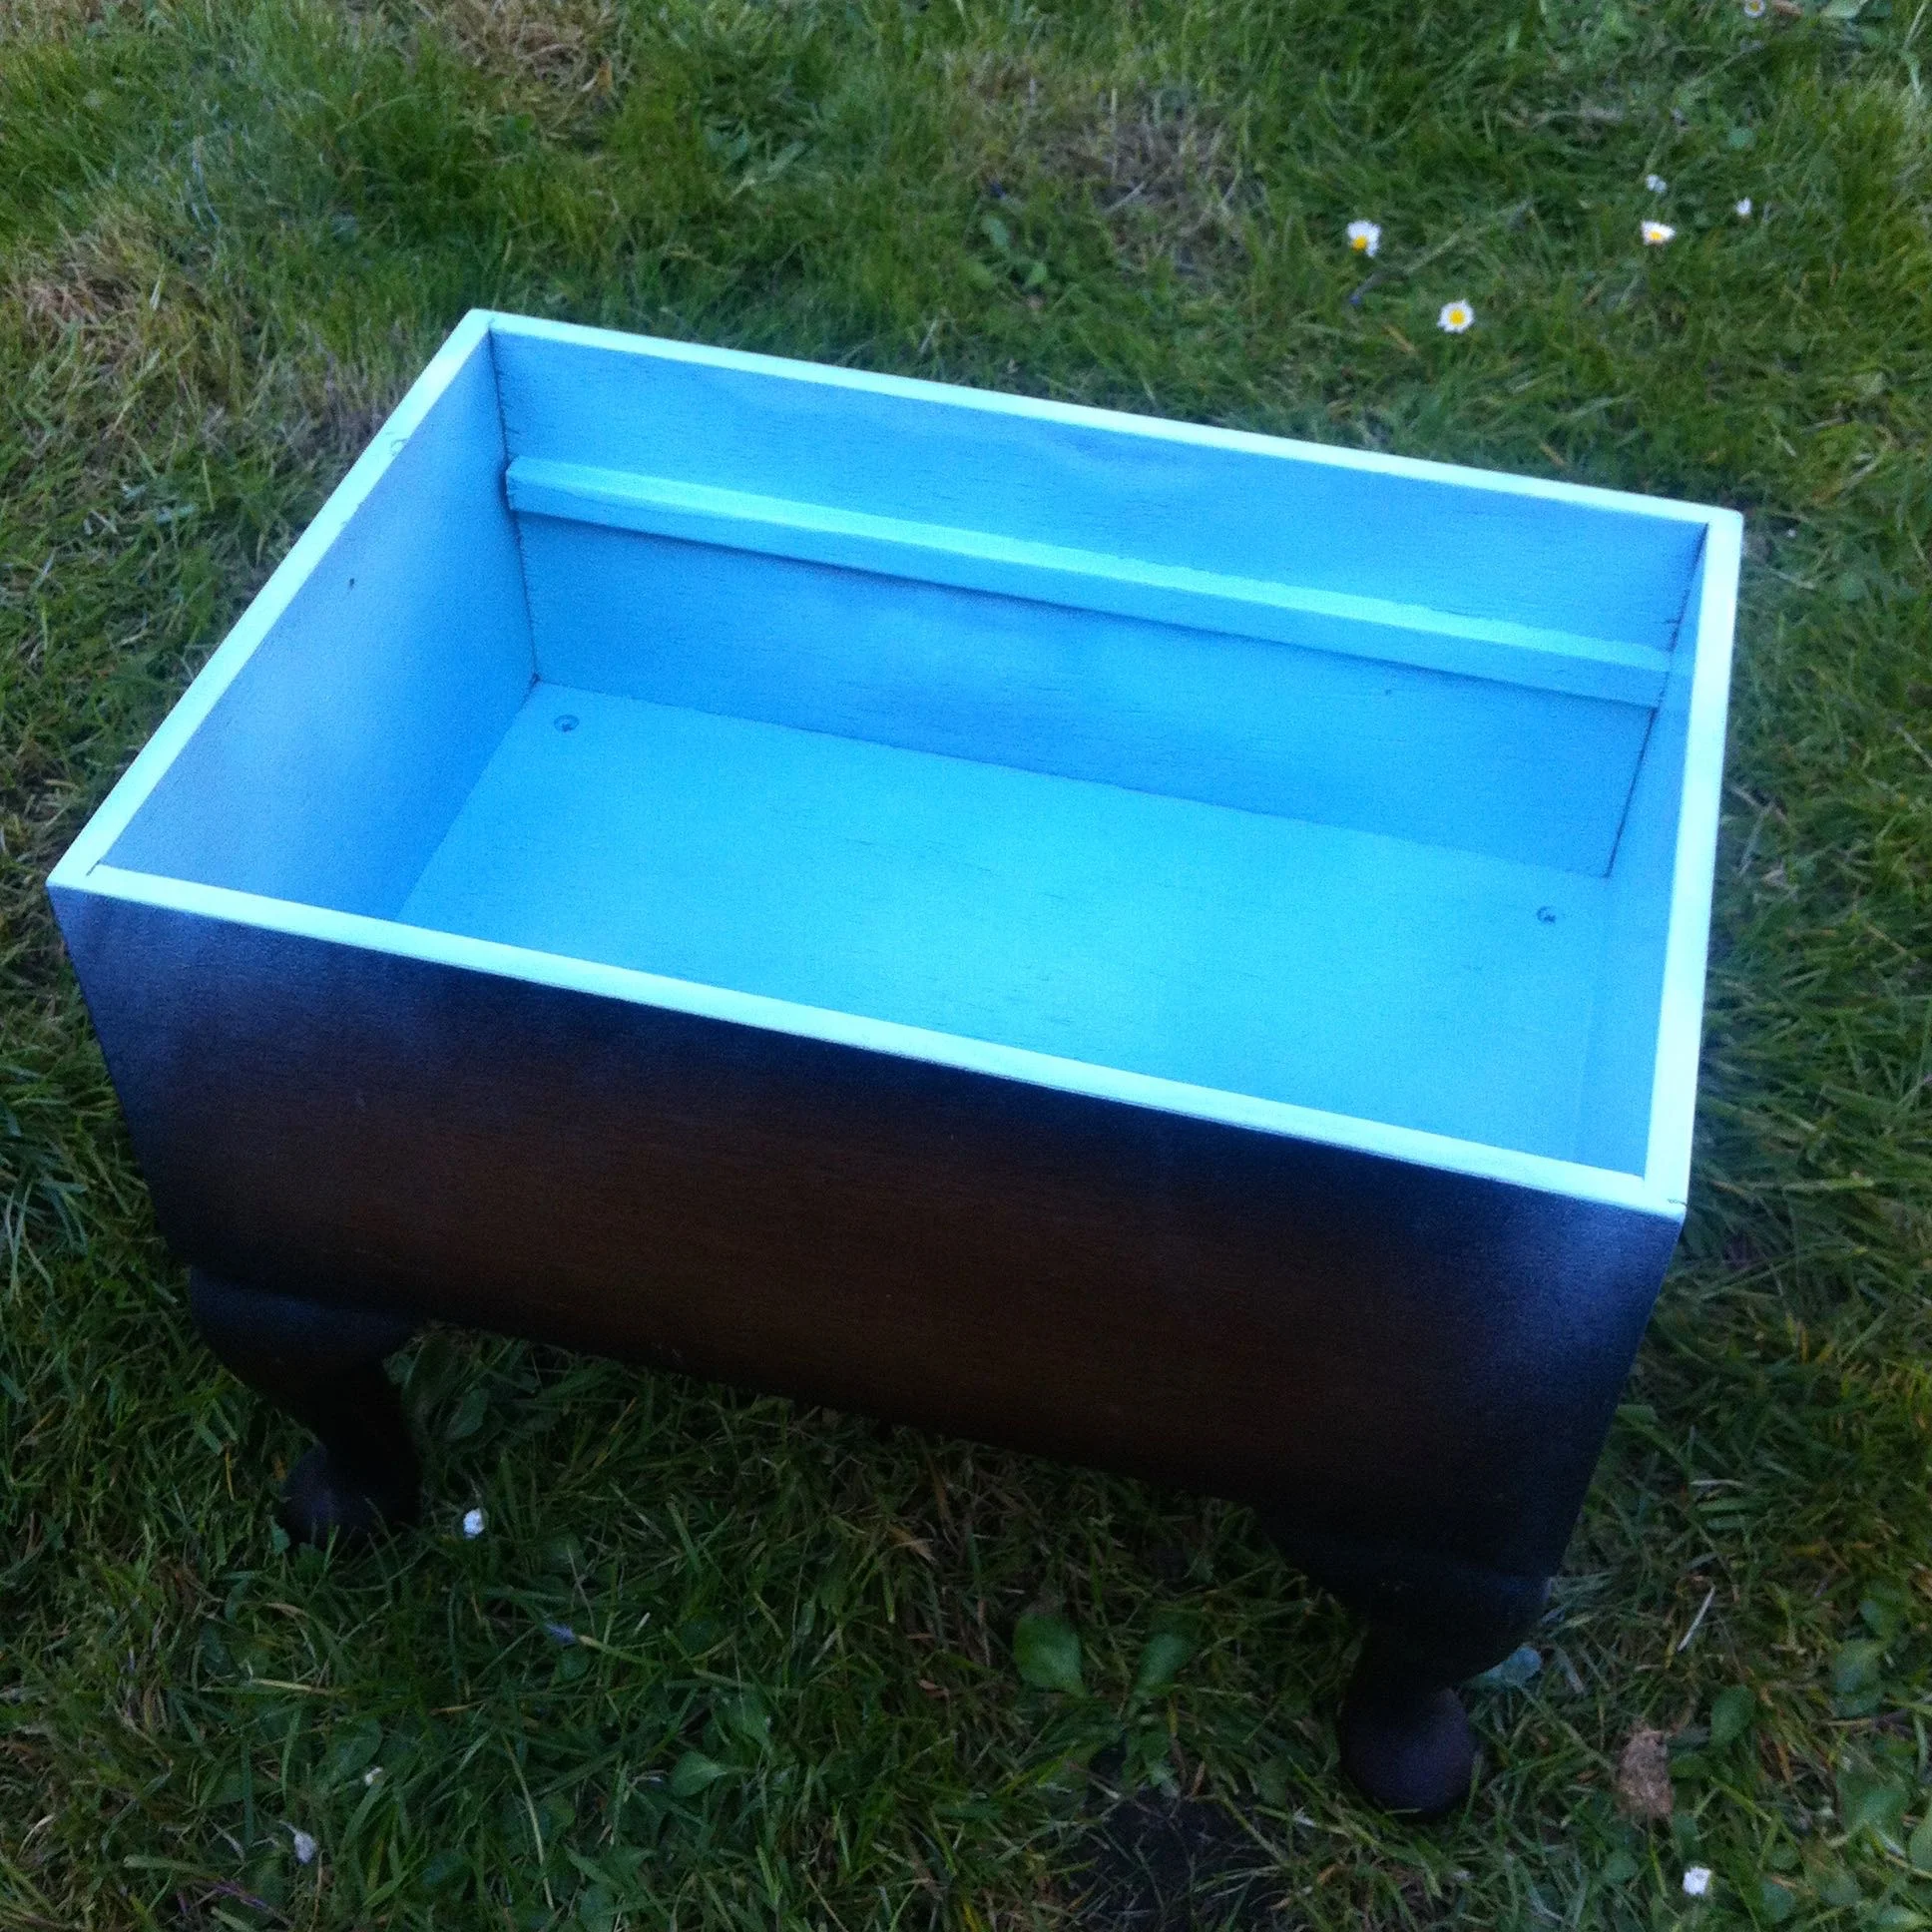
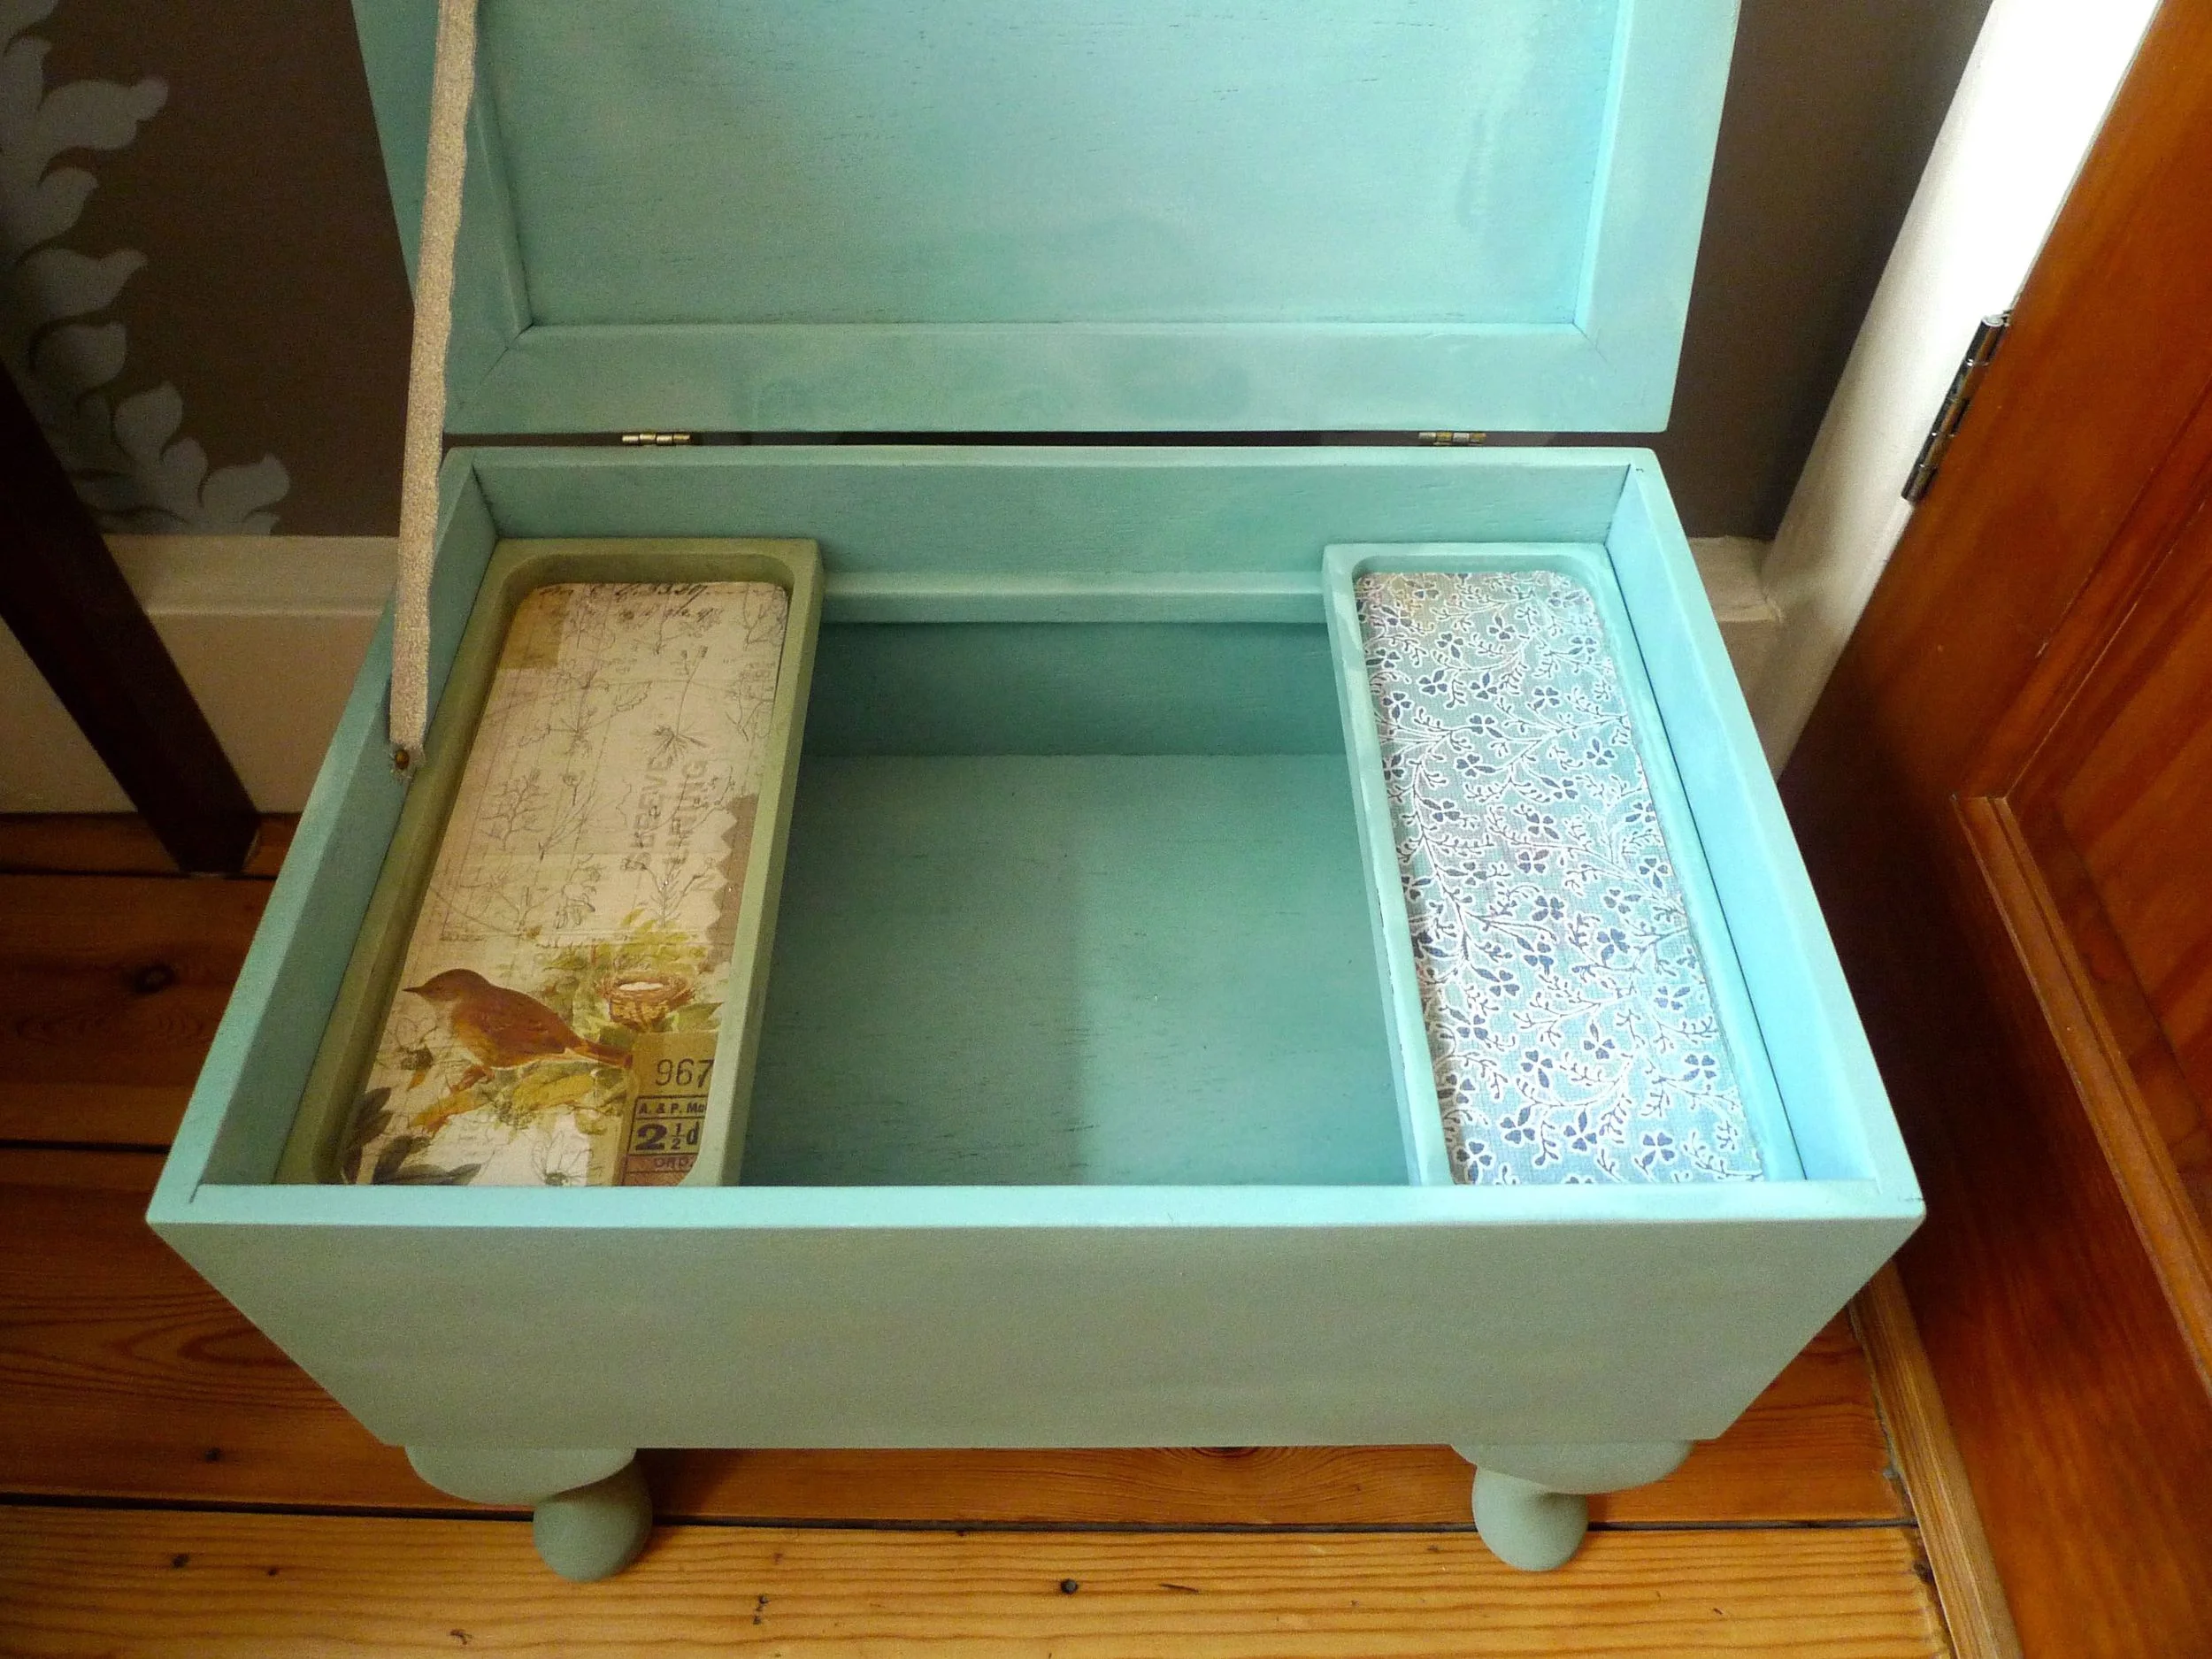
I was keen to get started and I was also keen to see how the colours I'd chosen would turn out.  I chose London Grey for the outside, and that is as I hoped a greeny-grey. For the inside I wanted something brighter and contrasting, so chose Light Turquoise.

I started small and sprayed the two removable trays, one in each colour.

It was really easy to do, and I couldn't help but start spraying some more.  It was easily touch-dry within twenty minutes. 

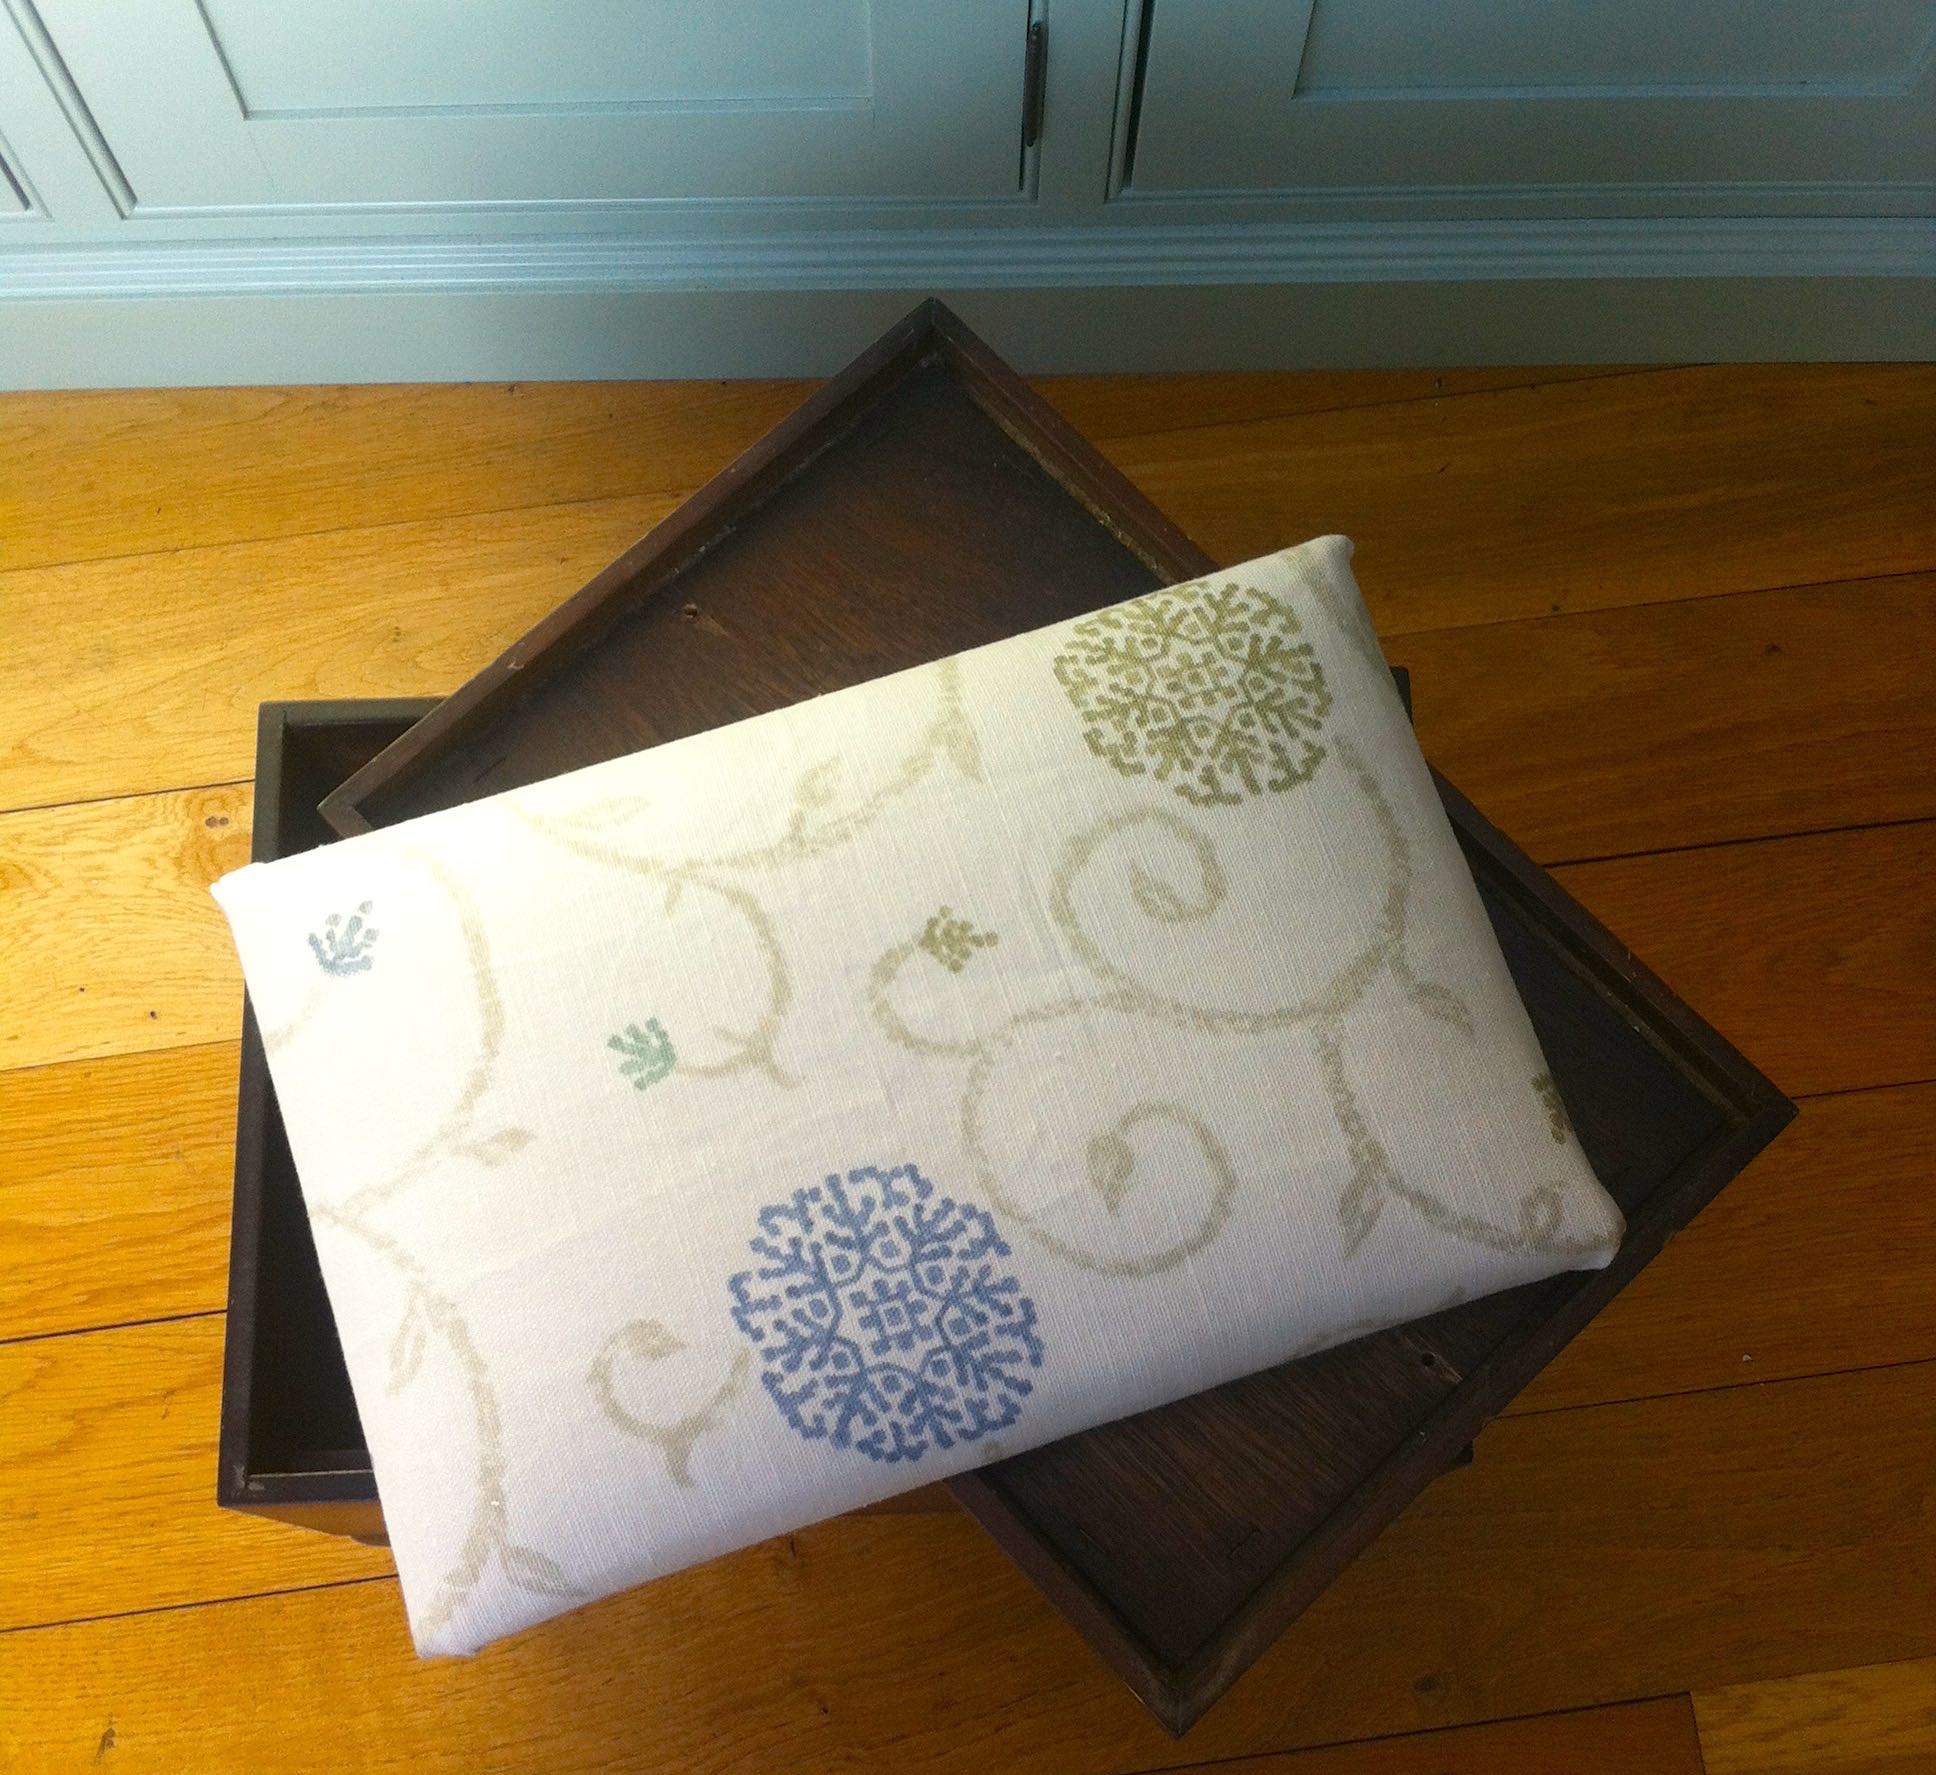
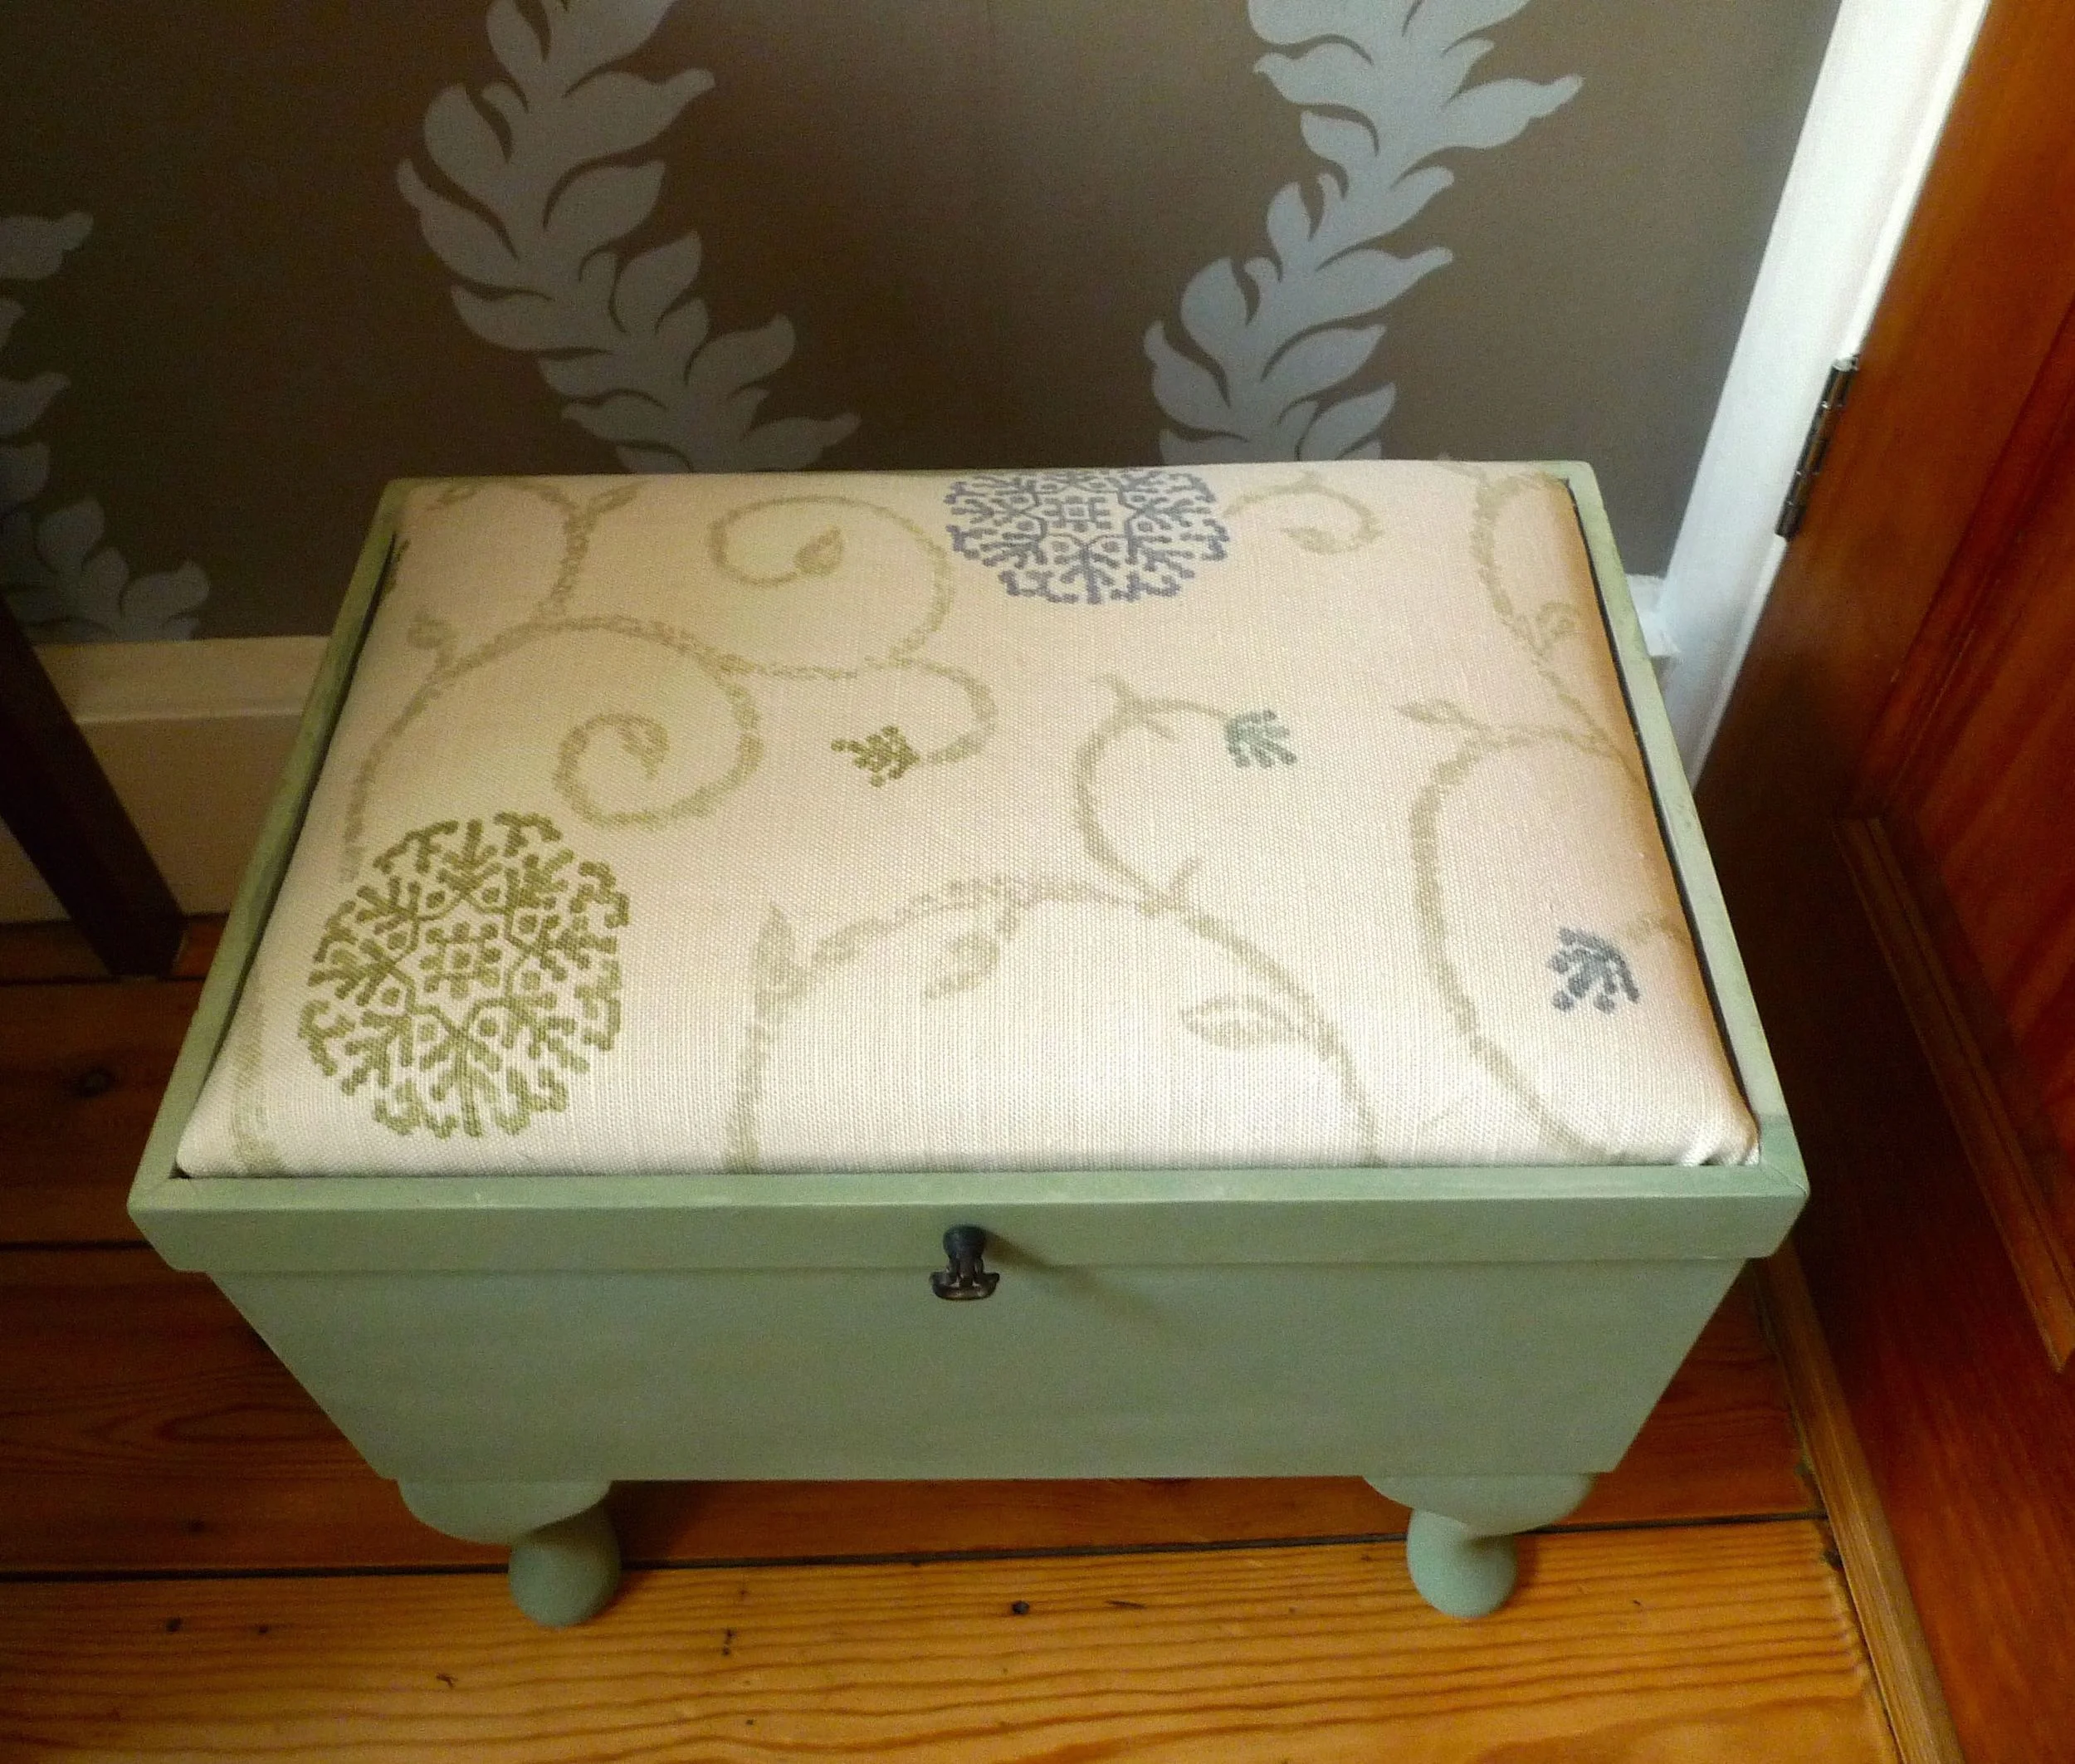
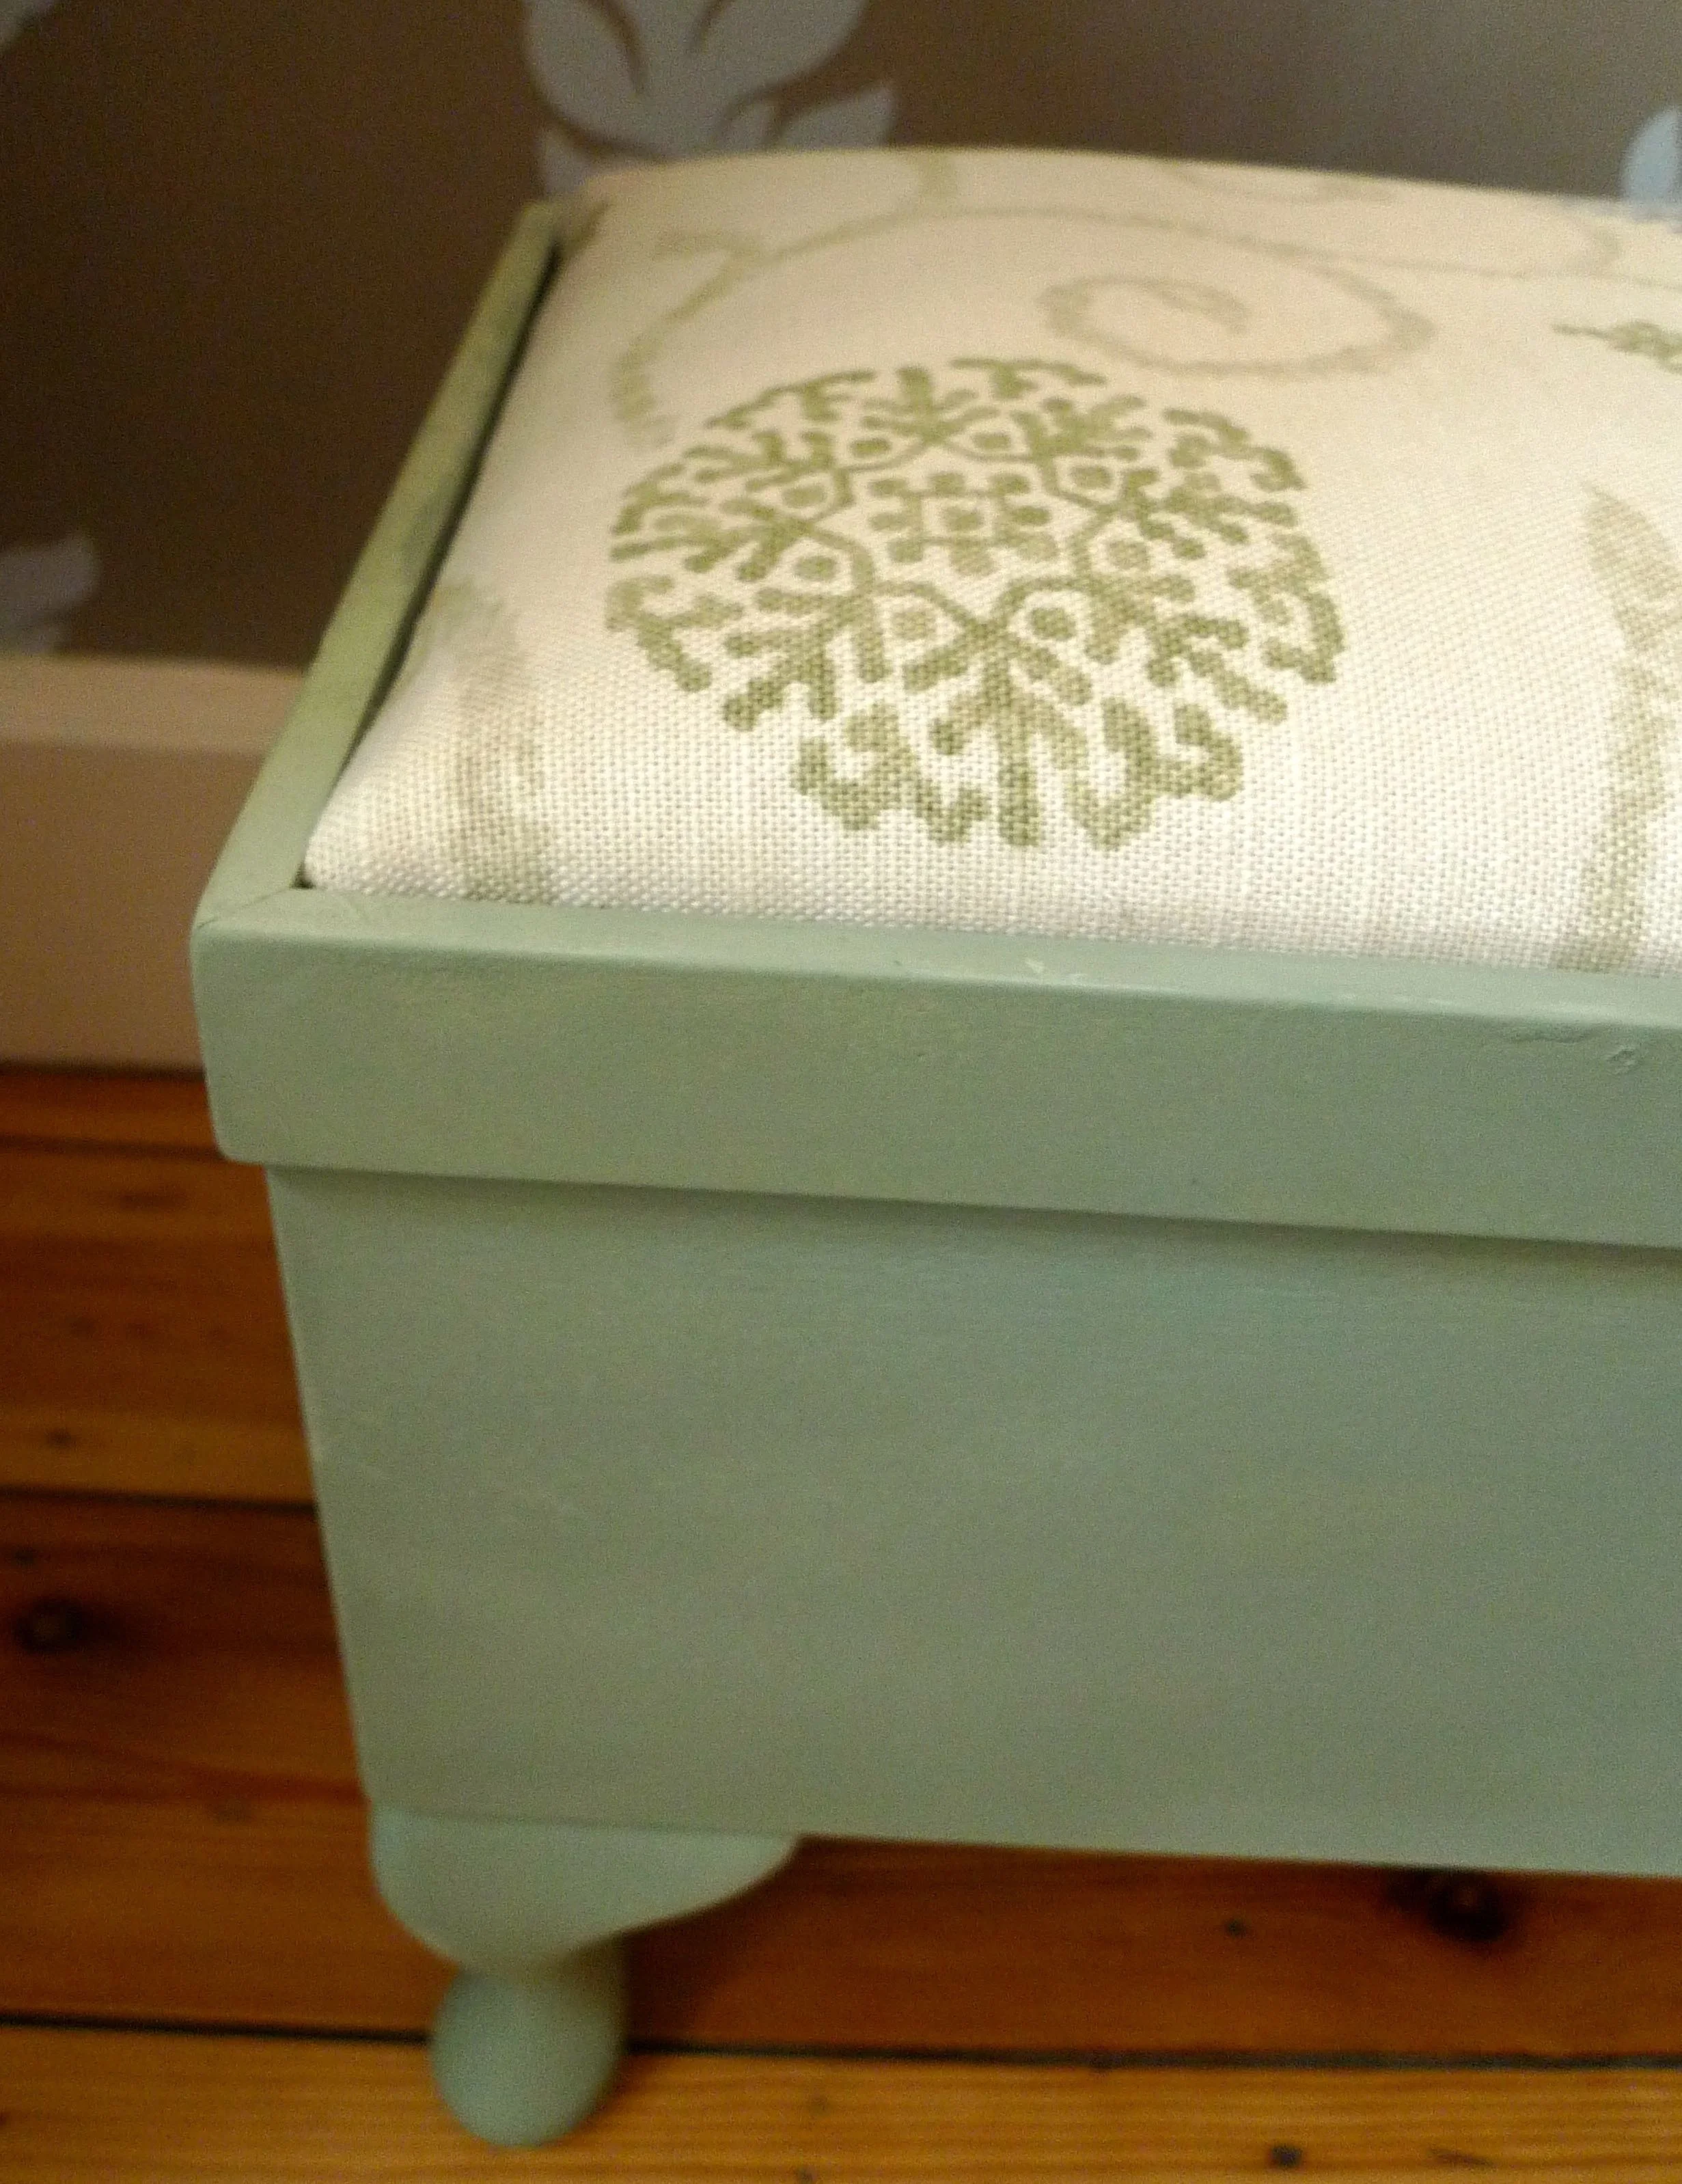
While I was waiting those first twenty minutes I recovered the top cushion.  I had in my mind that I'd use a floral fabric for the top, something Cath Kidstone-esque, but when I saw the colours I changed my plan.  You see the colours were very similar to the colours we've used throughout our house; the London Grey is very similar to Farrow & Ball's Old White and the Light Turquoise like their Teresa's Green.  

So I knew that the leftover material I had from our spare bedroom curtains would be perfect.  And isn't it?
RECOVERED CUSHION

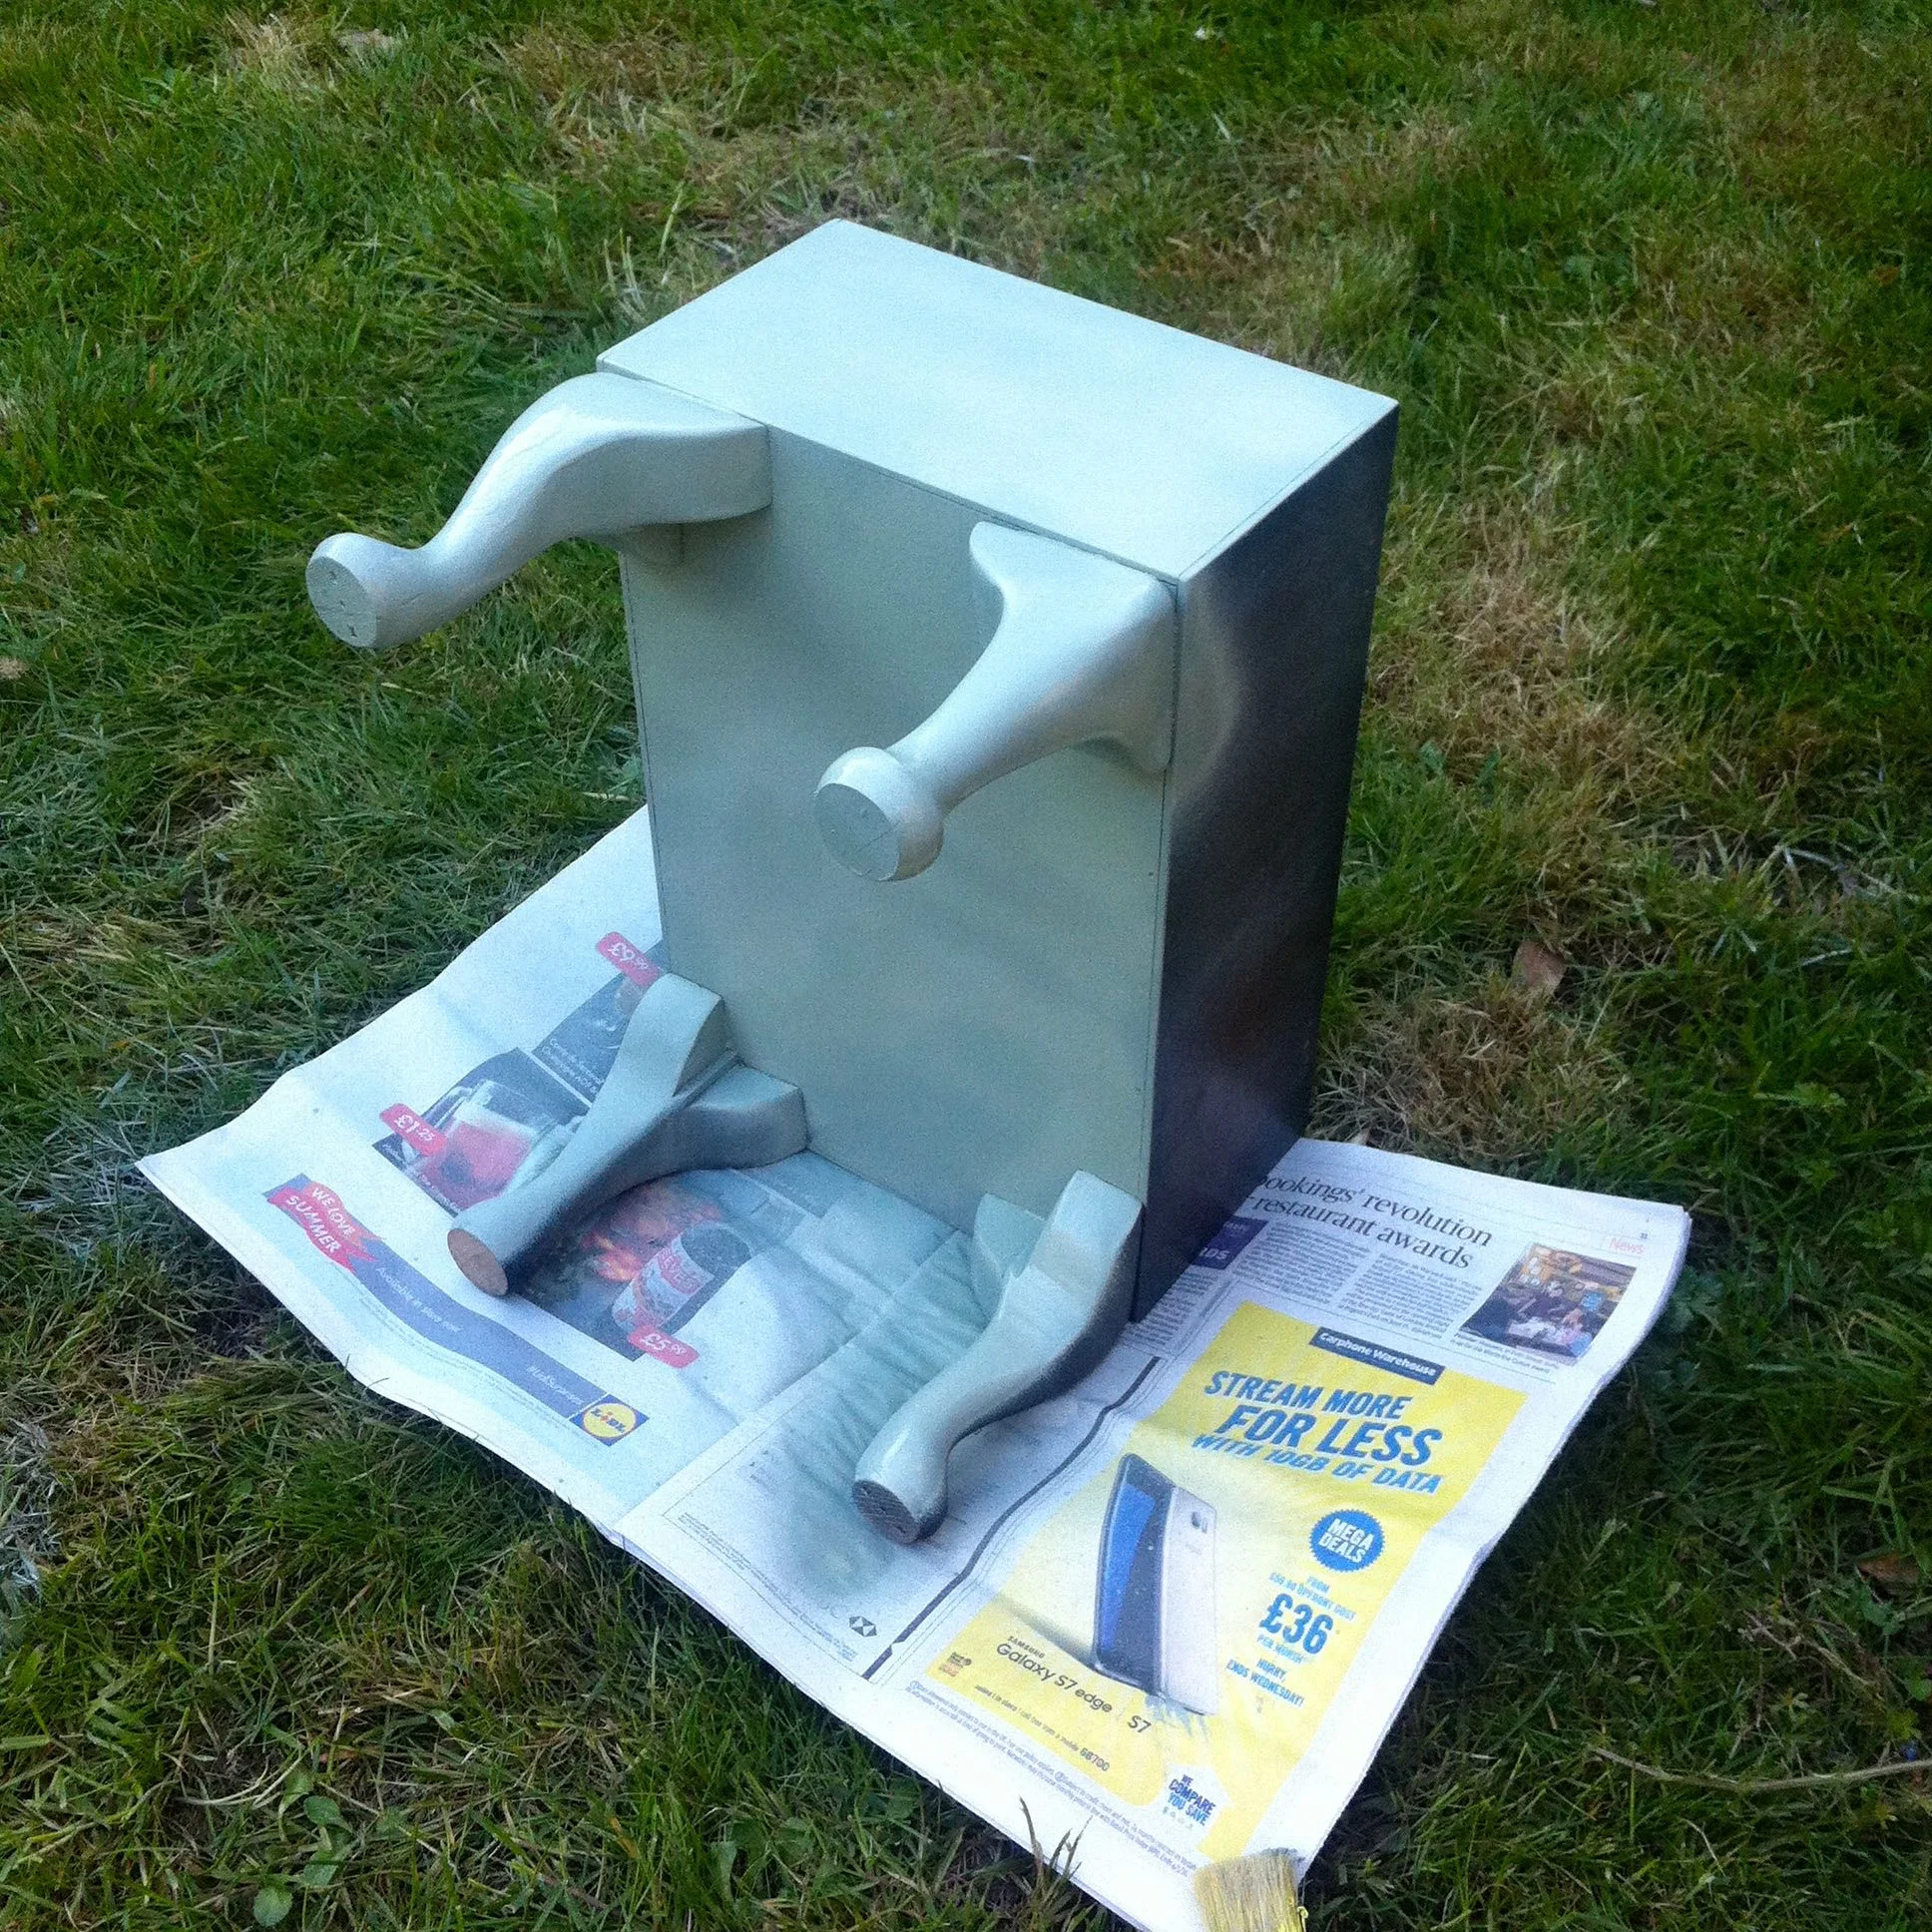
I sprayed the inside first, and then because it was so easy and just a little bit addictive I quite quickly started on the outside.  I sprayed the edges where the colours met freehand, which despite my tremor worked out well.

LIGHT TURQUOISE CHALK PAINT SPRAY
LONDON GREY CHALK PAINT SPRAY

The hardest part in this project has been waiting the twenty minutes for the paint to dry so I could spray some more!  But I managed to curb my enthusiasm and take this (relatively) slowly.  I'd given each surface two coats and left it to dry thoroughly overnight before reassembling the stool.

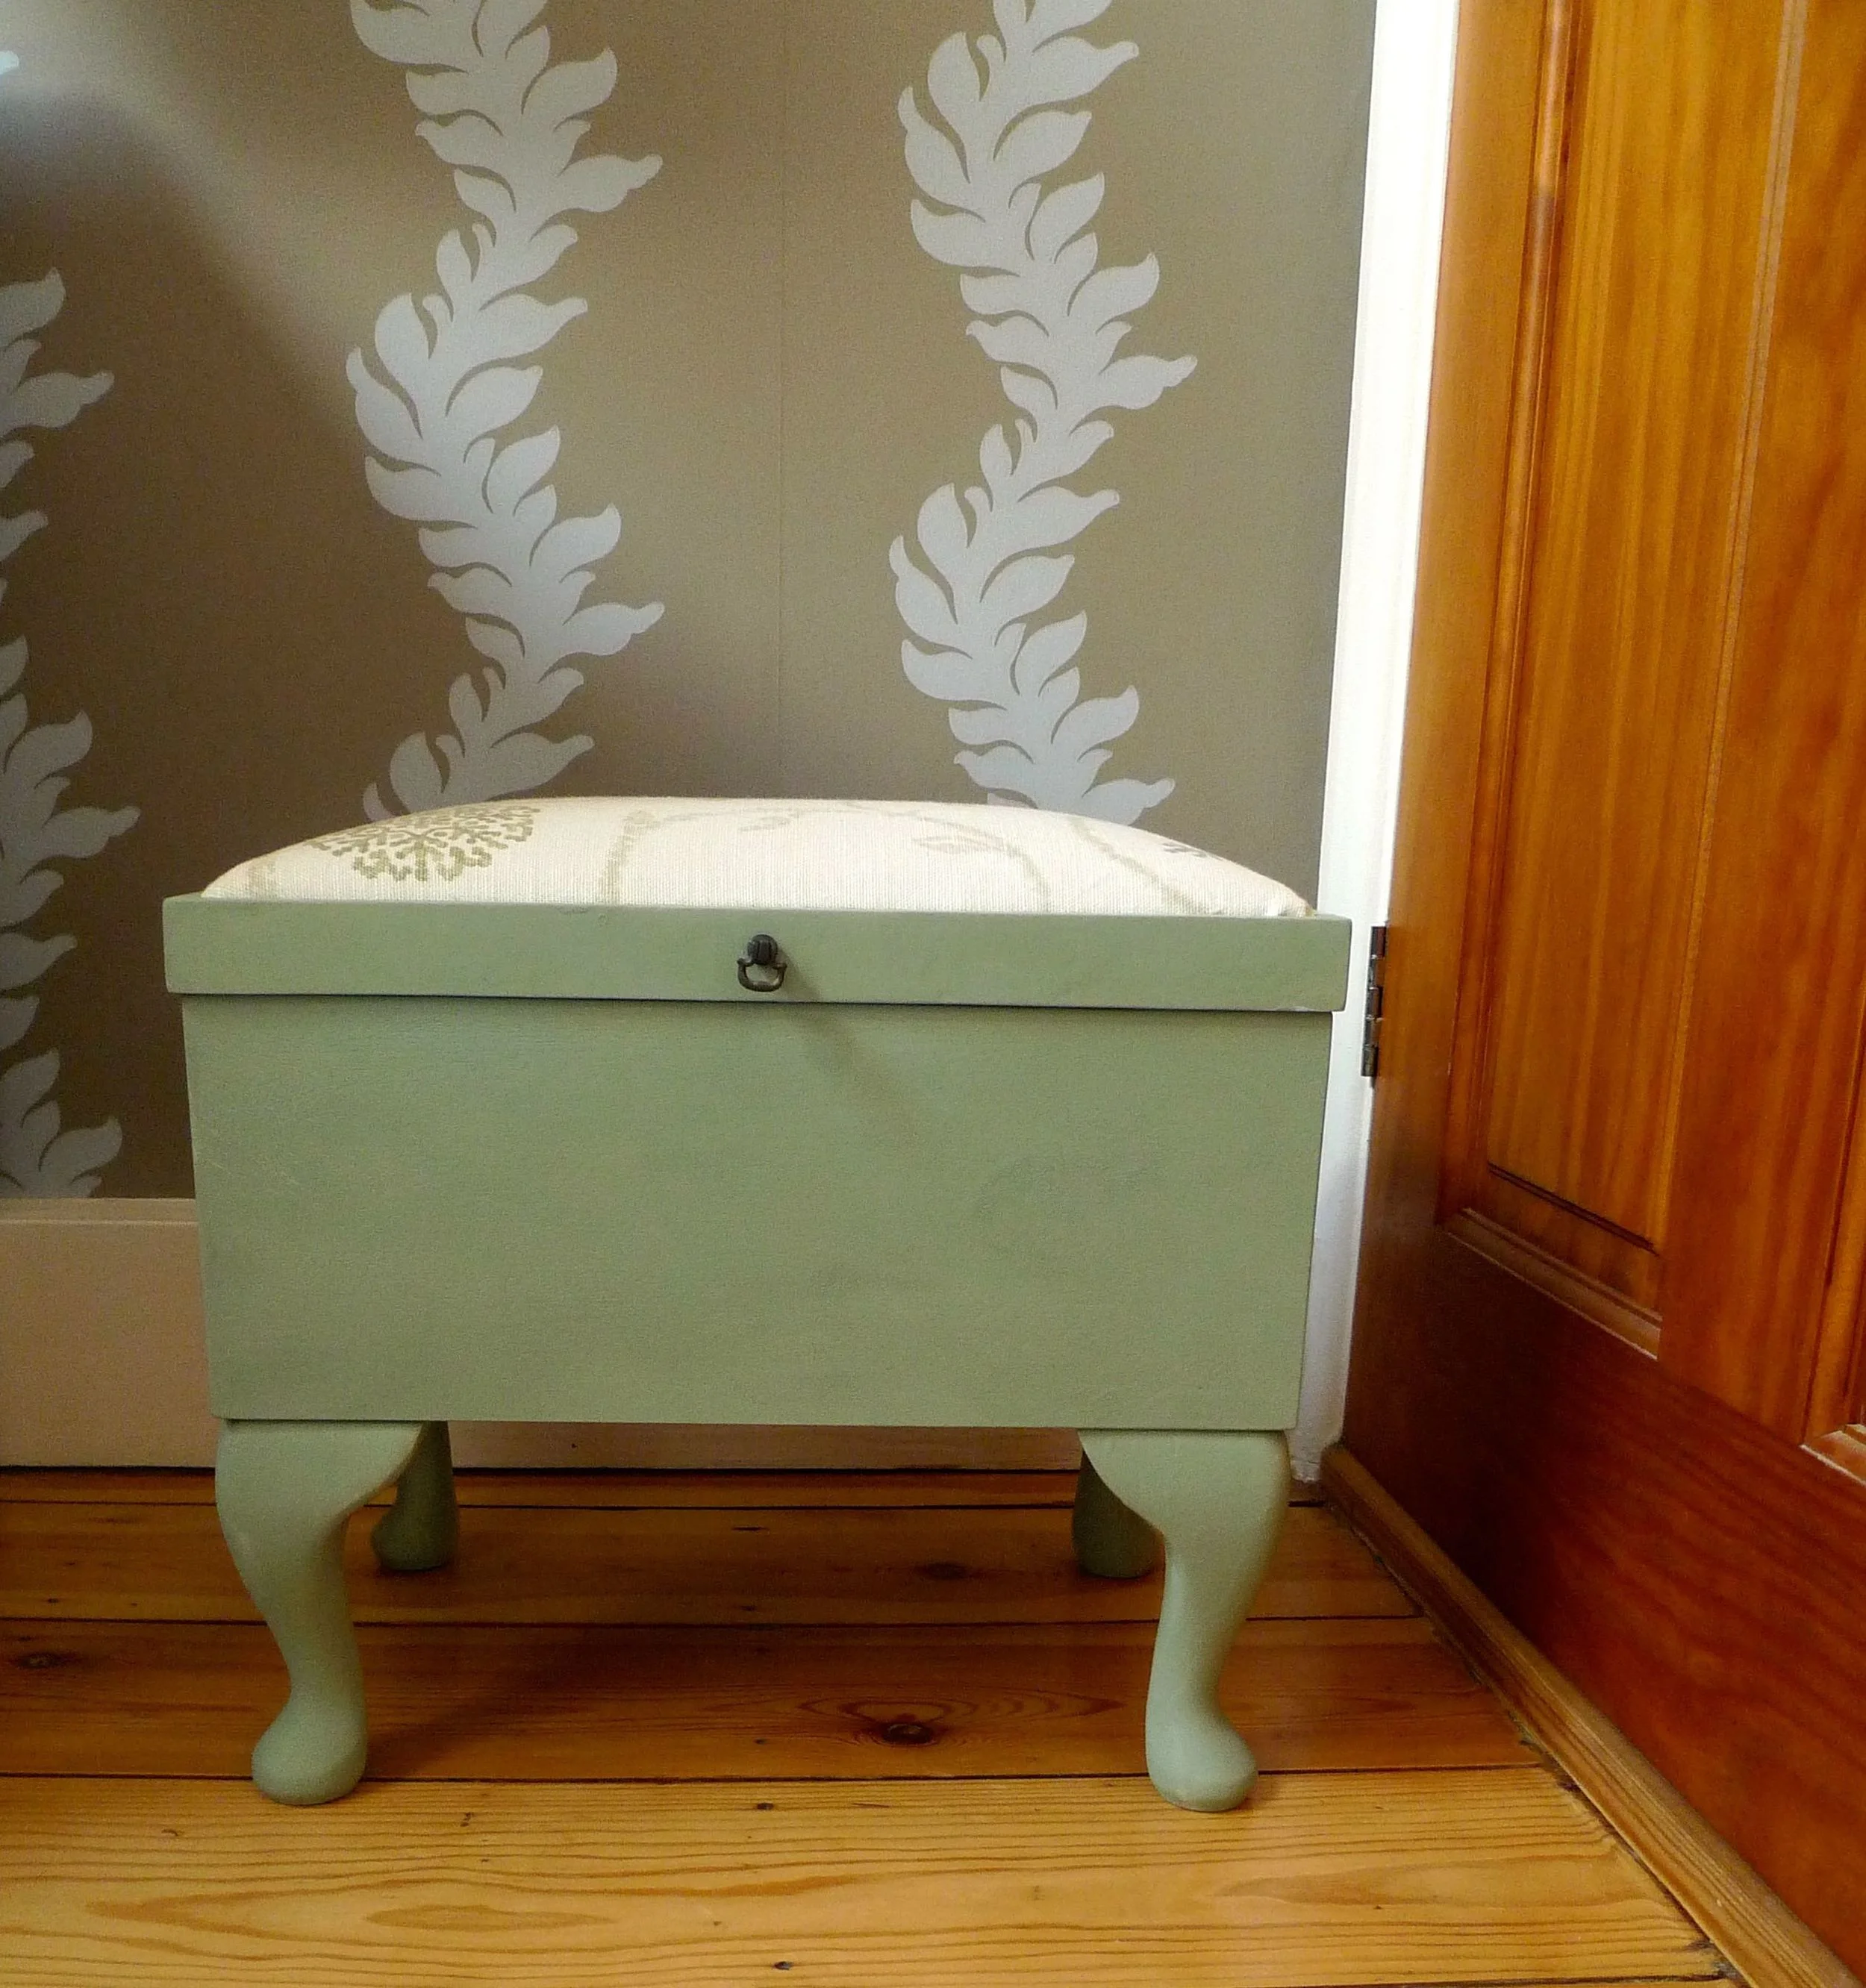
I think it's turned out really well.  I was in two minds whether to apply a finishing spray or not. So far I haven't because I'm pleased with the velvety finish I currently have - I think I'll test run that on a spare piece of wood so I know how it'll turn out.  

FINISHED SEWING STOOL
TOP VIEW
CLOSE UP

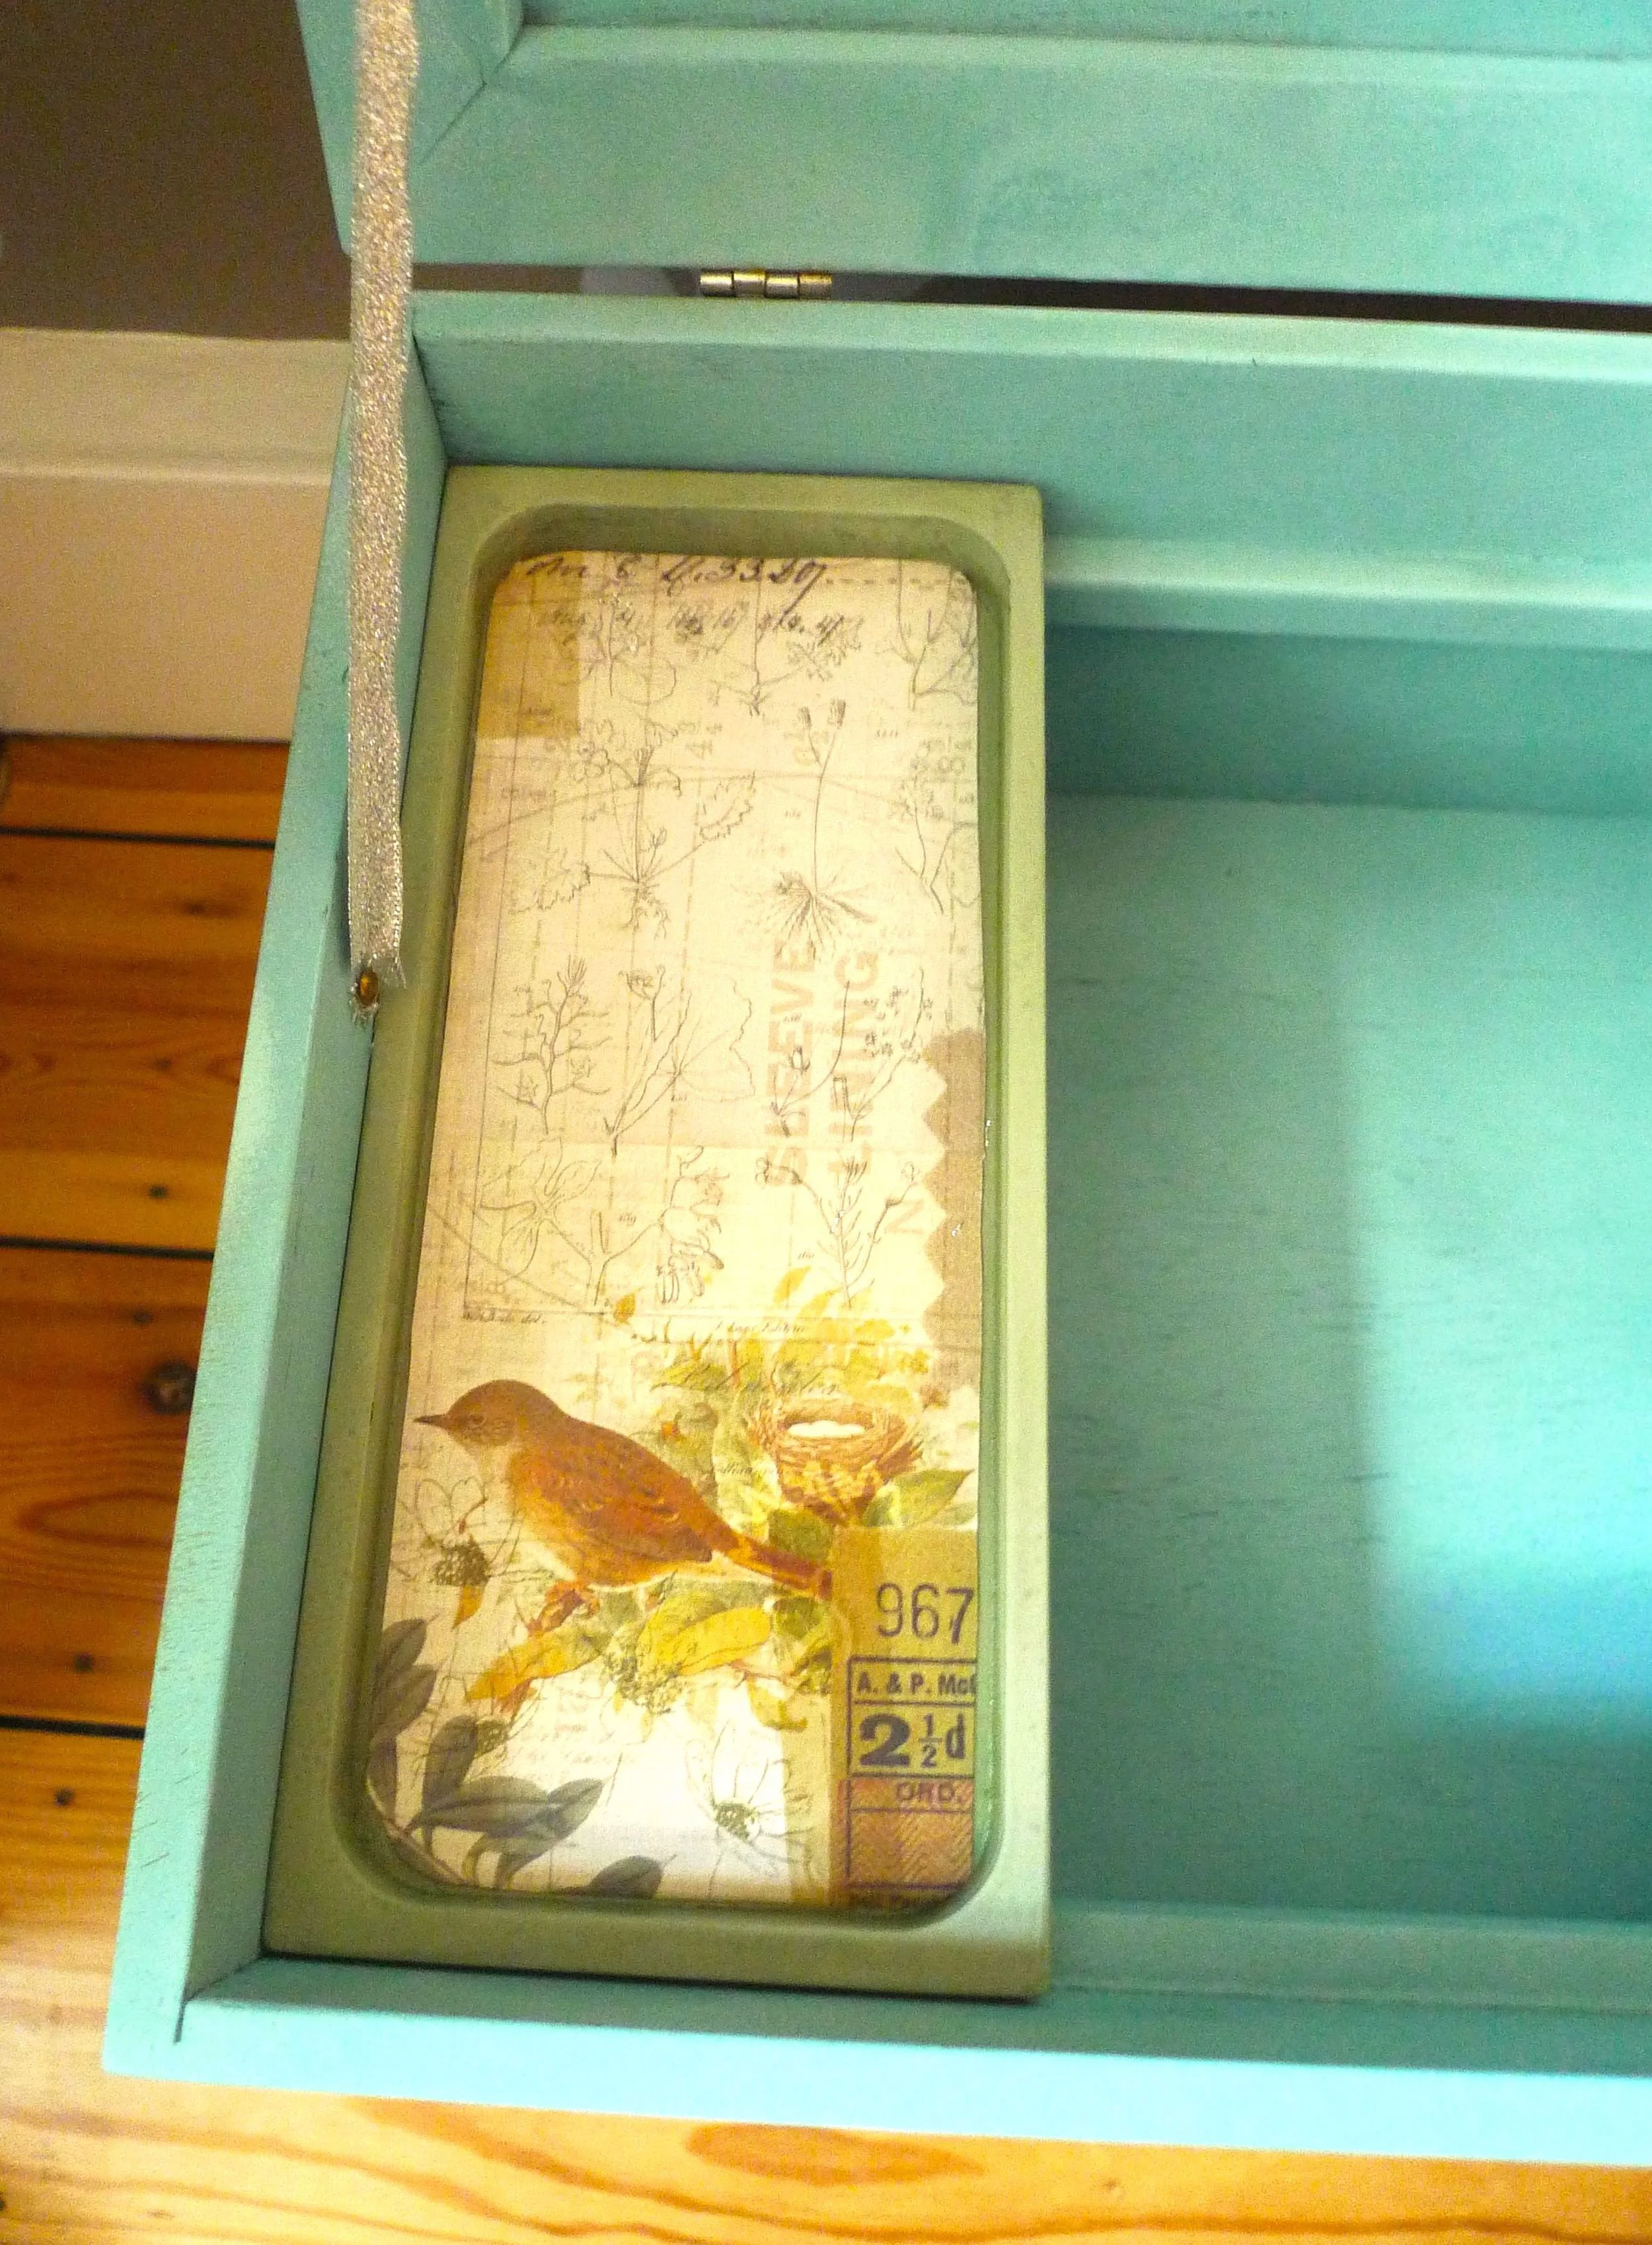
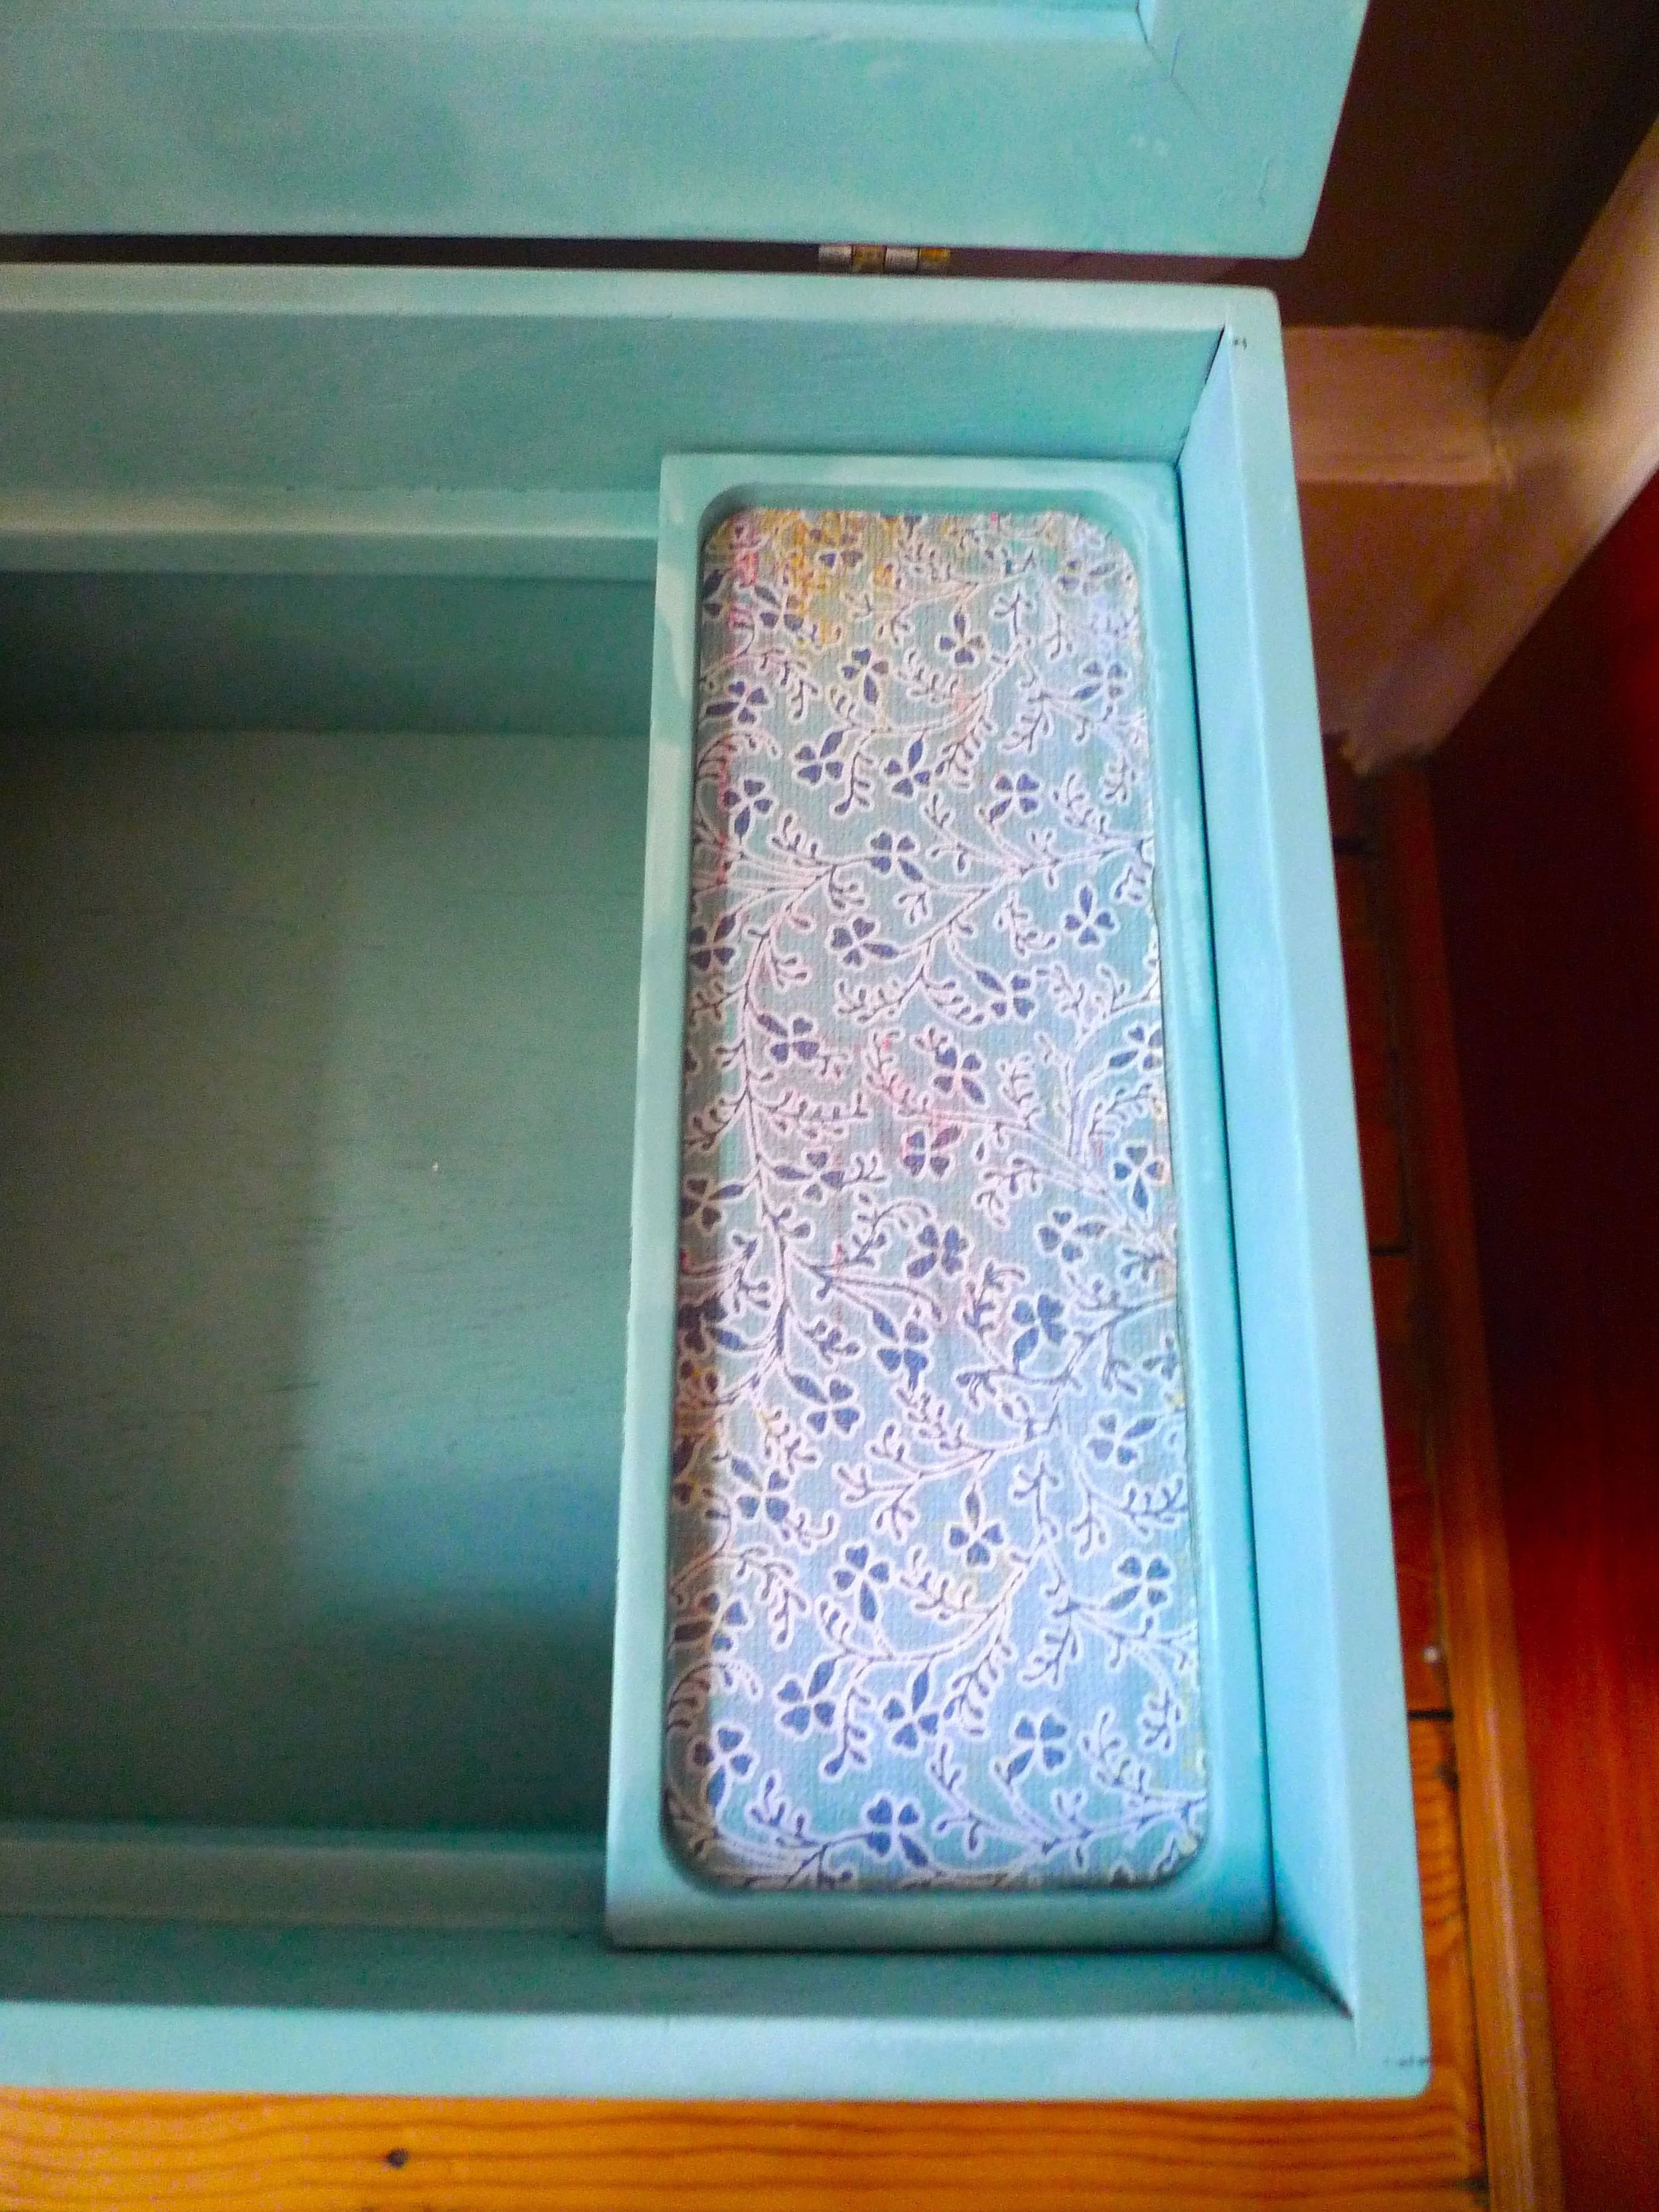
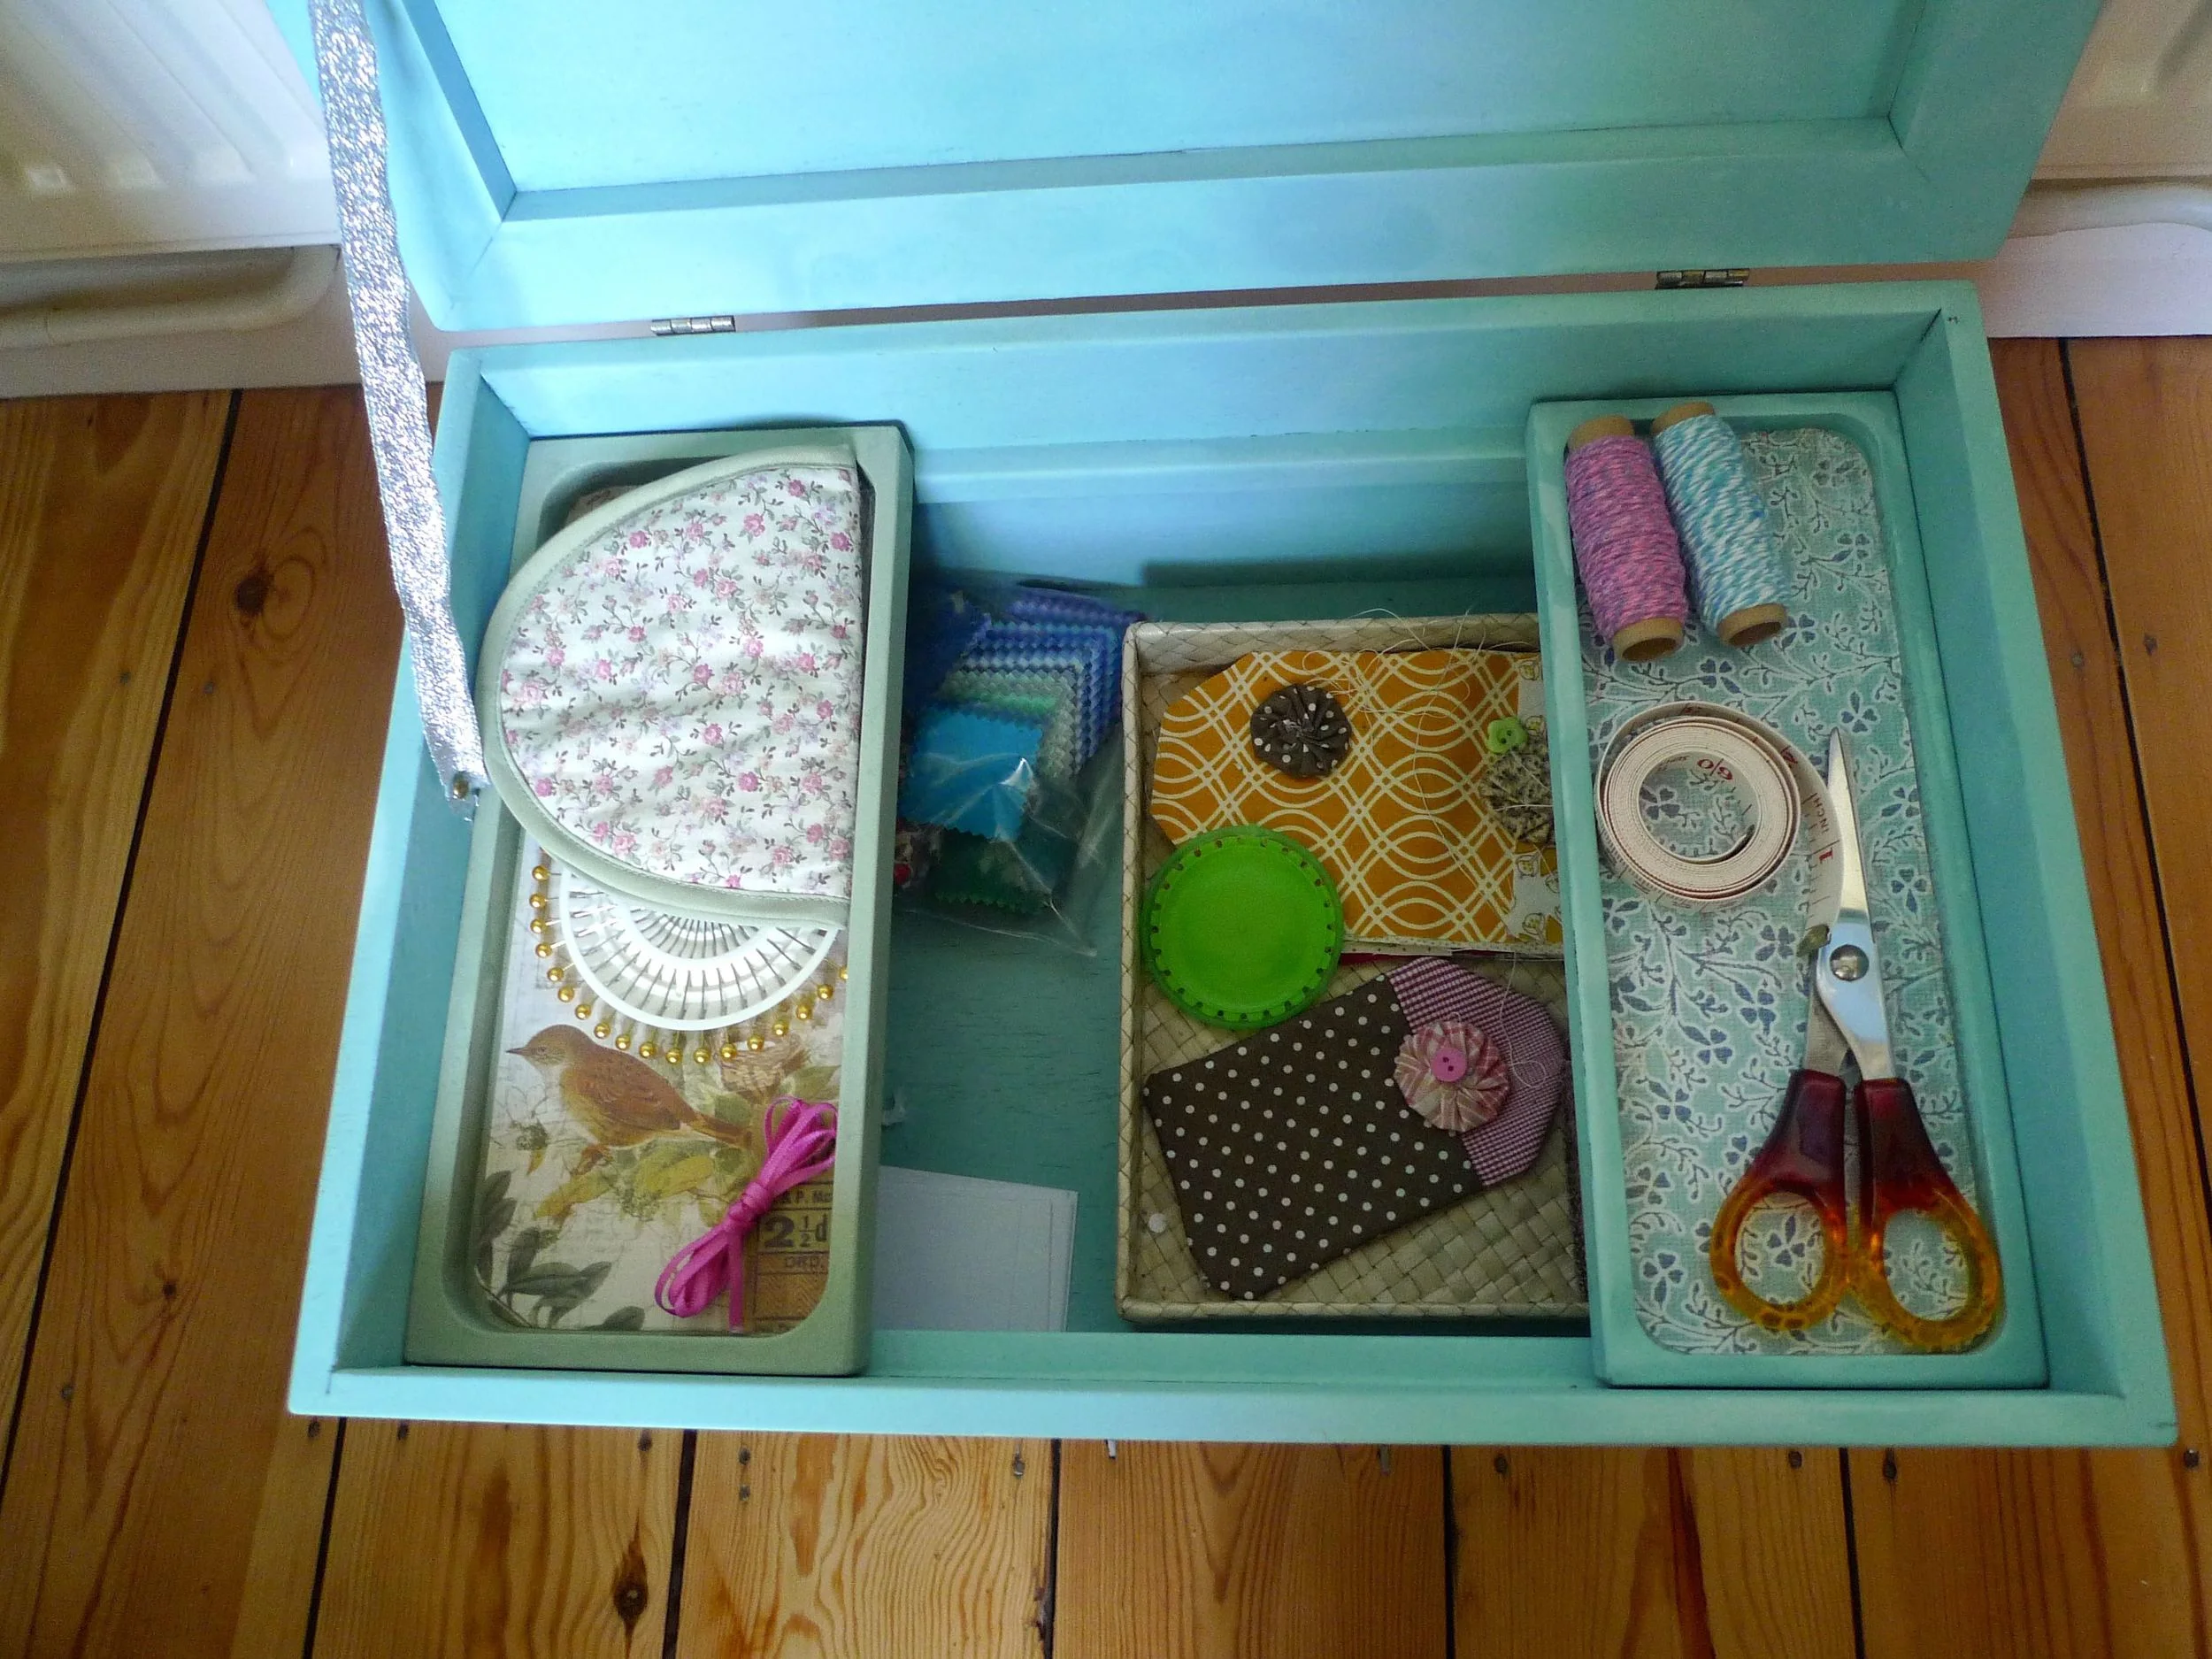
I decided to add some scrapbook paper into the removable trays to give them some extra character, and I think these look great. I simply used PVA Craft Glue to stick the paper to the trays.

INSIDE
LONDON GREY TRAY CLOSE UP
LIGHT TURQUOISE TRAY CLOSE UP

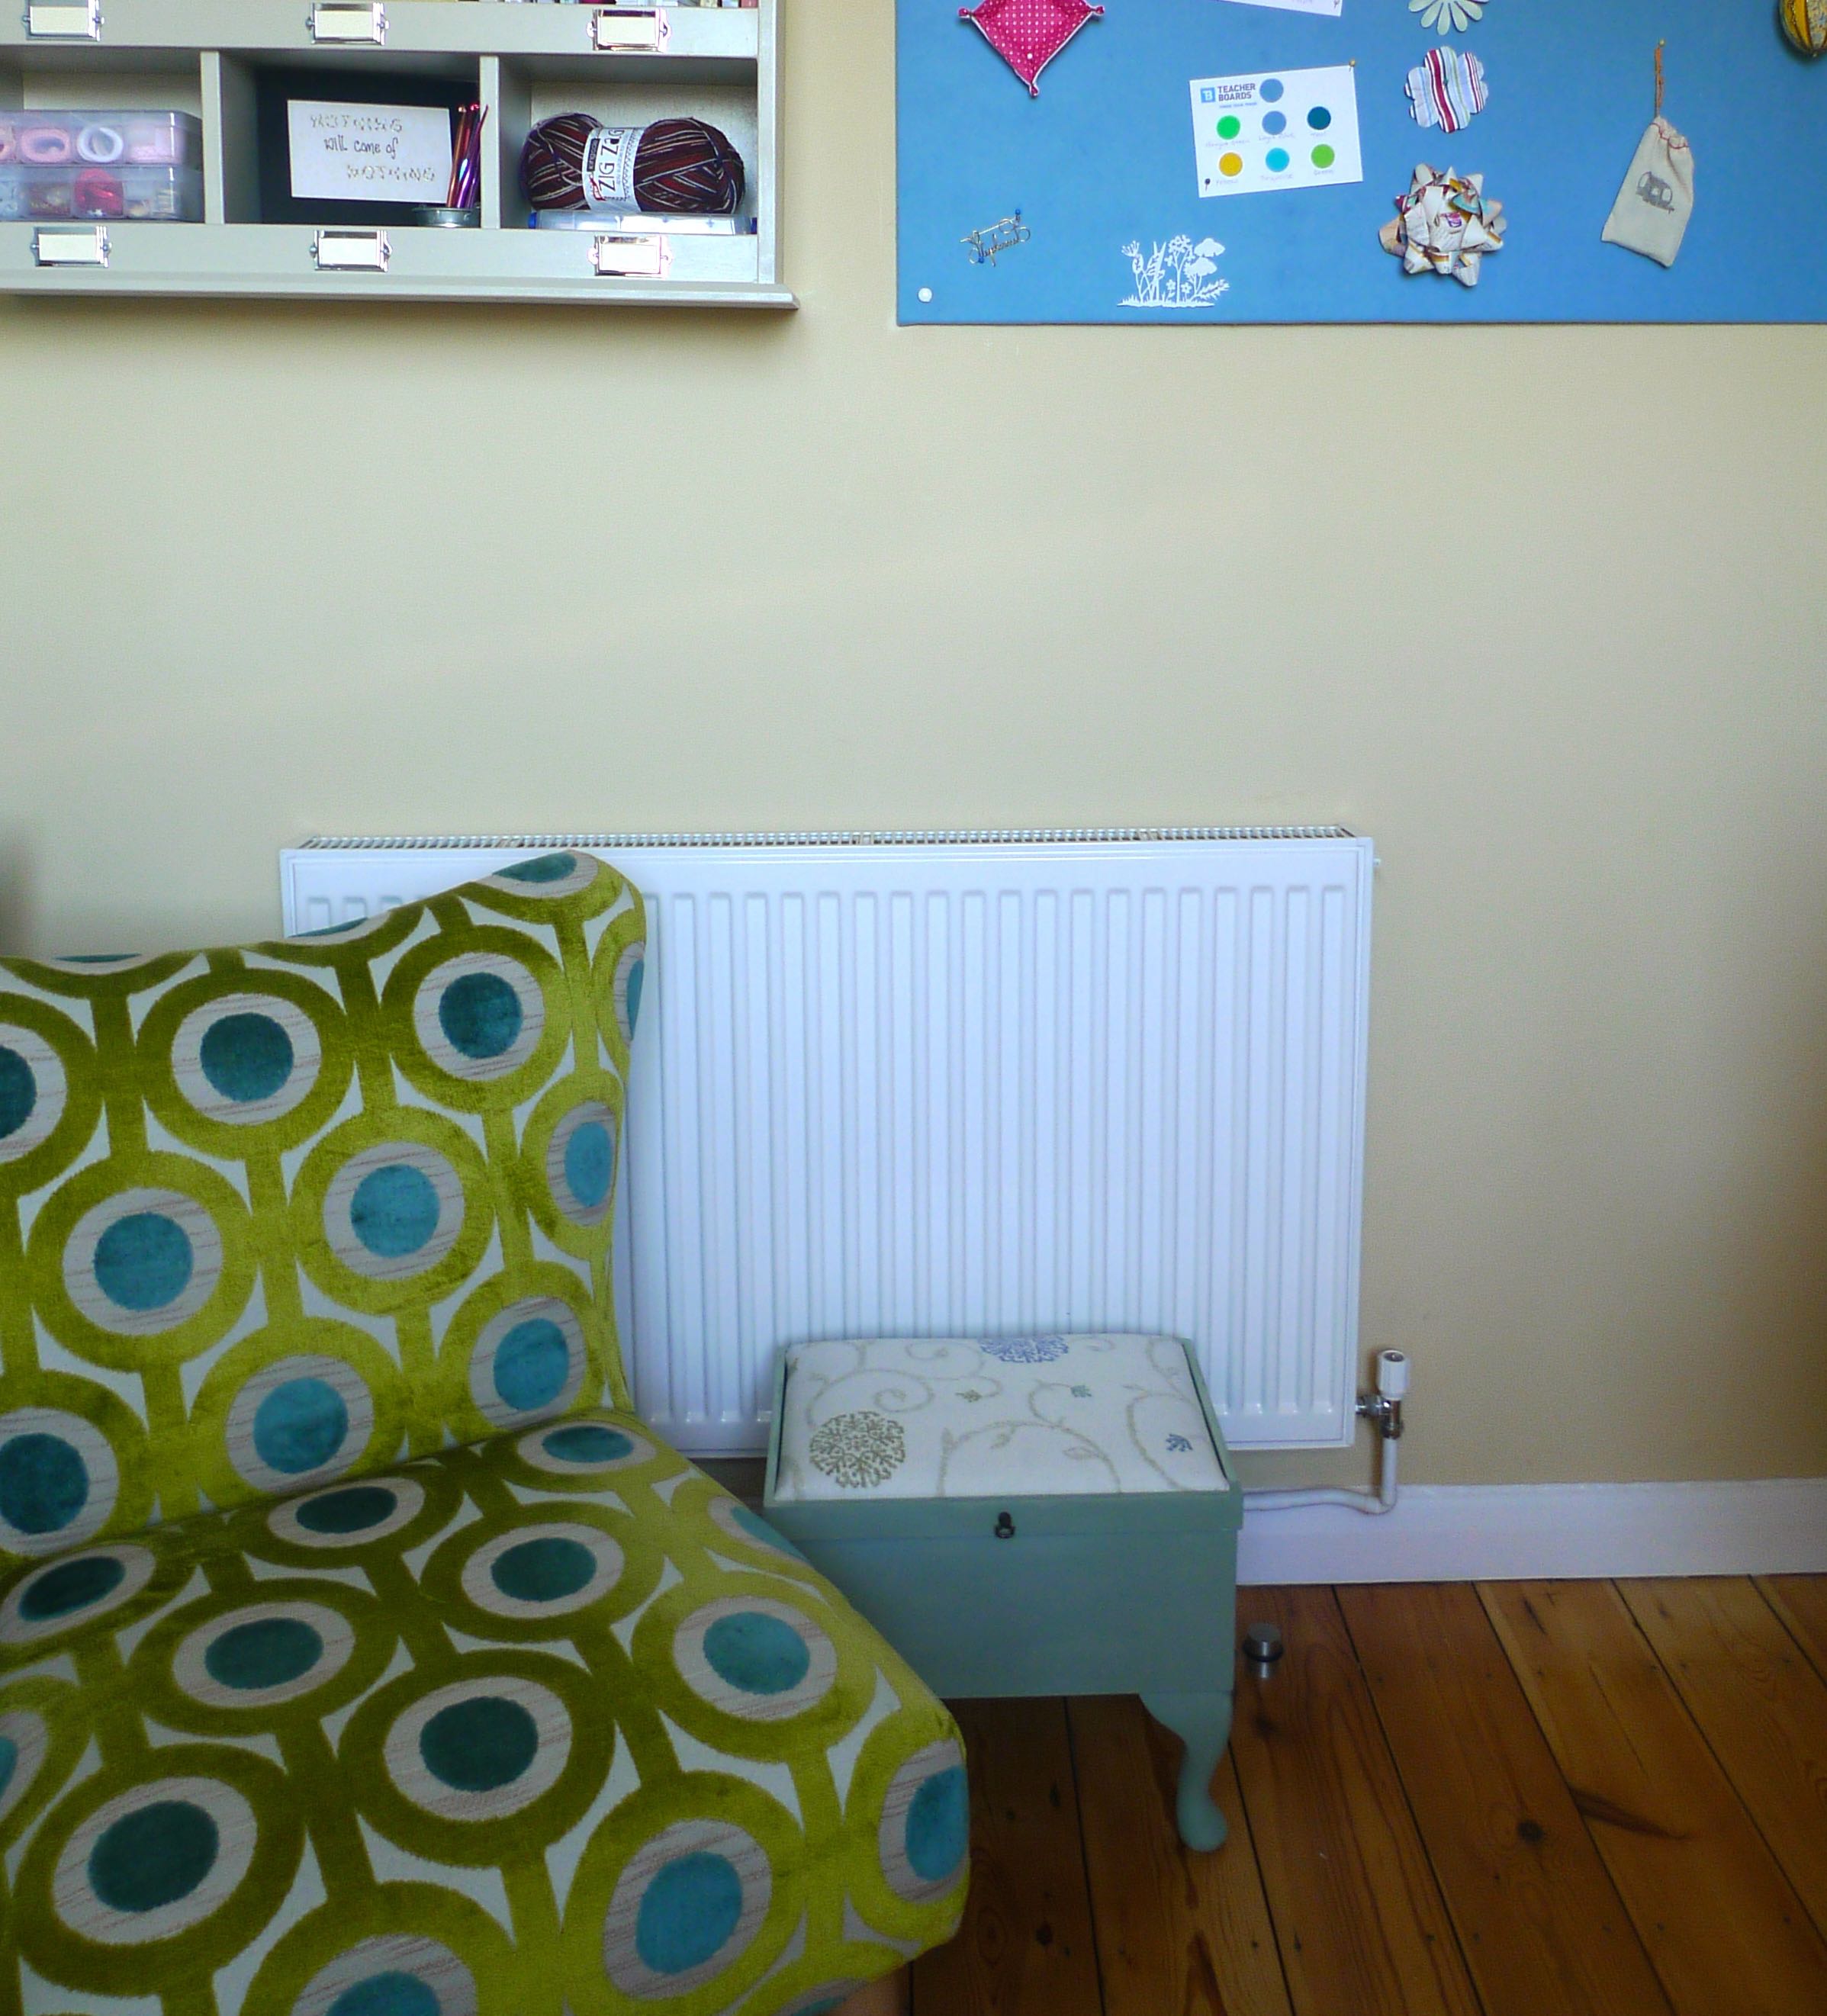
And now the contents looks much tidier too.  I'm sure that won't last, but I'm loving how it turned out and how it fits into my craft-room-cum-study. I've now the perfect sewing corner!

SEWING BOX BACK IN USE
SEWING CORNER

The only downside I've found with this product is that now I want to find even more projects to revamp and upcycle!  

I've even challenged MOH to help me find my next project - the paint can be used on many surfaces including wood, canvas, metal, plastic, cardboard and glass.

What I used

1 x London Grey Pinty Plus Chalk Paint Spray

1 x Light Turquoise Pinty Plus Chalk Paint Spray

I found coverage to be good.  I gave each surface of my sewing stool two coats of paint and while the London Grey can is emptier, I didn't use it completely.

While I cleaned the surfaces I didn't sand them down before painting. I hoped that everything I'd read about chalk paint covering any surface would be true - and it was.

I have another smaller project which I still need to complete - and one I'll share here too - and while this is a small project I'm confident I'll have plenty left for that.

The Pinty Plus Chalk Spray Paint is available from the Novasol Spray website, each 400ml can costs £11.50


This is a collaborative post with Novasol Spray who provided me with the materials for this project, but all words and opinions are my own.