Some trellis to help the rhubarb (and the jasmine)

Now before you think it, I'm not trying to grow rhubarb up some trellis. The trellis is for the jasmine which since our neighbour replaced the fence has been flopping about. It's lucky I was able to save it as my neighbour's workman was all for cutting it down as the neighbour didn't like it too much. Hmmm, it's my plant and as such it was made plain and clear to him that cutting it down wasn't an option. Having already lost (and since replaced) plants in this part of the garden because of the neighbour's unattended bonfire that was left to get out of control, it really wasn't up for negotiation.

I feared for it though if I were to put it back against the fence, as I thought it might encounter some surreptitious and over-enthusiastic pruning, hence its flopping about since then. 

RHUBARB AND FLOPPING JASMINE (ON THE RIGHT)

RHUBARB AND FLOPPING JASMINE (ON THE RIGHT)

It'd been flopping for so long that it was getting comfortable there and starting to grow upwards, as plants do. The rhubarb underneath it was less happy, so something needed to be done. That something was to erect some standalone trellis for the jasmine to clamber across safely. 

And that meant a trip to buy some trellis, fence posts and fence post spike thingys. The shop was chosen for its closeness as with only a Clio it was touch and go as to whether the trellis would fit. It didn't. So MOH was tasked with the job to carry it home. He did.

WE HAVE THE MATERIALS

WE HAVE THE MATERIALS

With some jiggery-pokery and balancing on one leg (as there's not much room between the rhubarb bed and the fence the fence posts were in and the trellis attached. Thankfully the measuring worked out fine and the ends of the trellis matched up with the posts. And while it doesn't look straight, I can tell you it is. There was much to-ing and fro-ing on the "is it straight" question. The fence however may not be!

the trellis is up.jpg
jasmine and trellis.jpg

The jasmine was tied in and while it looks a bit forced in this picture, over the past few days it's settled into its new upright position well - and is once again starting to look like the shapely canopy I'd been working towards. So job done.

Some rhubarb was damaged in this DIY job and therefore found itself in the kitchen and later in a cake, which hasn't lasted too long I can tell you. Another job well and truly done!

RHUBARB!

RHUBARB!

Holiday prep: Healthy eating

Last week my holiday prep post focussed on tickets, information and immersing myself in learning German and about the places we're off to. I've spoken about getting bike-ready with a few days in Norfolk clocking up some bike miles in readiness for our 224km cycling holiday, but what I didn't mention was something that started much earlier and that was a healthy eating plan.

After a good Christmas, some hibernating in January followed by a sedentary February I knew I wanted to eat more healthily and shift a few kilograms in the process, so when I saw Michelle from Bod for Tea was offering bloggers a chance to try Noom Pro it was just the opportunity I was looking for, so I quickly signed up and downloaded the app.

I'm an iPhone girl and some behind the scenes jiggery-pokery was needed to get my account working for the group of bloggers I was joining, but this was done smoothly and I was quickly setting targets and logging the food I ate. That's always a shock isn't it, in those first few days when you want immediate results to discover just how many calories you're eating?

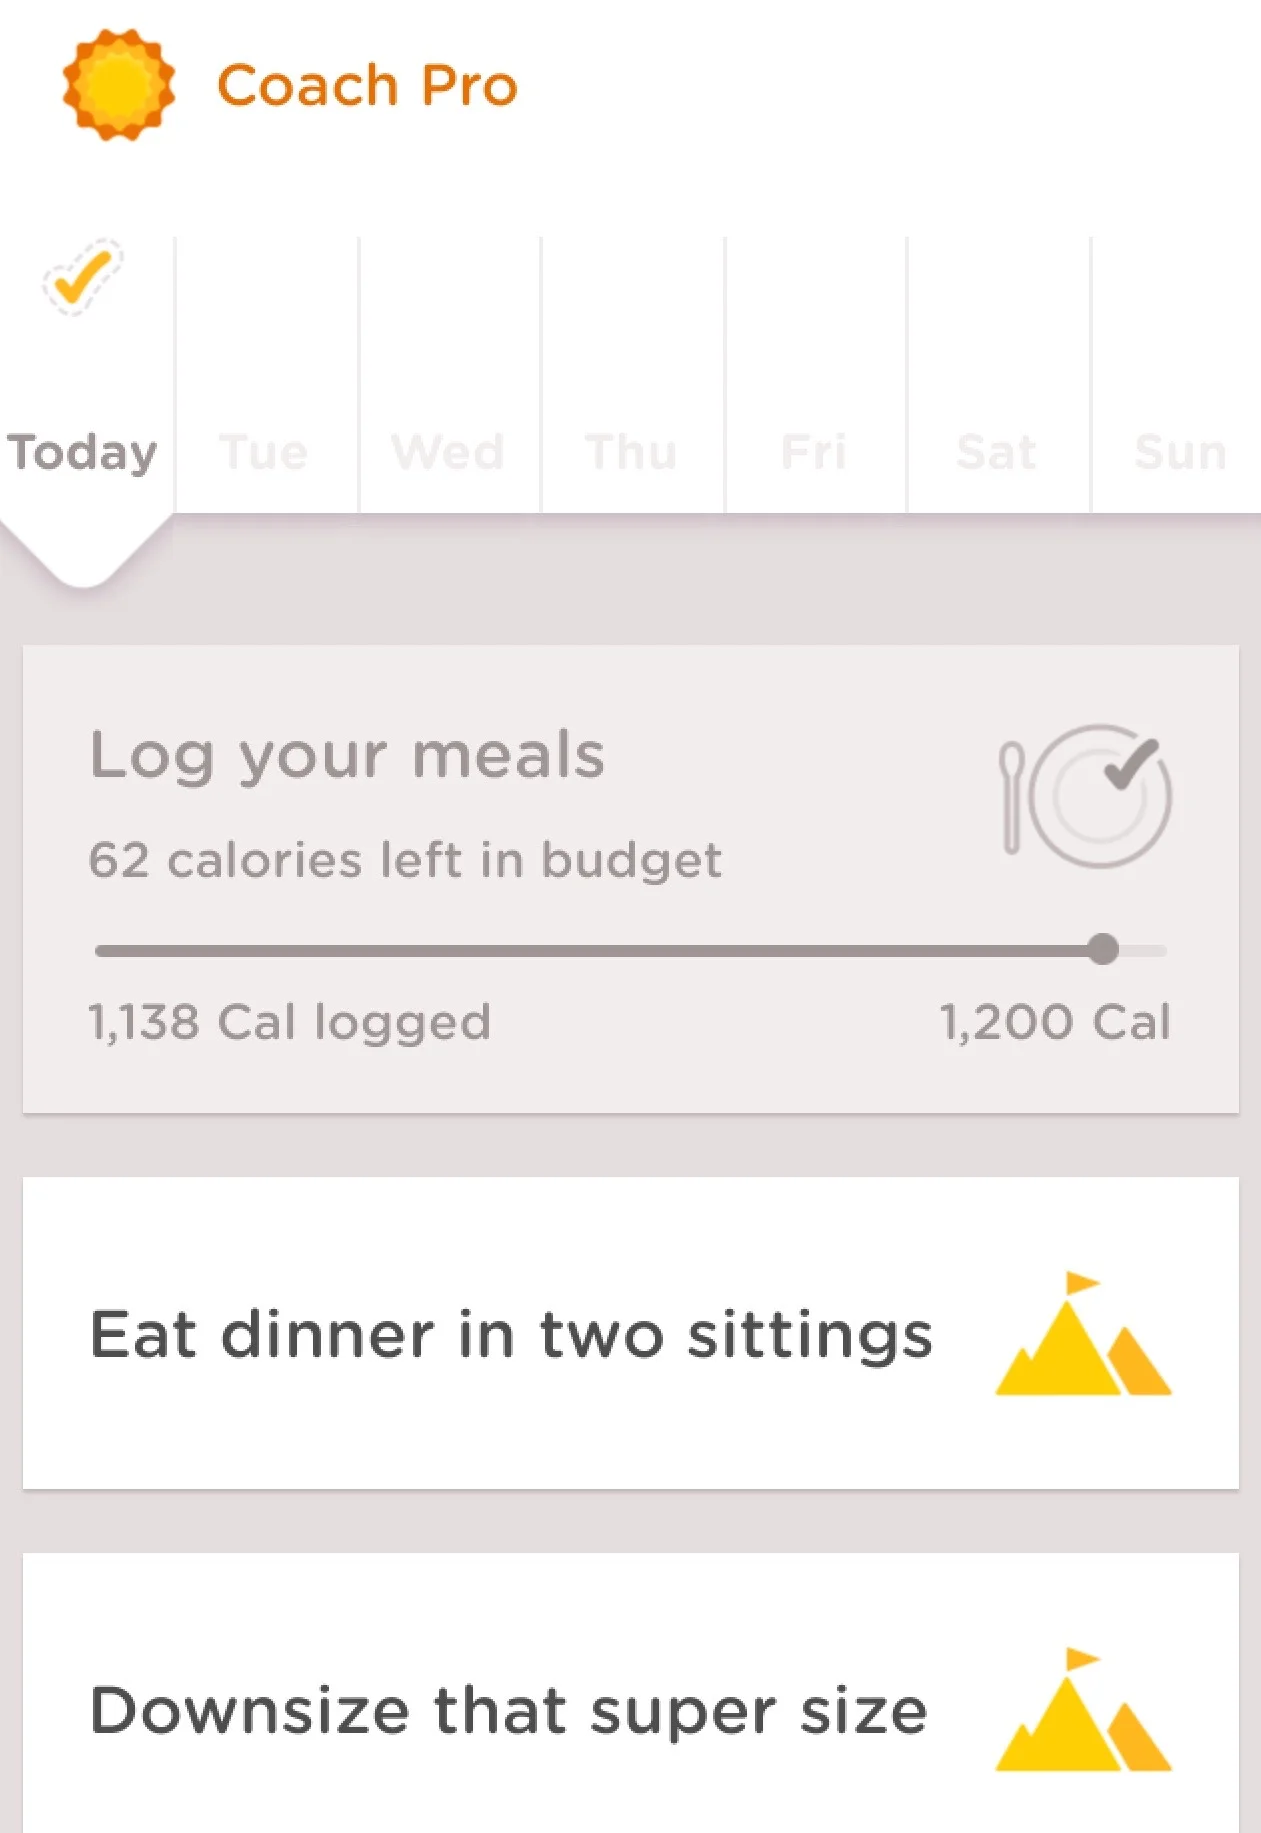
As well as logging your meals, the app suggests articles for you to read and sets you challenges - all of which are optional, I mean the "try a new vegetable" one wasn't for me. I know what vegetables I like and eat a relatively wide range and I'm still scarred from that kohlrabi that appeared once in my veg box many years ago... Even writing that has made me shudder.

Noom coach.jpg
NoomCoach.jpg

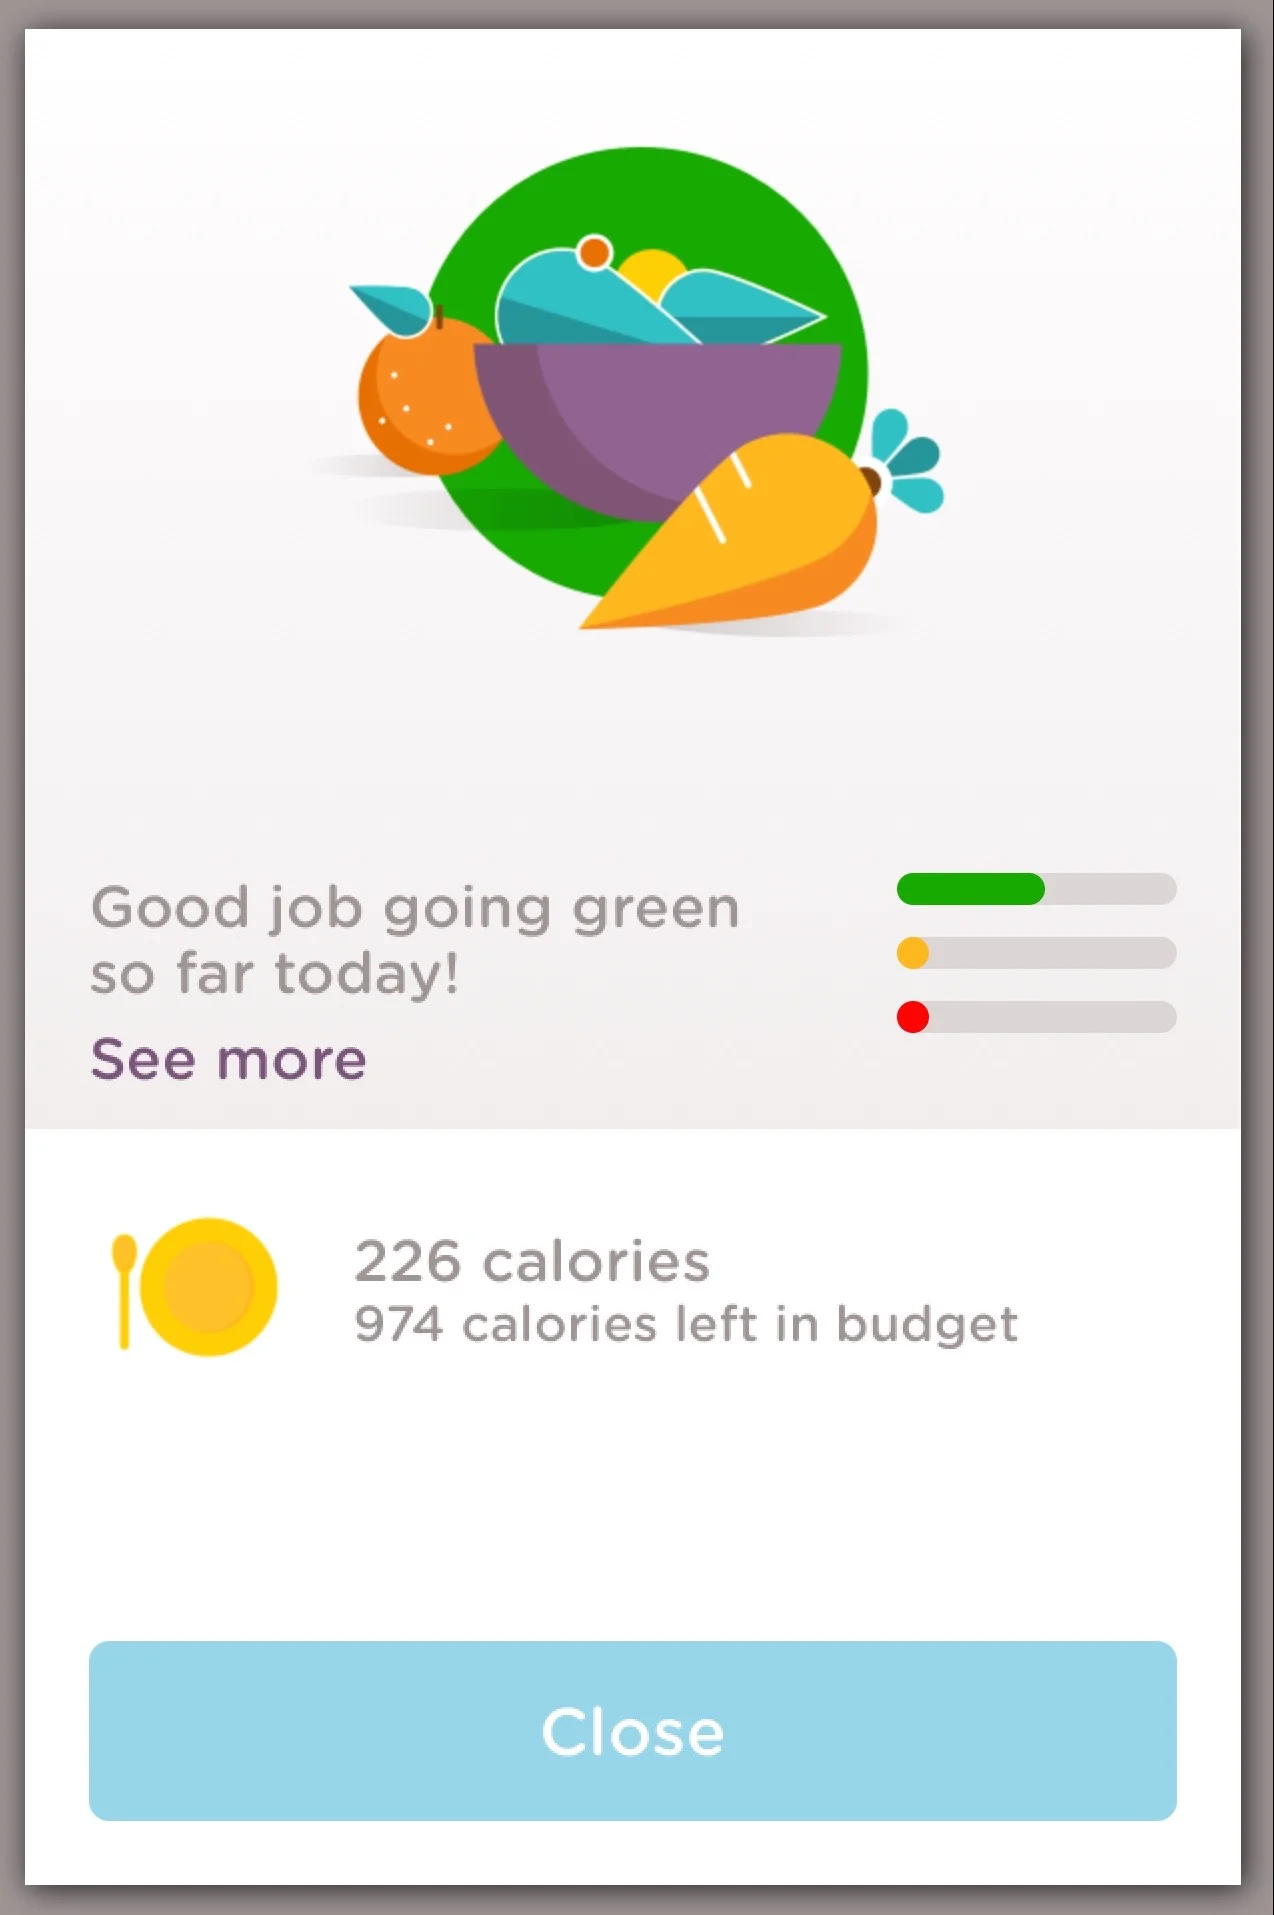
But back to the app. The basic premise is to eat more "green" foods and to limit your "red" foods.

That makes sense and I quickly learnt what was green: 

  • a cup of tea (result!)
  • lots and lots of vegetables
  • salads (sans dressing of course)
  • hummus
  • tomato-based pasta sauces
STARTING GREEN

STARTING GREEN

And what wasn't:

  • sourdough bread, pasta, rice, potatoes (amber)
  • avocados, scrambled eggs (amber)
  • red wine (amber - double yay!)
  • cheese (red)
  • butter, cakes, fried food (red)
...NOT SO GREEN

...NOT SO GREEN

And while often my days would start well they quickly deteriorated towards the red. Adding vegetables to our evening meals has been a good way to redress the balance but for me my problem meal is lunch. Often I'd just grab some more bread, toast it and have some cheese - nothing green there!

So that's one place where I've worked to improve what I'm eating. Hummus has been a godsend - and it's easy to knock up in a food processor too, and tastes so much better than the supermarket varieties, trust me. And with the warmer weather (err - where's that gone?) my NutriBullet was once again becoming my friend.

NoomCoach.jpg

Logging food you eat regularly is easy too as by swiping you can add it quickly, and as someone who's an avid lister (for almost everything) this really worked for me. Of course if you choose not to include everything it isn't going to work, but that's part of the commitment you've made to yourself isn't it?

Like many of the fitness and healthy eating apps Noom Pro allocates a daily budget of calories. I thought this might be my undoing as I'm not one for knowing the calories in everything. In fact I know the calories in almost nothing.

But as with most apps it's cleverer than me and has calories programmed in. You can also add food using the easy units too - which is great as I think MOH would have thought I'd lost it if I started weighing food like scrambled eggs!

This is also great if your approach to cooking can be like mine and often it's "a bit of this and that" which sometimes is the only way to go. You can add the foods you create as a custom dish, so if you cooked them again or made some for the freezer it's already stored in the app.  

There is a recipe section in the app, but I haven't used this - I've got enough recipe inspiration already without throwing something else into the mix!


Noom Pro Group.jpg

As well as recording your weight loss with weekly weigh ins, there's also space to "Do more" and record your activities. So all that cycling has found its way into here too - and on the days I've cycled or done a Pilates class then my calorie budget increases. Now that's encouragement...

The other part of Noom Pro I liked was being part of a group. That worked as we all started using the app at a similar time so were learning together and could ask questions, we could also see how many meals each other had logged that day so there was a small element of peer pressure to keep going.

So did it work?

Well I guess that's what you really want to know... 

Yes it has, in the three months or so that I've been using Noom Pro I've lost almost four kilograms. So about a kilo a month, which I'm happy with and feeling much better for.

And while that might not sound a lot - and it probably doesn't qualify me as slimmer of the year - remember a bag of sugar weighs 1kg (or 2.2 lb if you prefer it in old money) and I now weigh almost four bags of sugar less by making some relatively small changes to my diet, which I think is pretty good.

Yes of course there's been days where I haven't logged the food I've eaten, and days where I've ignored it altogether but that's because sometimes life just gets in the way - and that's fine. I still plan to use Noom Pro and I still plan to eat more healthily too, and I think that's a good plan to have.

What I learnt:

  • Lunch is my weak meal of the day. It's often only for me and all too easy to grab something quickly, but with some forethought and planning it doesn't have to be that way. While cheese is nice, it shouldn't really be my "go to" food (sobs!)
  • It's easier than I thought to eat more vegetables. As many mums will already know, you can pack veggies into all sorts of stews, casseroles and one-pots and get a health boost at the same time. And adding a salad on the side is another easy way to eat some greenery.
  • Slow is ok. I'm definitely one who wants instant results, but as I plan to carry on what I've started slow is definitely ok here

What I liked:

  • The green-amber-red approach - it was a simple and effective way to retrain my eating habits.
  • Easy logging of foods I ate regularly - just a swipe and it was logged.
  • Easy units for logging foods - especially as I'm not a calorie nerd and often take the "a bit of this and that" approach to cooking.
  • Red wine was amber - my approach was to make small changes to my diet, and my diet includes red wine. It was refreshing that I didn't feel like I was being told off for having a glass or two.
  • The support and camaraderie the Noom Group gave.

Where it could improve:

  • As a planner and a lister, I'd like to be able to enter my meals in advance so I can make sure the combinations I'm planning aren't going to blow my budget
  • As a multi-devicer, I'd like to be able to seamlessly use my iPhone and my iPad to enter that day's meals depending where I was or which was closest to me.
  • Include more UK supermarket foods and meals to make the easy logging even more accurate.

Have you used an app to encourage healthy eating? Did it work for you and help you make changes to your diet and lifestyle? 


Disclosure: I received access to Noom Pro free of charge as part of a blogger trial, but all words and opinions are my own.

Fitness 4 Mamas


Share the Joy linky at bodfortea.co.uk

Our garden plans

On Sunday I headed to Grand Designs Live clutching the plans of our garden, actually that's not strictly true I'd gone high-tech and they were stored on my iPad along with many photos of varying views of our garden. We'd got a thirty minute slot booked with a garden designer in the Ask the Expert area and I fully intended to make the most of that time. 

gardenplan.jpg

I was looking for advice on how to approach a couple of areas that are causing me issues and indecision, which means nothing really is happening in those parts of the garden. We've already had a new patio and a stone circle laid, and we know roughly what we want, it's just about making it happen. I mean we've even got some of the materials already, and what's a tonne of slate between friends?

Our main problem areas are:

  1. The lack of shape and definition to the grass; there is a border of sorts but bits of it are missing and patches of grass are also AWOL too.
  2. Dealing with the different ground levels, especially around the stone circle. The beds on the right-hand side of our garden are generally higher than the lawn, which isn't ideal. 
  3. Our vegetable beds are disintegrating rapidly...

We picked up some good ideas:

To use upturned oak sleepers to form a low-height curved retaining wall in the area behind the stone circle.

Pros:

  • I think this would work, it'd involve digging a trench and would emulate the curved wall I liked so much in the walled garden at Marks Hall Arboretum.
  • We'd also be able to replace the disintegrating veg beds with beds made from sleepers too (a long-term cunning plan of mine) and by using the same materials tie those two areas of the garden together.
  • It seems (without any further research) more achievable than a brick or block rendered wall...

Cons:

  • It'd be a lot of digging, but in truth any solution will need some kind of and probably a lot of digging!
  • We'd need a large saw and a steady hand to saw them into a graduated curve, or better still maybe a professional chain saw-ist if you know of anyone?
  • MOH and I have different views about how close to the stone circle this wall should be. I've a fear that if he's allowed to dig unsupervised we'll end up with a wall right on the edge of the stone circle. And although we'll be able to sit on it, it will also restrict our use of it. And I think it could end up looking like an attempt at an adventure playround and pretty naff. 

Verdict:

  • I'll look into using oak sleepers here, but need to find a way to help MOH visualise what I have in mind; I expect that'll mean investing in a scale ruler, some graph paper and working out how to use them. In the meantime though I'll be hiding the spades and other tools than could be used for digging from MOH, just in case...

To give our grass definition by shaping it and adding a border

Deep down we knew this, we just needed some practical advice on how. We also knew that squares and circles of grass work in long thin gardens, and to look at the design we mark out from the house to make sure they work from there too. I got one of those looks from MOH when we received this advice, as that's exactly what I did after the hole for the stone circle had been dug.

Pros:

  • We both agree with this and we already have a spray can of paint, but I think we were just a bit too scared to use it!
  • And with the lawn shapes marked we can measure the edges and order the steel edging we'd already decided on, and start to make progress.

Cons:

  • I don't think there are any.

Verdict:

  • Spray paint at the ready... What's the worst that can happen? If it doesn't look right the rain will wash it off or MOH can mow it off. Cue very bald grass at 139a...! 

Throughout the day we loitered around other garden design stands chatting to garden designers trying to garner other advice, we got plenty of it too:

  • Not to get too hung up on what plants are already there

mmn, nice idea but this isn't a blank canvas we're starting with, there's lots of large trees and shrubs which it just isn't practical or economical to remove. And that's nearly twelve years of gardening, of course I'm going to be attached to it.

  • Move the stone circle 

.... Not gonna happen. Ever. 

  • Move the shed and the greenhouse

 That's easier said than done, there's a huge slab of concrete under the shed. And in most garden's the greenhouse position is determined by where the sun hits the garden. It's highly unlikely that we'll take this one forward either.

  • Plant a low hedge of Box or Lavender to disguise a dip in ground levels by the shed 

We both thought this was a nice idea and one we thought might work, until I realised we'd need to get things into and out of the shed over the said small hedge... 

  • Lay plastic grass, as that's easier for shaped lawns

I'm sure it is easier in the end, but plastic grass. We've got grass (mostly) and strangely this advice wasn't from a plastic grass salesman! I think we'll stick with the real stuff...

  • It's your garden and it needs to work for you, we can suggest ideas but ultimately you'll know if they'll work for you and are something you want to take forward 

Hallelujah!

So all in all we thought it was worthwhile, but like anything the more people we spoke to the more views and differences of opinions we heard. That last piece of advice is worth its weight in gold though. If you go to anywhere where you're offered free advice on your house or garden here's a few more tips:

  1. Get to the area where the discussion will take place at least five minutes before the start of your appointment; there could be twenty other people with appointments with other experts at the same time, as well as the chancers that haven't booked in advance.
  2. Know the name of your expert (obvious I know) and remember what they look like, if their picture was on the online booking. Then work out where they're sitting and position yourself so you can move in when they become free.
  3. Be nice to the person facilitating the appointments, if you're nice they'll make sure you get to see who you've booked to see. And will even turf some interlopers out for you, if needed (see next point).
  4. As soon as the people before you go to move, move in. If you're not quick enough and they're running behind (which they're bound to be) the people with the appointment after you, who've only just arrived will have no qualms about taking your place.
  5. Take as many plans, pictures and ideas with you as you can - unless you really do have a blank canvas.
  6. Be open to their ideas, but remember that you can't implement everything they suggest and you probably wouldn't want to either. But you can choose the elements you like and move the discussion further in that direction.  Remember they've never even seen your garden, so don't take their word as gospel.

Can you tell we learnt more than just what we might do with our garden?!

An update on my seeds

Well, that was quite a while without photos wasn't it? To make up for it here's some shots from my greenhouse and disintegrating veg beds taken this morning: 

HERBS

HERBS

MORE BEANS: THESE ARE BOBIS D'ALBENGA - THE DWARF BEAN THAT THINKS IT'S ITALIAN (ACCORDING TO THE PACKET)

MORE BEANS: THESE ARE BOBIS D'ALBENGA - THE DWARF BEAN THAT THINKS IT'S ITALIAN (ACCORDING TO THE PACKET)

BROAD BEANS

BROAD BEANS

TOMATO SEEDLINGS, SCHIZANTHUS AND DWARF BEANS BEHIND & SWEET PEAS

TOMATO SEEDLINGS, SCHIZANTHUS AND DWARF BEANS BEHIND & SWEET PEAS

And with all the wind we've had over the past few days, there's been plenty of blossom storms and "snow" - the result of which is not much blossom left on the trees and white speckled grass!

GrassBlossomStorm.jpg


The List