






52 Cookbooks 48: Celeriac & bacon soup

This week I've chosen a celeriac and bacon soup which is in The Kitchen Diaries II (it's also available on The Guardian website too). I'd bought a celeriac and bacon and it was a case of finding a recipe to match - I was pretty sure that these were a good if not standard matching - I found way more celeriac and apple recipes - so I was pretty confident of finding a recipe. And I did.  Nigel Slater's recipes always make me smile as there's always some room for leeway - I mean, how do I know that my interpretation of a "thick slice of butter" is similar enough?  I'm banking on the fact I cook enough to know what feels right. 

Unusually I (or rather we) prepared and cooked this recipe one evening to take for lunch the next day. And it was cooked alongside our tea that evening so a times it was a bit frantic in the kitchen. MOH was complaining of being cold and said it was alright for me as I was in a nice warm kitchen. At which point he was roped in, merely to warm him up!
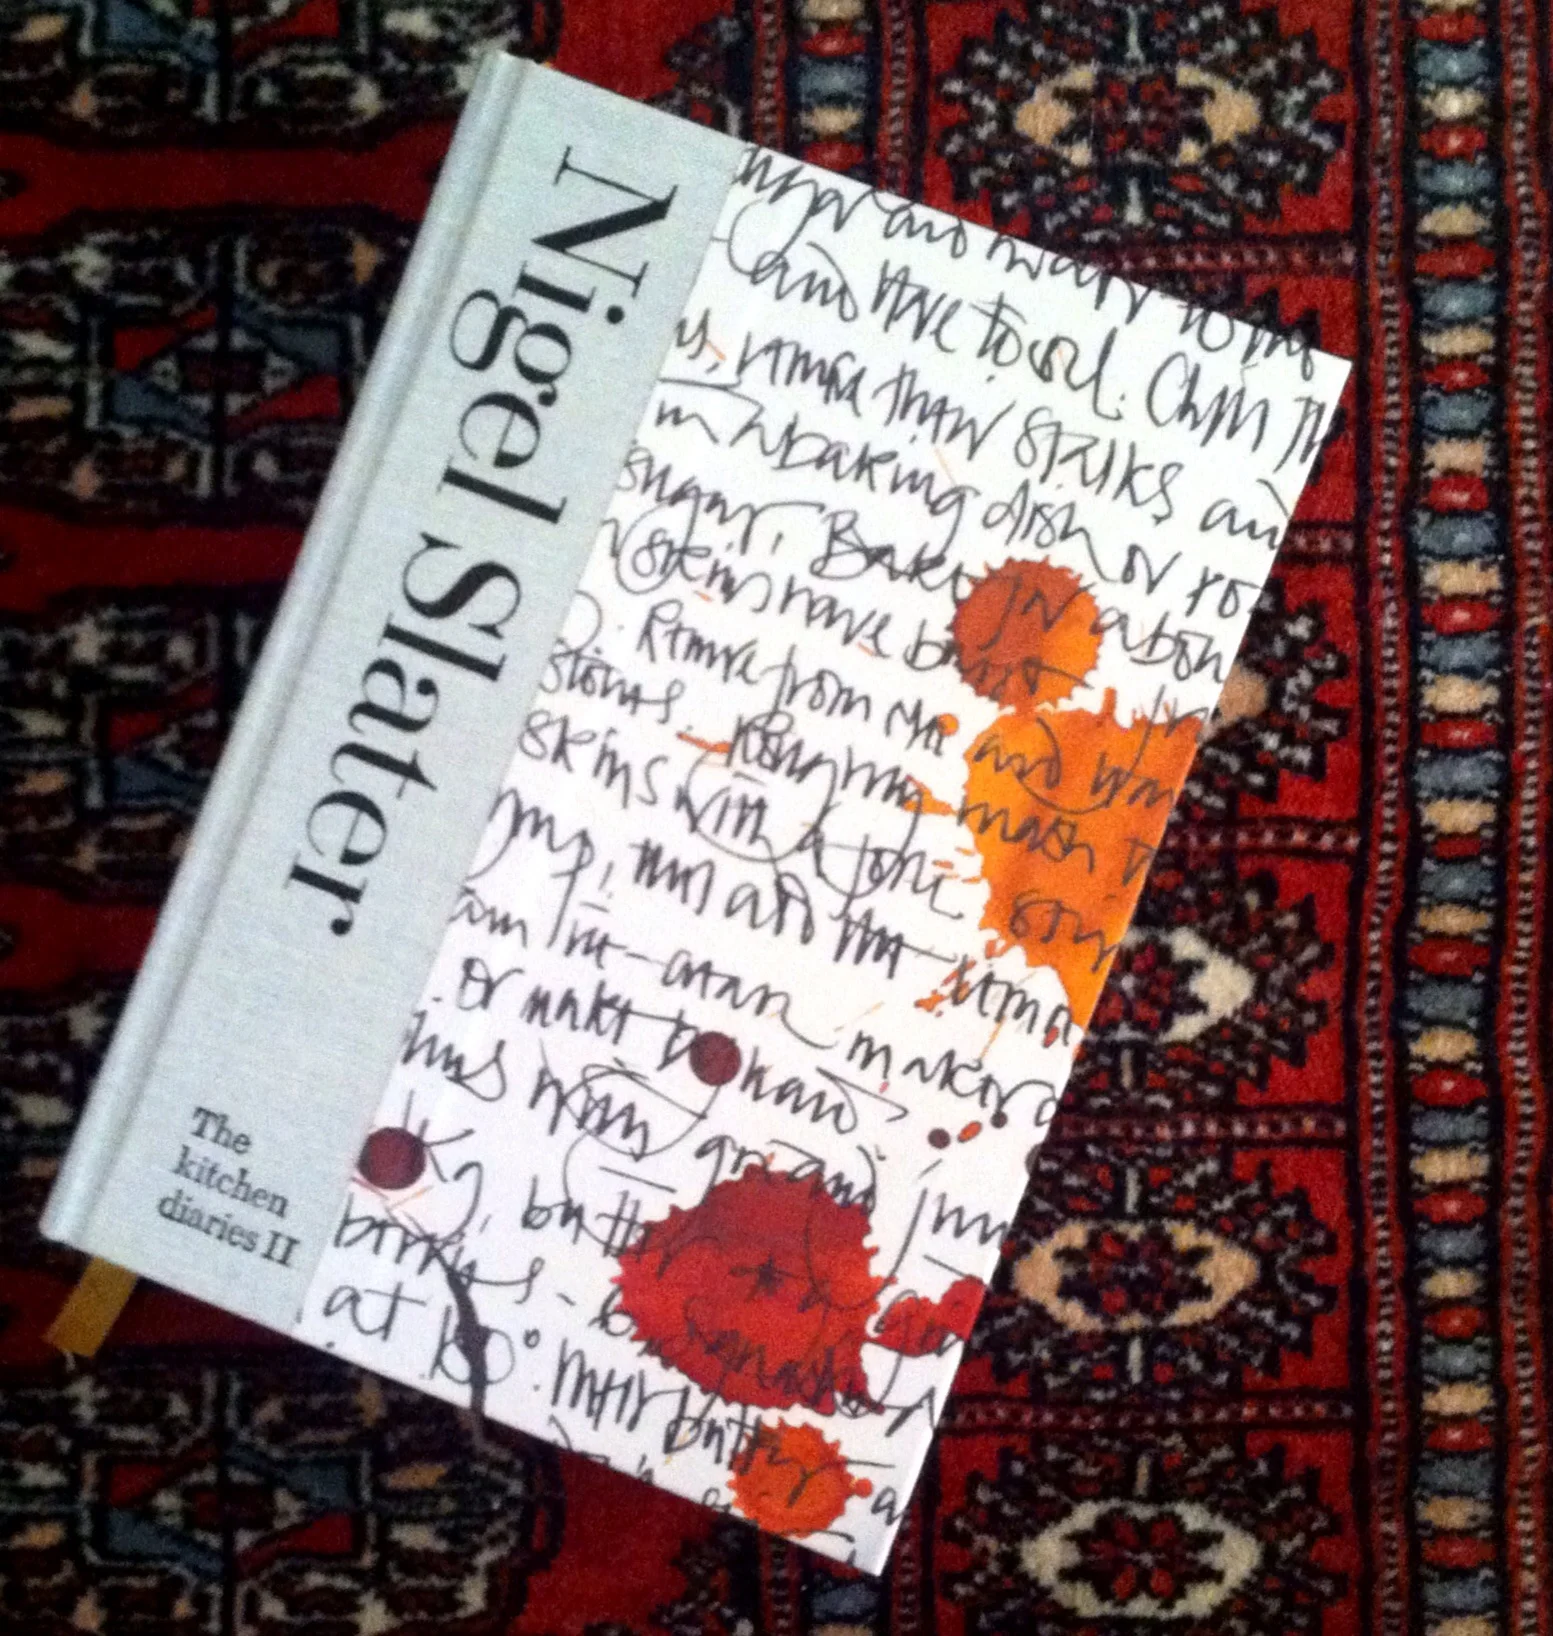
image.jpg

So with the diced onions softening and the bacon frying, it was time to tackle the celeriac. Nigel says to peel these and roughly grate them. Peeling no problem, grating - well I'd contemplated using the food processor but I only have a fine grating attachment so I was in two minds. Then remembering MOH was cold... what better than grating some celeriac to warm him up?  
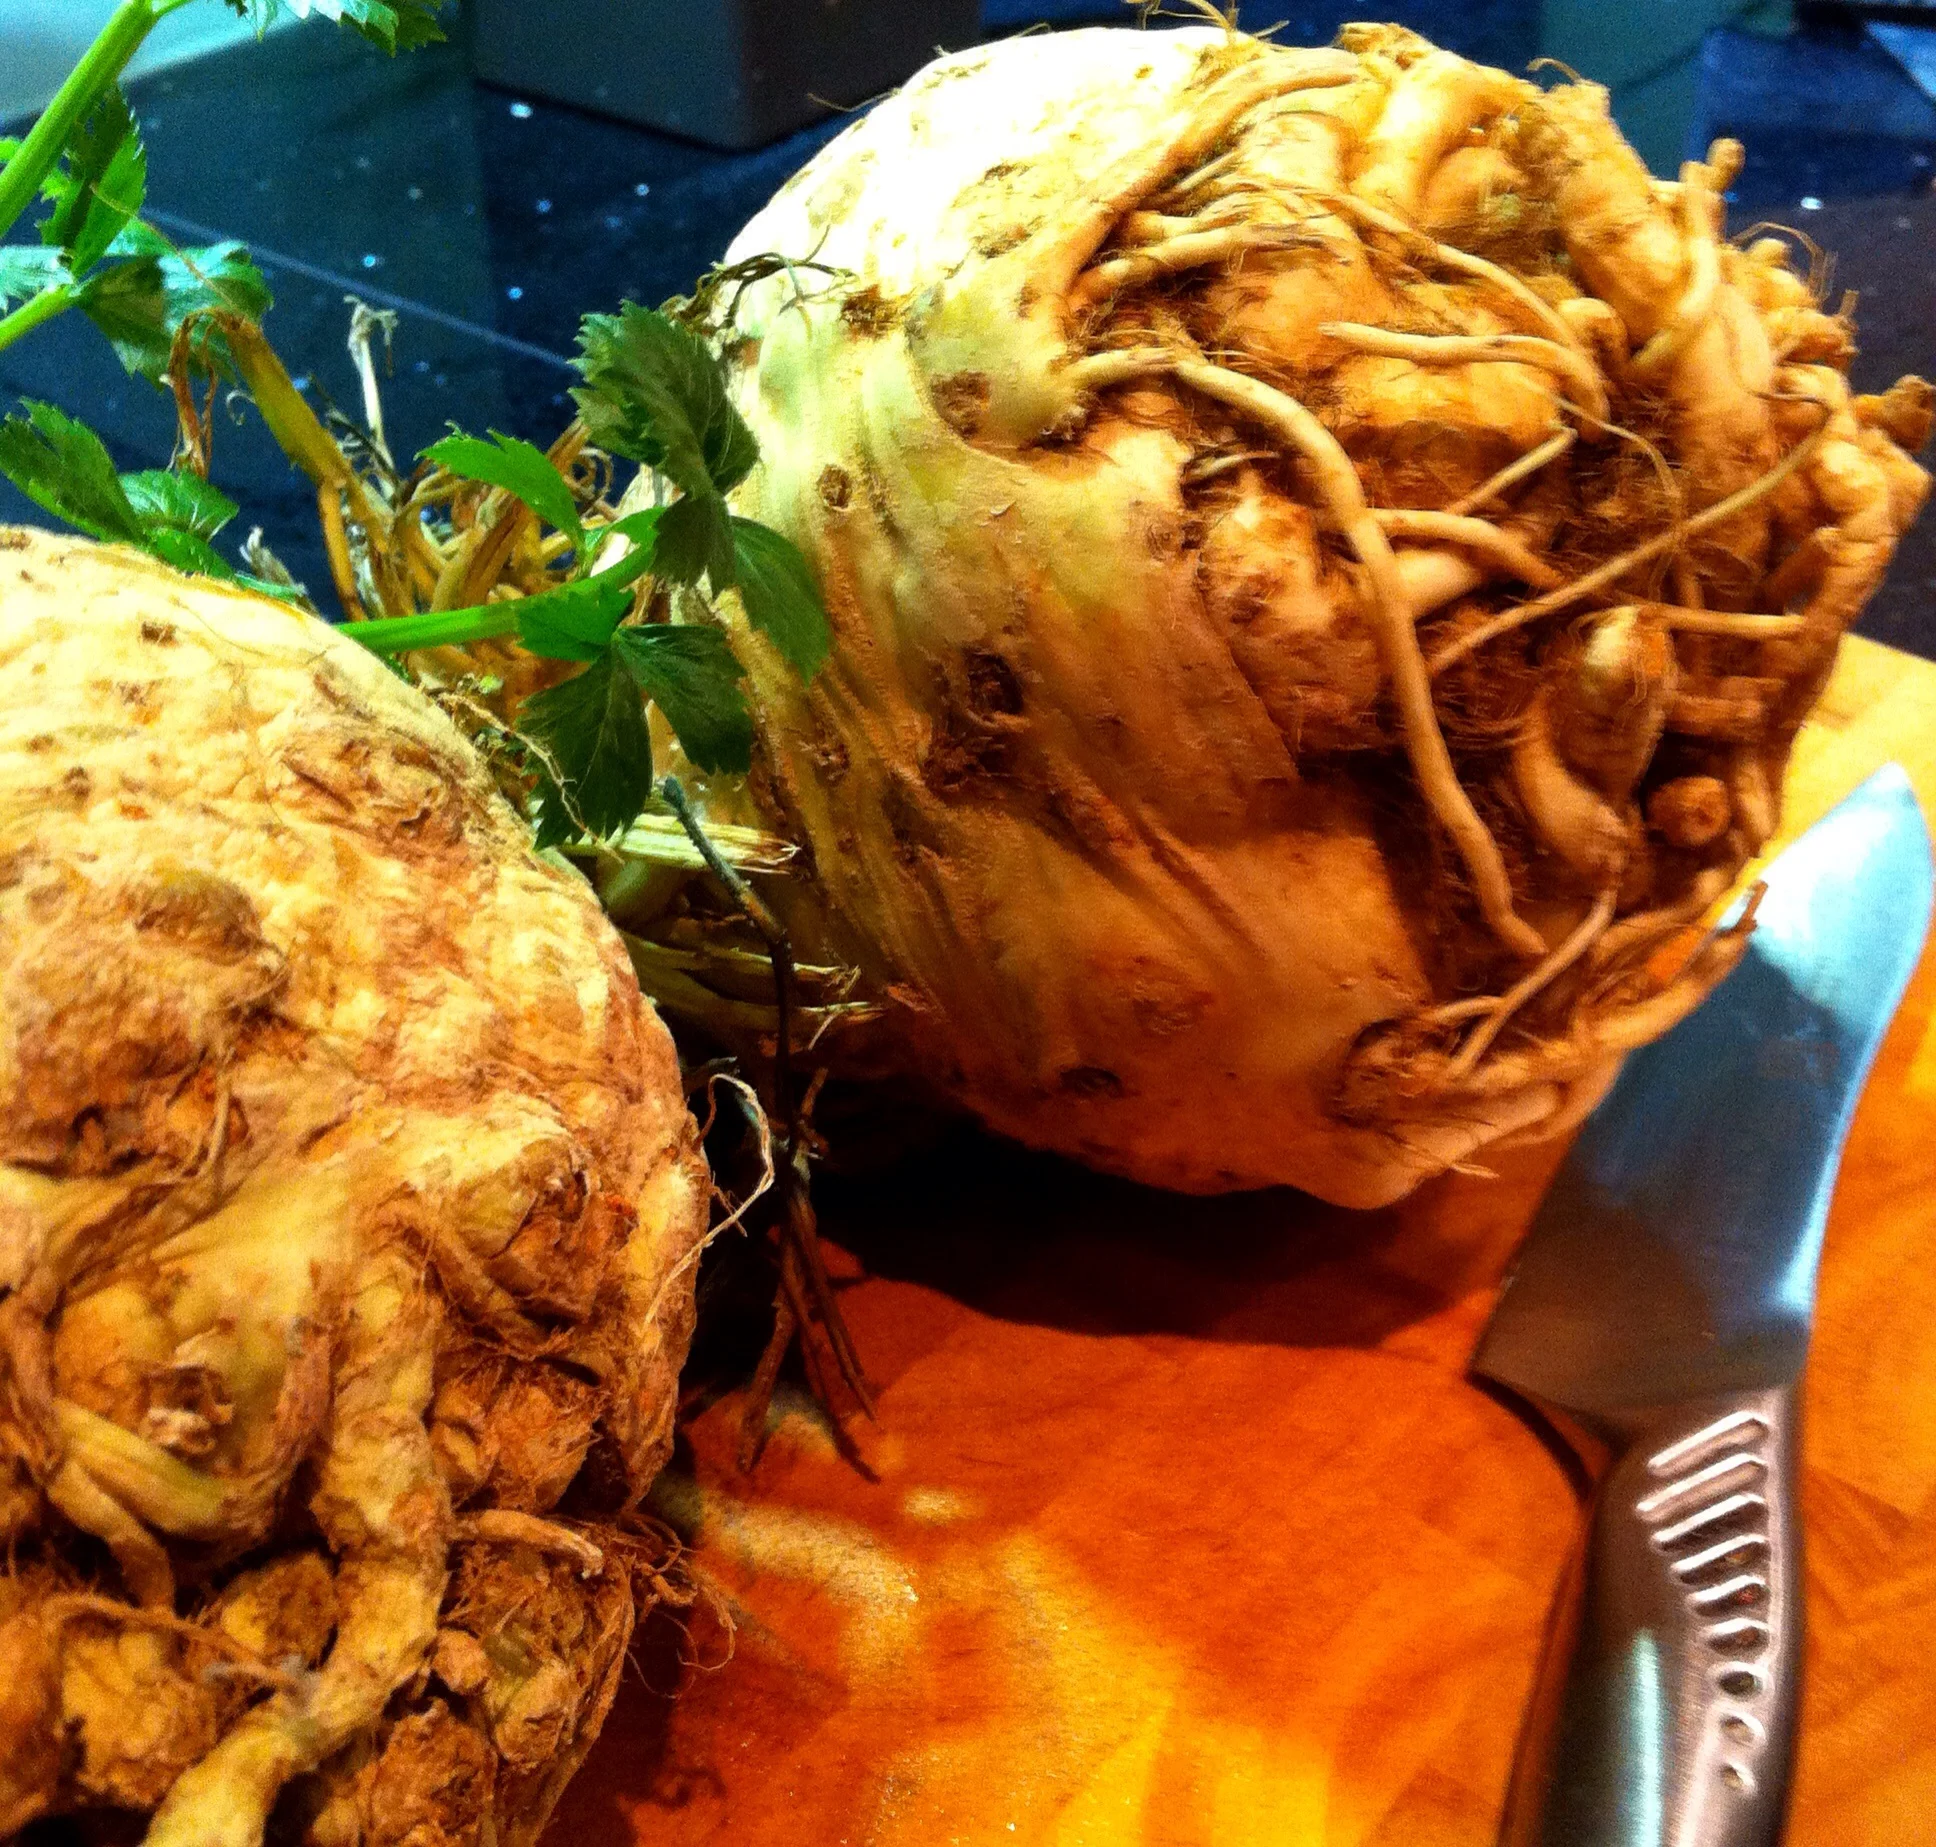
image.jpg

So with no escape clause he started grating. By hand. He hadn't realised just how much celeriac there was and was quickly bored and to be fair running out of bowl for the newly grated vegetable.  What I hadn't anticipated was that "roughly grate" was code for "spray roughly grated celeriac around your whole kitchen" - however as it was MOH that was grating, then he quickly volunteered himself for a second job clearing up too!  And he was much less cold by now too - so win, win!
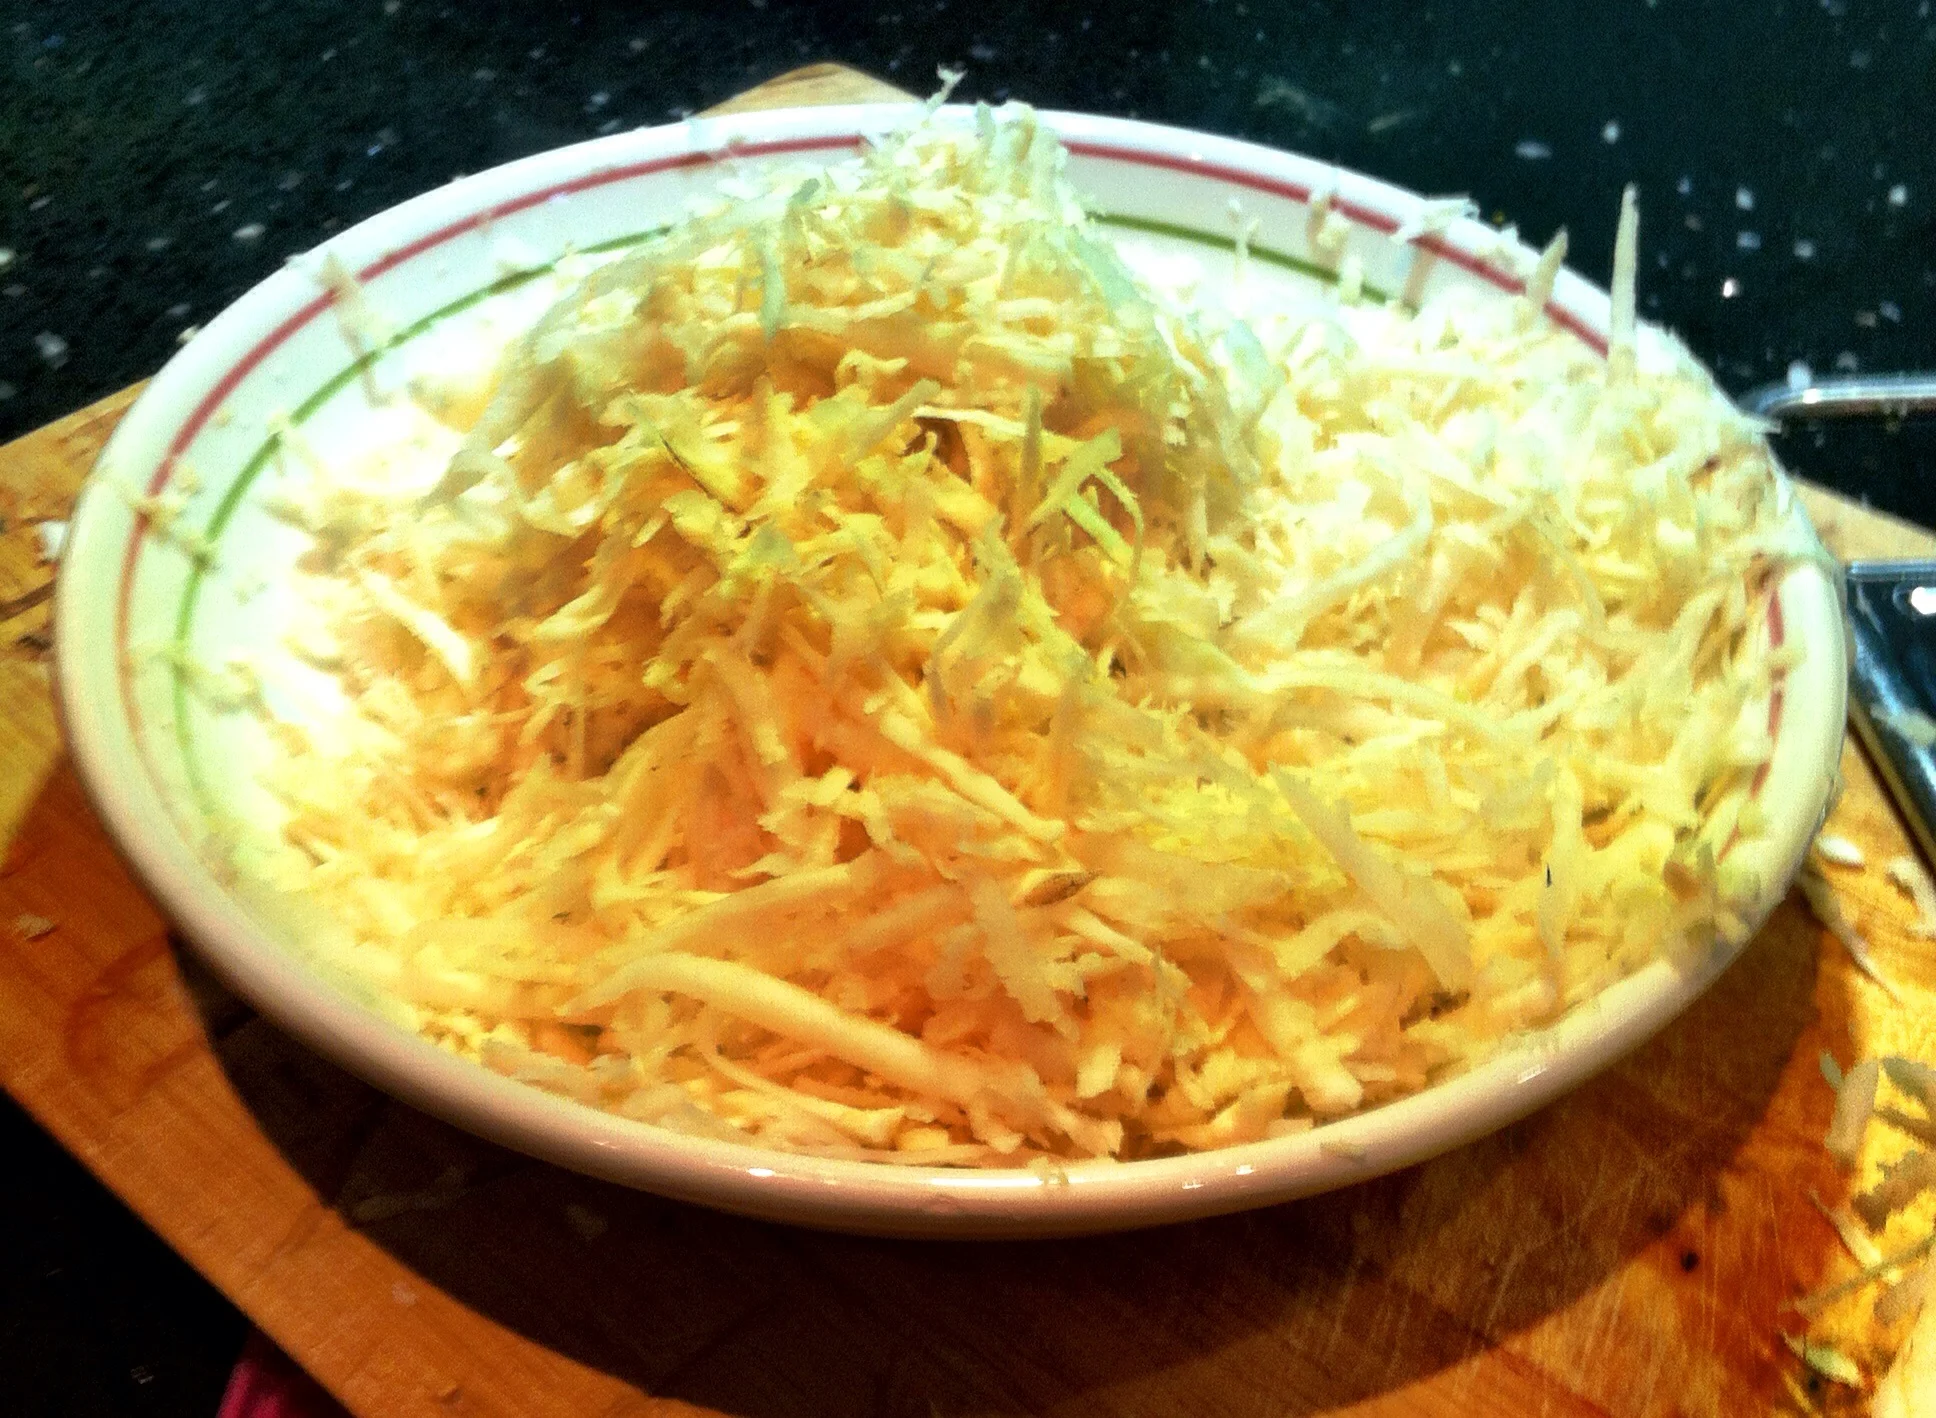
image.jpg

With most of the celeriac in the pan along with some thyme, salt, some chicken stock and water the soup simmered for thirty minutes before I added some whole grain mustard and chopped parsley. 
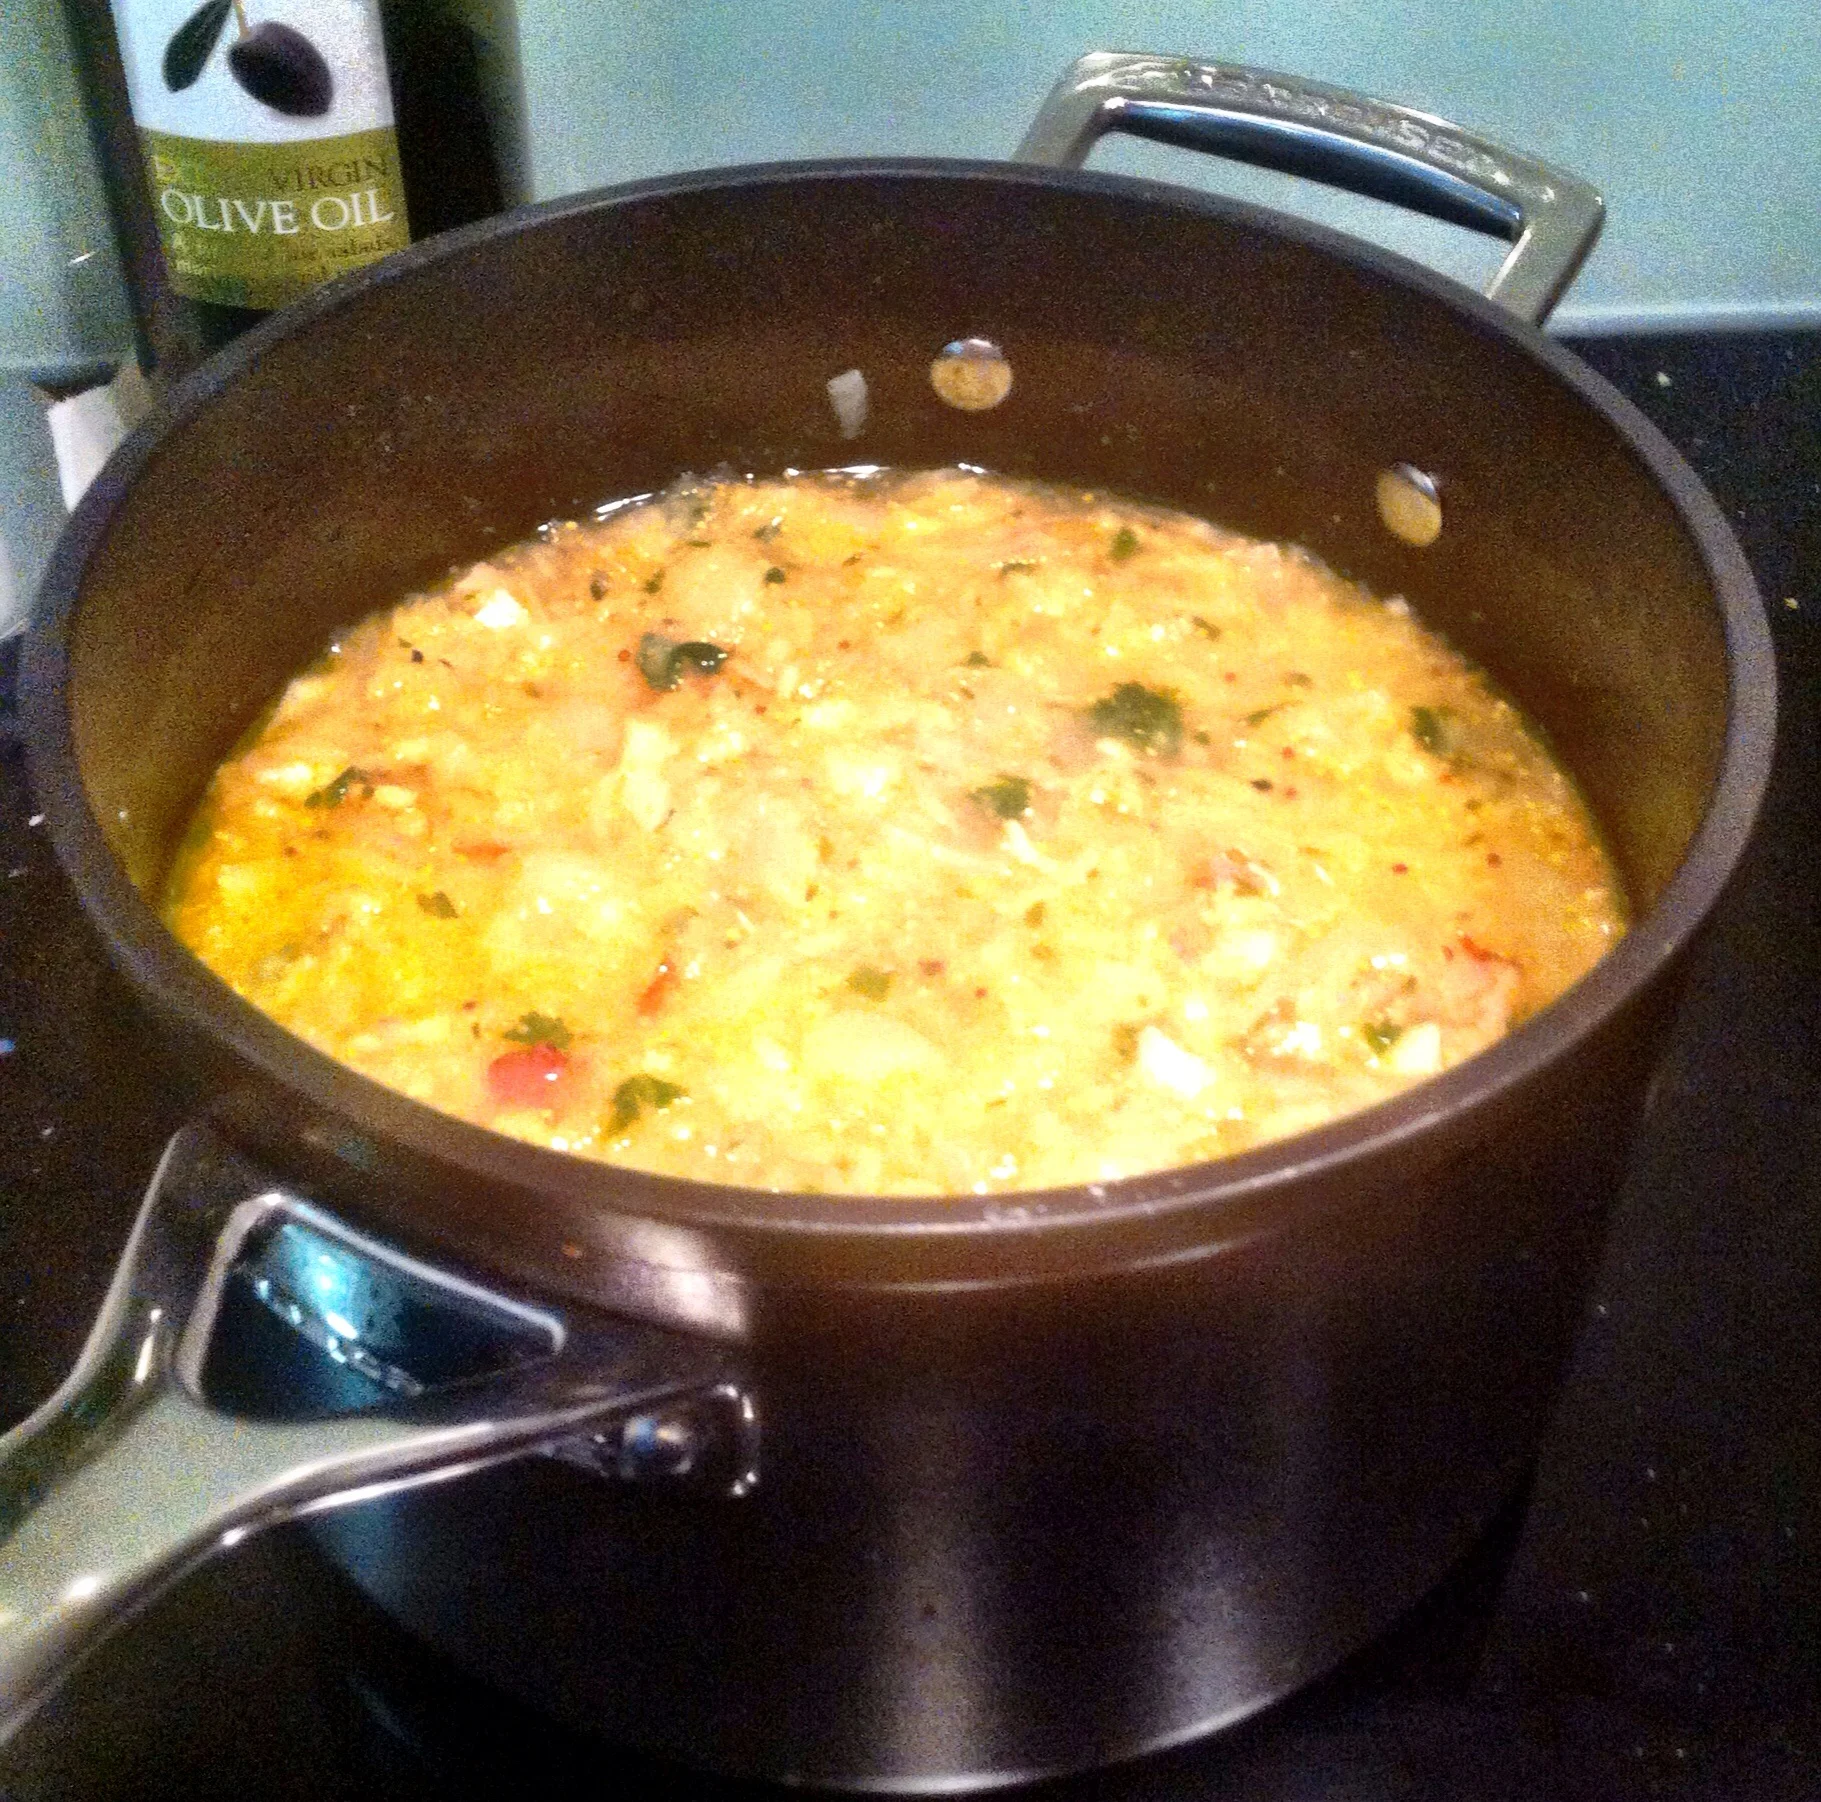
image.jpg

At this stage I let it cool - and we ate our tea - which was handy as I'm not keen on adding hot soups to the food processor. I find that some sauces/soups - especially tomato-based ones and anything with turmeric in tend to stain the mixing bowl and it's worse when it's hot liquid, I don't know why.  Although this had neither of those I didn't blitz it until it was cool. And then only half of it, before returning it to the pan. Then just before bed a portion went into this microwaveable soup mug and the rest went into freezer containers ready for future lunches.  

image.jpg

The verdict

- Next time I'll remember to use the food processor, I may even have remembered to buy a rough grating attachment. It'd definitely be worth it. 

- Blending half of the soup worked well. It left some texture but also added a smoothness.  Nigel says you can add cream to this soup, we didn't and didn't find that we needed it.

 - This soup is deceivingly filling, which is a good thing!  It also freezes well and we got five portions from it. It's definitely being made again at some point. Thanks Nigel!
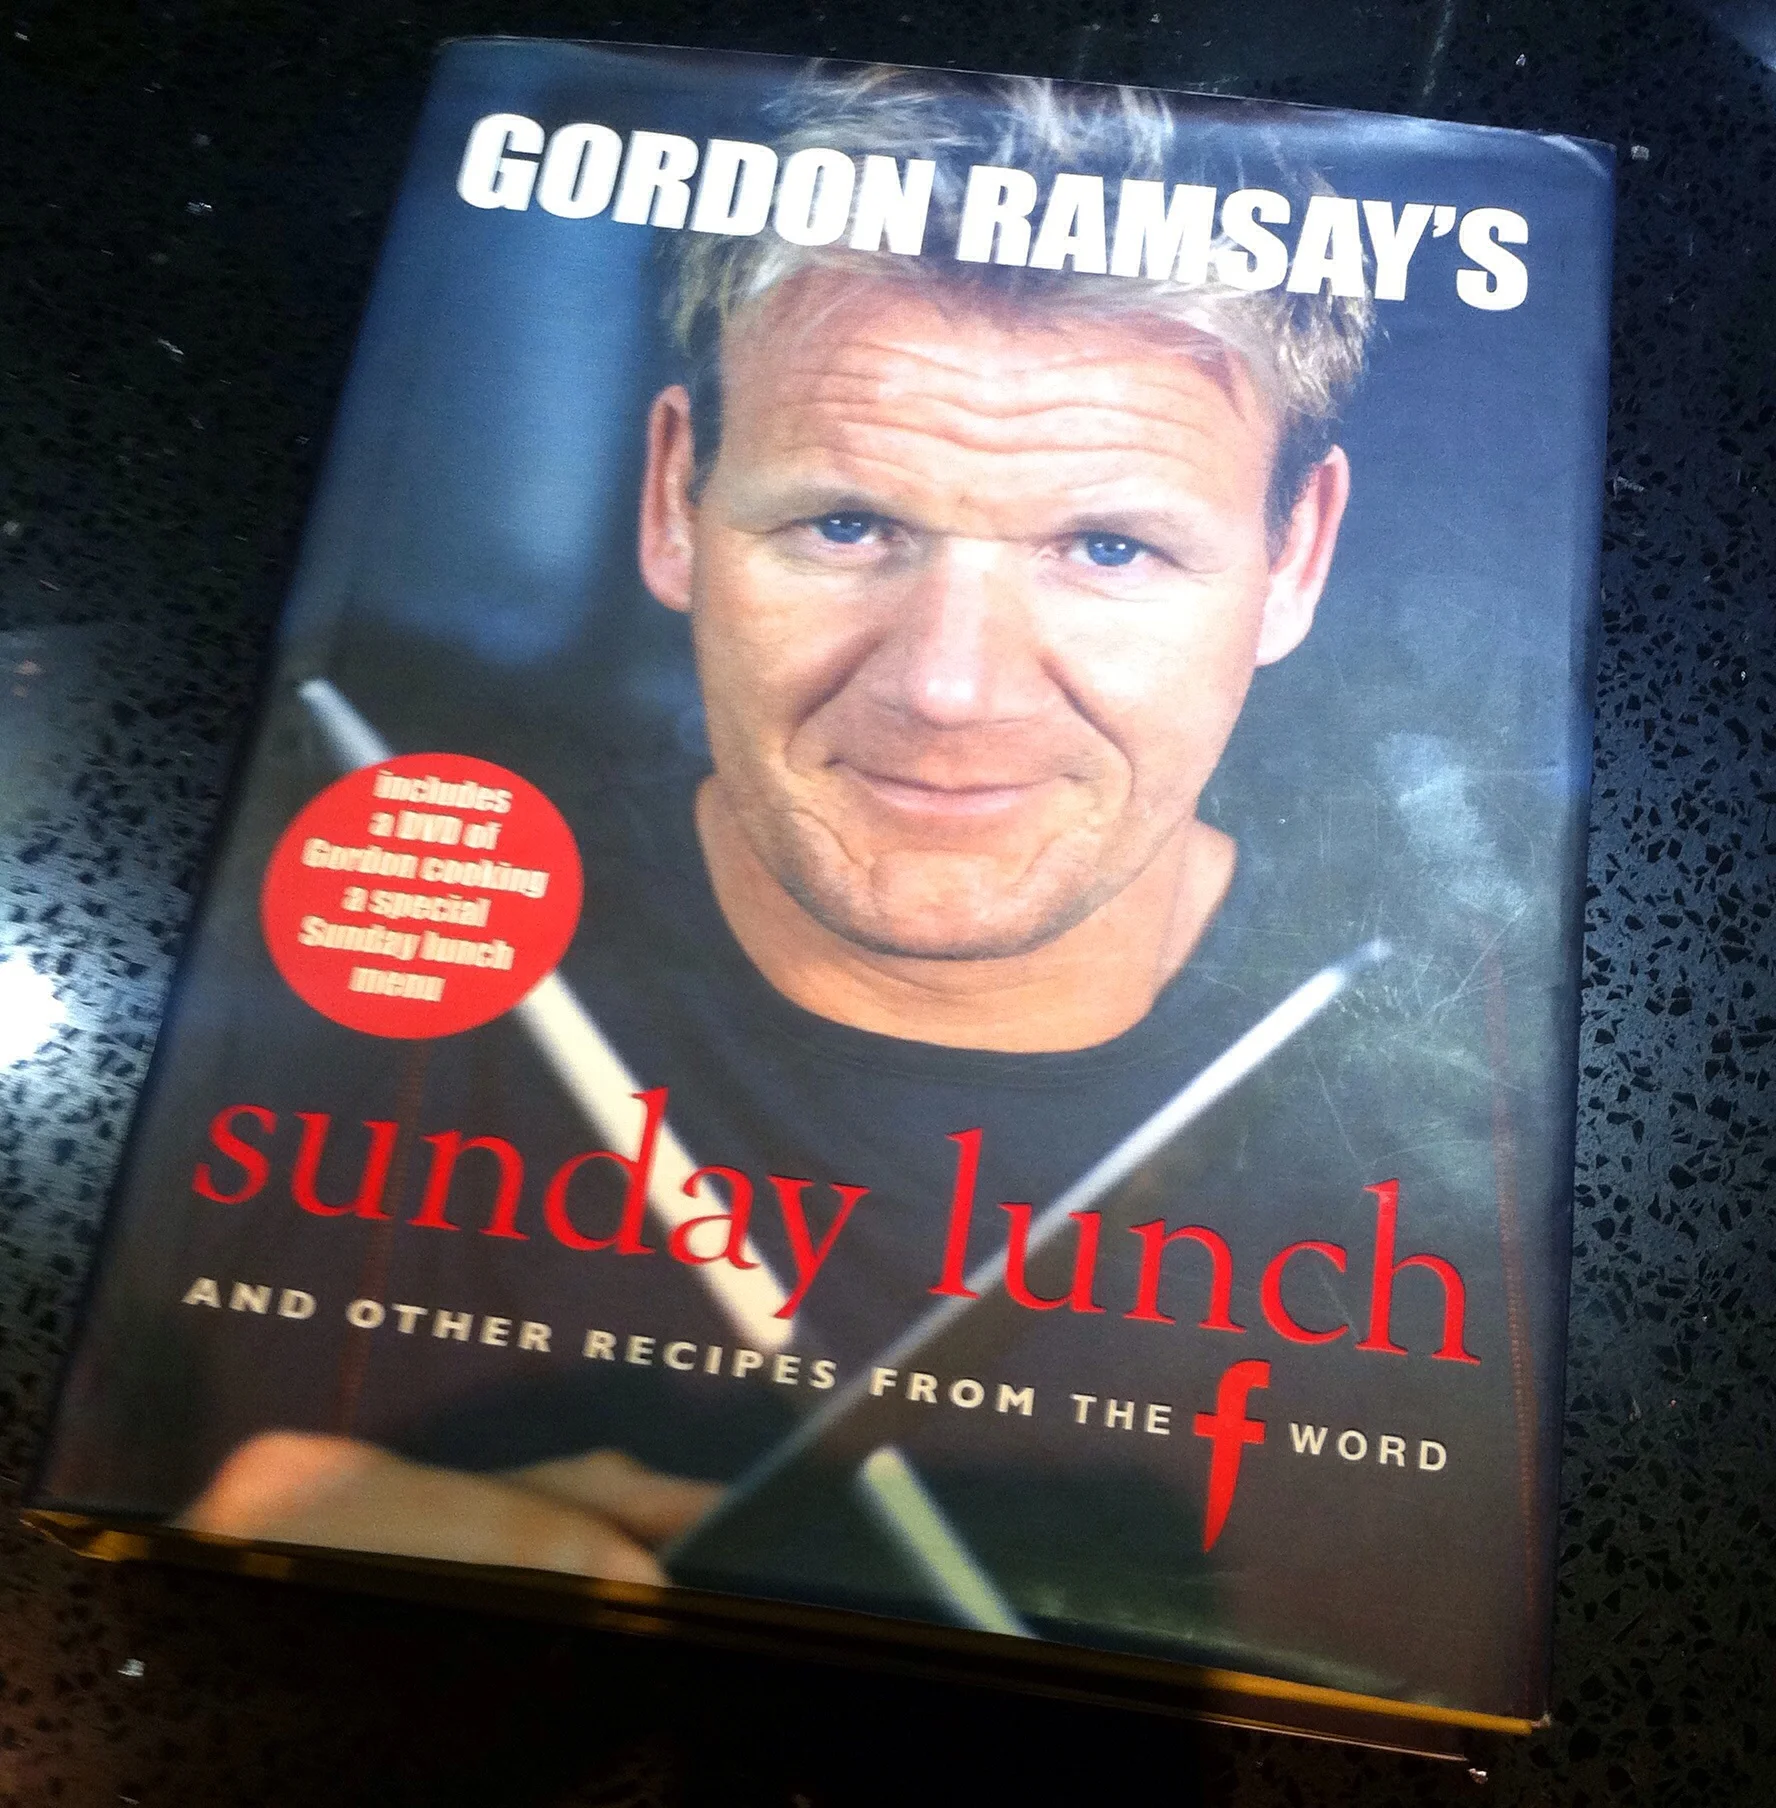
52 Cookbooks 46 & 47: Roast pork belly with broccoli, red onions & capers

Yes this week I'm cooking two recipes. They're both from Gordon Ramsay's Sunday Lunch, which is a book based on recipes from his series of the F word. Which thinking back seems a while back, as it's probably been a while since we've seen Gordon on the TV for a cookery series (I'm not counting the multiple re-runs of those kitchen nightmares where he usually just shouts at people). I have used this book on and off and I like the way that it's set out in menus, so if you're stuck or pushed for time then it makes it easy to quickly choose something that goes together!

There's two this week as I attempt to catch up for the week I missed back in September; and while they both come from the same cookbook, I haven't cooked either of them before so I think I'll allow myself to bend the rules! 

image.jpg

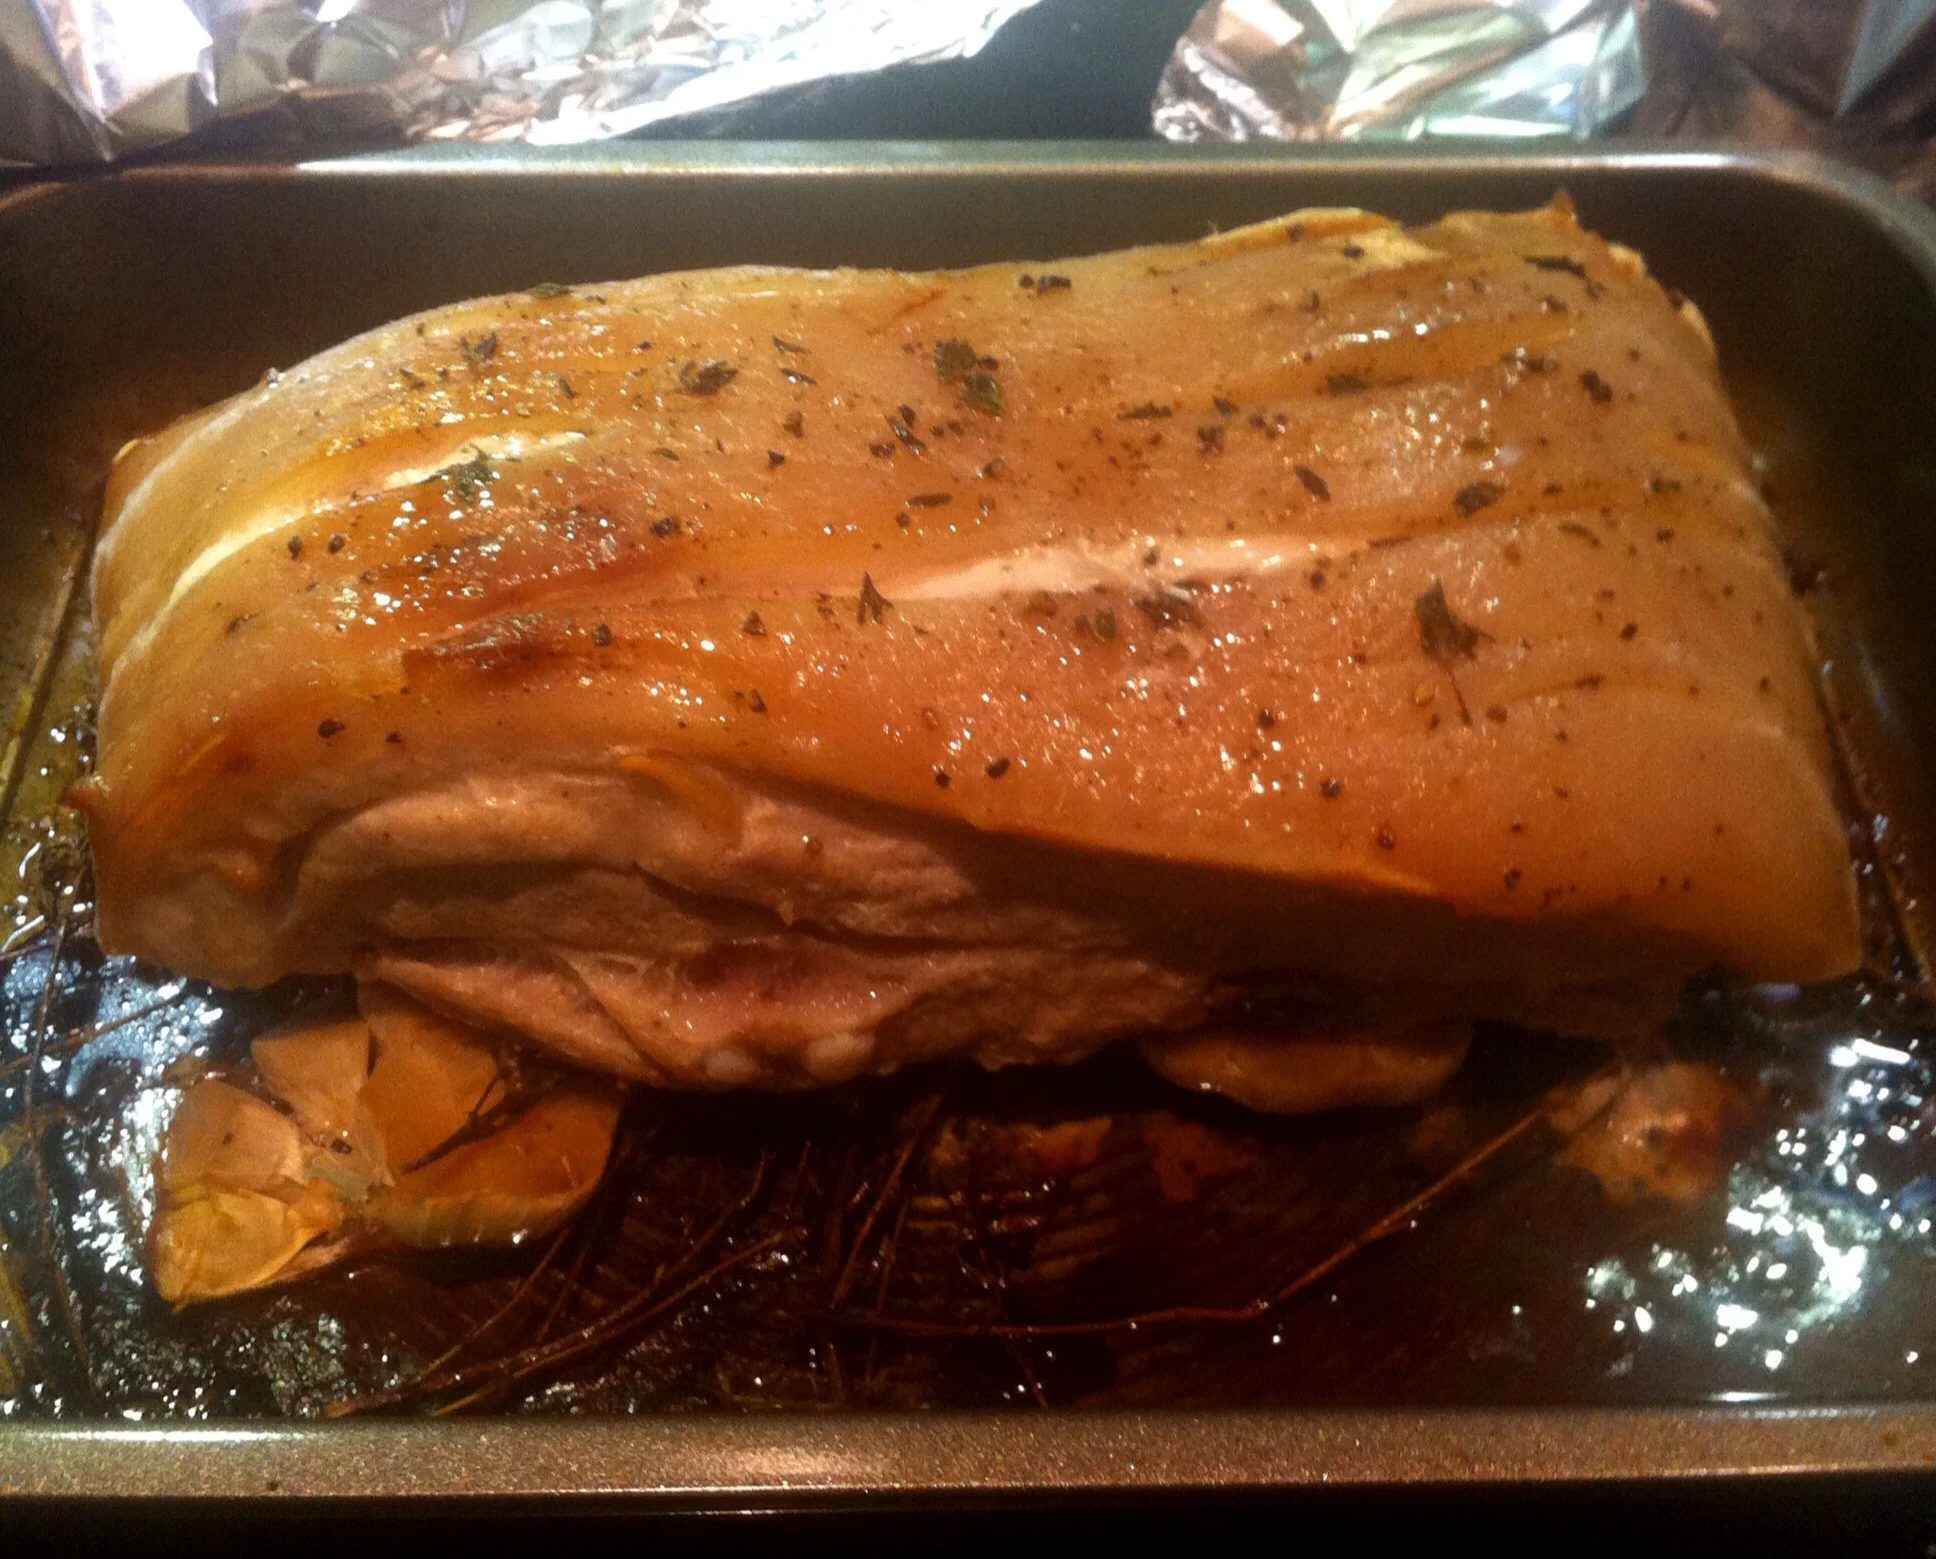
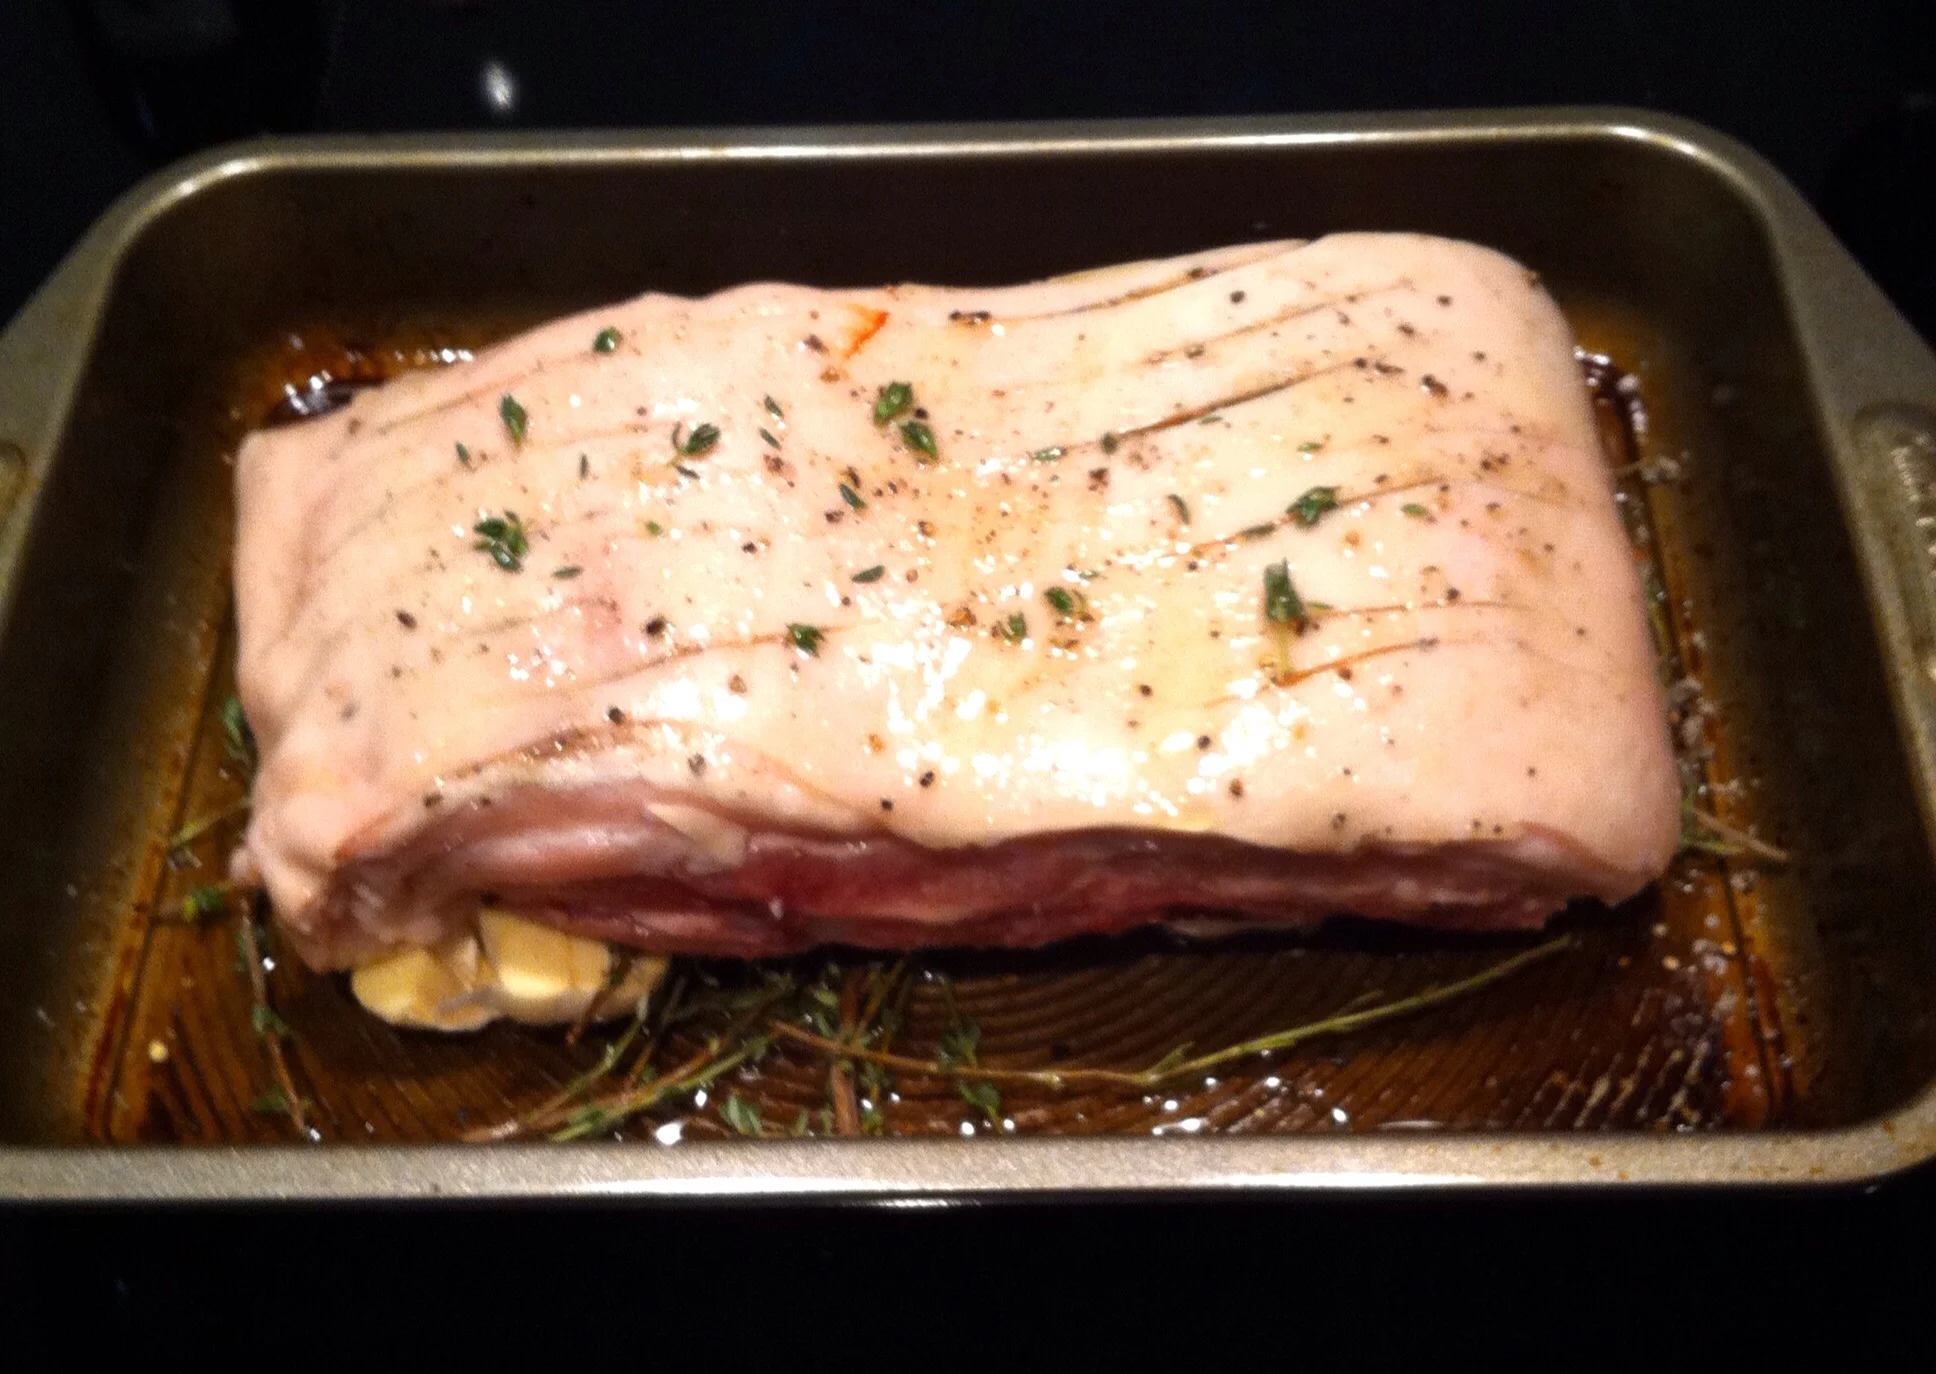
So starting with the pork belly which is roasted twice. The first time it's cooked long and slow to tenderise the meat and the second time it's given a blast of heat to produce lots of lovely crackling. Yum!  Setting the oven to 170 degrees I started to prep the meat, my butcher had already scored the crackling for me which saved me a job so I rubbed salt, pepper and thyme into both sides of the meat.

Then it went into the roasting dish on top of more thyme and two bulbs of garlic cut in half. Sprinkled with more salt, a drizzle of olive oil and a glass of white wine for the tin and covered with foil I put it into the oven for an hour and a half. 

image.jpg

The smells were already amazing (and were to get better) and after the first 90 minutes I took it out of the oven to baste before returning it to the oven for another hour, this time uncovered.  I did cook my joint for longer as it was slightly larger than the size in the recipe, Gordon says it should be fork-tender after the first roasting, and it was. Some of it may have just slipped onto the fork I used to test this too... Well I'd had three hours of lovely roasting pork smells, so what was a girl to do?

The next step in the recipe was where I deviated, so no surprises there. Gordon says to put the meat into a clean roasting tin to cool, adding another tin on top, weighed down with a tin to flatten the pork. Now here's the thing Gordon suggests leaving the pork to cool for a couple of hours or overnight in the fridge to set the shape. To be honest I thought it was all a bit cheffy, and despite starting to cook our evening meal at 3pm didn't have enough time for this. I'm sure it'd look great and maybe I'd do this if I was really trying to impress someone, but erm... not this time round! 

image.jpg

I rested the pork until we were ready to eat, as the second roasting time was much shorter.  I made a gravy with the pan juices, although there were fewer of these than I expected and the garlic was gloriously squidgy and sweet. 

The oven was now set at 240 degrees and my joint went back in the oven. I hadn't pressed it, nor had I cut it into squares (I told you it was cheffy) but I did add a drizzle of olive oil and a sprinkle of salt before putting it in for a blast for twenty minutes or so.  

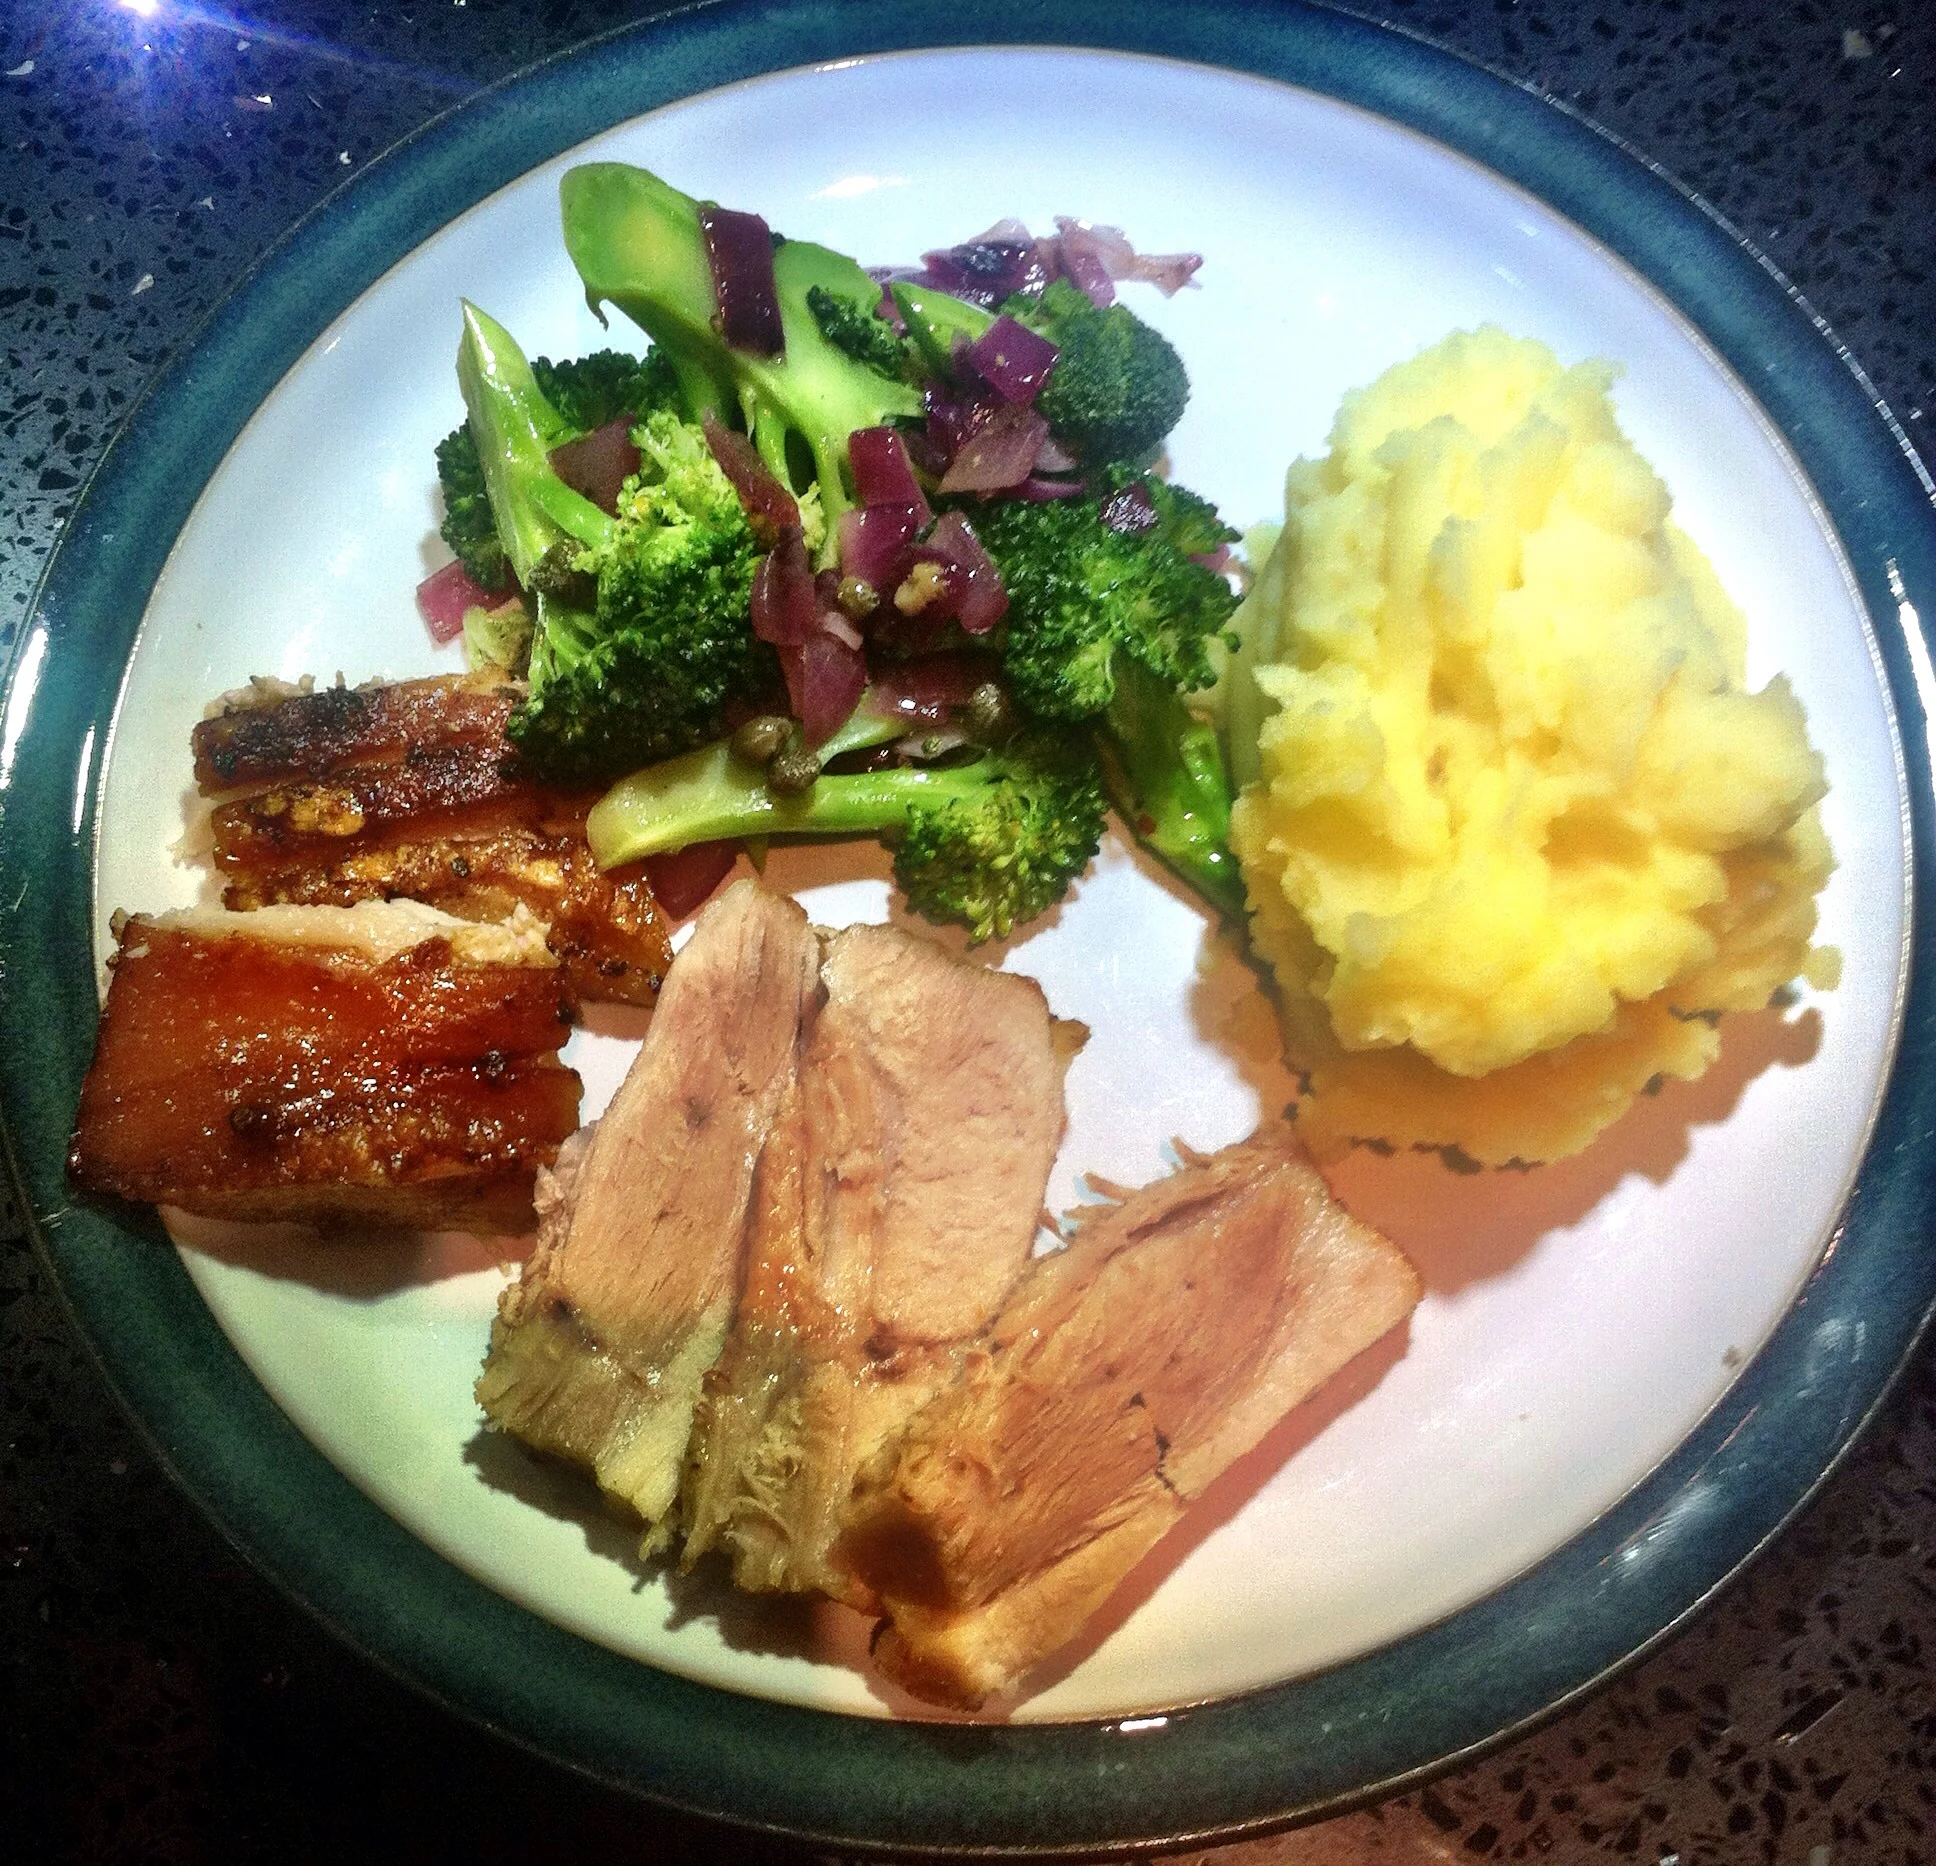
For the broccoli, which is blanched then stir-fried I cut that into florets and diced a red onion.  I started by softening the red onion in some olive oil until it was soft and added some salt and pepper and deglazed the pan with some red wine vinegar, which really enhances the colour of the onion. Then add the blanched broccoli and some capers to the pan with a drizzle more olive oil and serve. Gordon suggests adding a scattering of flaked almonds, which I think would work well. I got mine out of the cupboards but in the rush to dish up and actually eat this I forgot to add them. Oh well, next time!

image.jpg

The verdict

-  Despite its cheffy tendencies, I'd follow the recipe again (well as much as I followed it this time round), I think substituting fennel seeds for the time would also work

- I'm not sure I'd ever really do the cheffy bits, but who knows? 

- There were less meat juices than I expected but maybe I added more wine, who knows. I added more wine and a splash of water and my gravy was good (despite not managing to photograph it) 

- I loved the broccoli done this way, so will definitely be cooking it like this again. And I was amazed at how red the red wine vinegar made the red onions. Maybe next time I'll remember those flaked almonds too! 

- Oh and the crackling. It was good. Very good. I have a rule that crackling can only be eaten at the first serving. Mainly because it tastes best then and partly to help my waistline!  We could have eaten all of this crackling between us, but showed some (but not much) restraint! 


What have you cooked this week? 

52 Cookbooks 45: Quince and ginger chutney

This week I'm making chutney and I'm using one of my "go-to" preserving books, and that's Preserves by Pam Corbin. It's one of the River Cottage Handbooks, and actually the only one of these I own. Pam I softened referred to by Hugh F-W as Pam-the-Jam and with a recommendation like that, who am I to argue?  I've chosen what is basically a "glutney" recipe where you can use what you've got. In the book there's a basic recipe and four variations. I have made the basic chutney recipe before and have also made the Apricot & Date variant so was hesitant to include this in this #52Cookbooks series, but I decided to as I've not made this type before, and actually it's a variant on a variant if you see what I mean. The book suggests a Pumpkin and Quince chutney, however I really needed to use one of my marrow's (from my dad's garden) before it turned to mush, so adapted the variant. 

Pam introduces the recipe by saying to use what you have and that as long as you keep the quantities roughly in the same proportions, all will be well...

image.jpg

I'd seen quinces in our local green grocers and they'd reminded me of the recipe, so with quinces purchased, the marrow needing to be used I was set. I'd forgotten though that the recipe makes a vast amount of chutney and so needs a very large pan, which I no longer have! We changed to an induction hob when we updated our kitchen last year and so many of our saucepans needed replacing, and really in the scheme of things a mammoth chutney-sized pan wasn't up there on the list of priorities!

So I did the sensible thing and halved the recipe. Even so, there was a lot of peeling, chopping and dicing to do: three-quarters of a marrow, two quinces, three red onions and several of those windfall apples (from my dad's neighbour's garden!). All of this plus raisins, soft brown sugar, a pinch of salt, some dried chilli flakes and cider vinegar went into my largest saucepan. 

image.jpg

The pumpkin and quince variant called for some grated horseradish, which I didn't have - only the creamed sort and I didn't think that would go at all. So looking around for a suitable substitute I found some ginger. I added some grated root ginger and some finely chopped stem ginger - hopefully that will work out ok!

Then I read about adding a spice bag so scrabbled around to find my muslin. There's cloves, black peppercorns and a small cinnamon stick in this one. Usually I'd tie this into a parcel with string and tie the string onto the saucepan handle so I'd always know where it'd got to, but without any string and not wanting to use the lovely new twine I'd bought for crafting I tied this "knotted hankerchief" style and threw it in the pot!

image.jpg

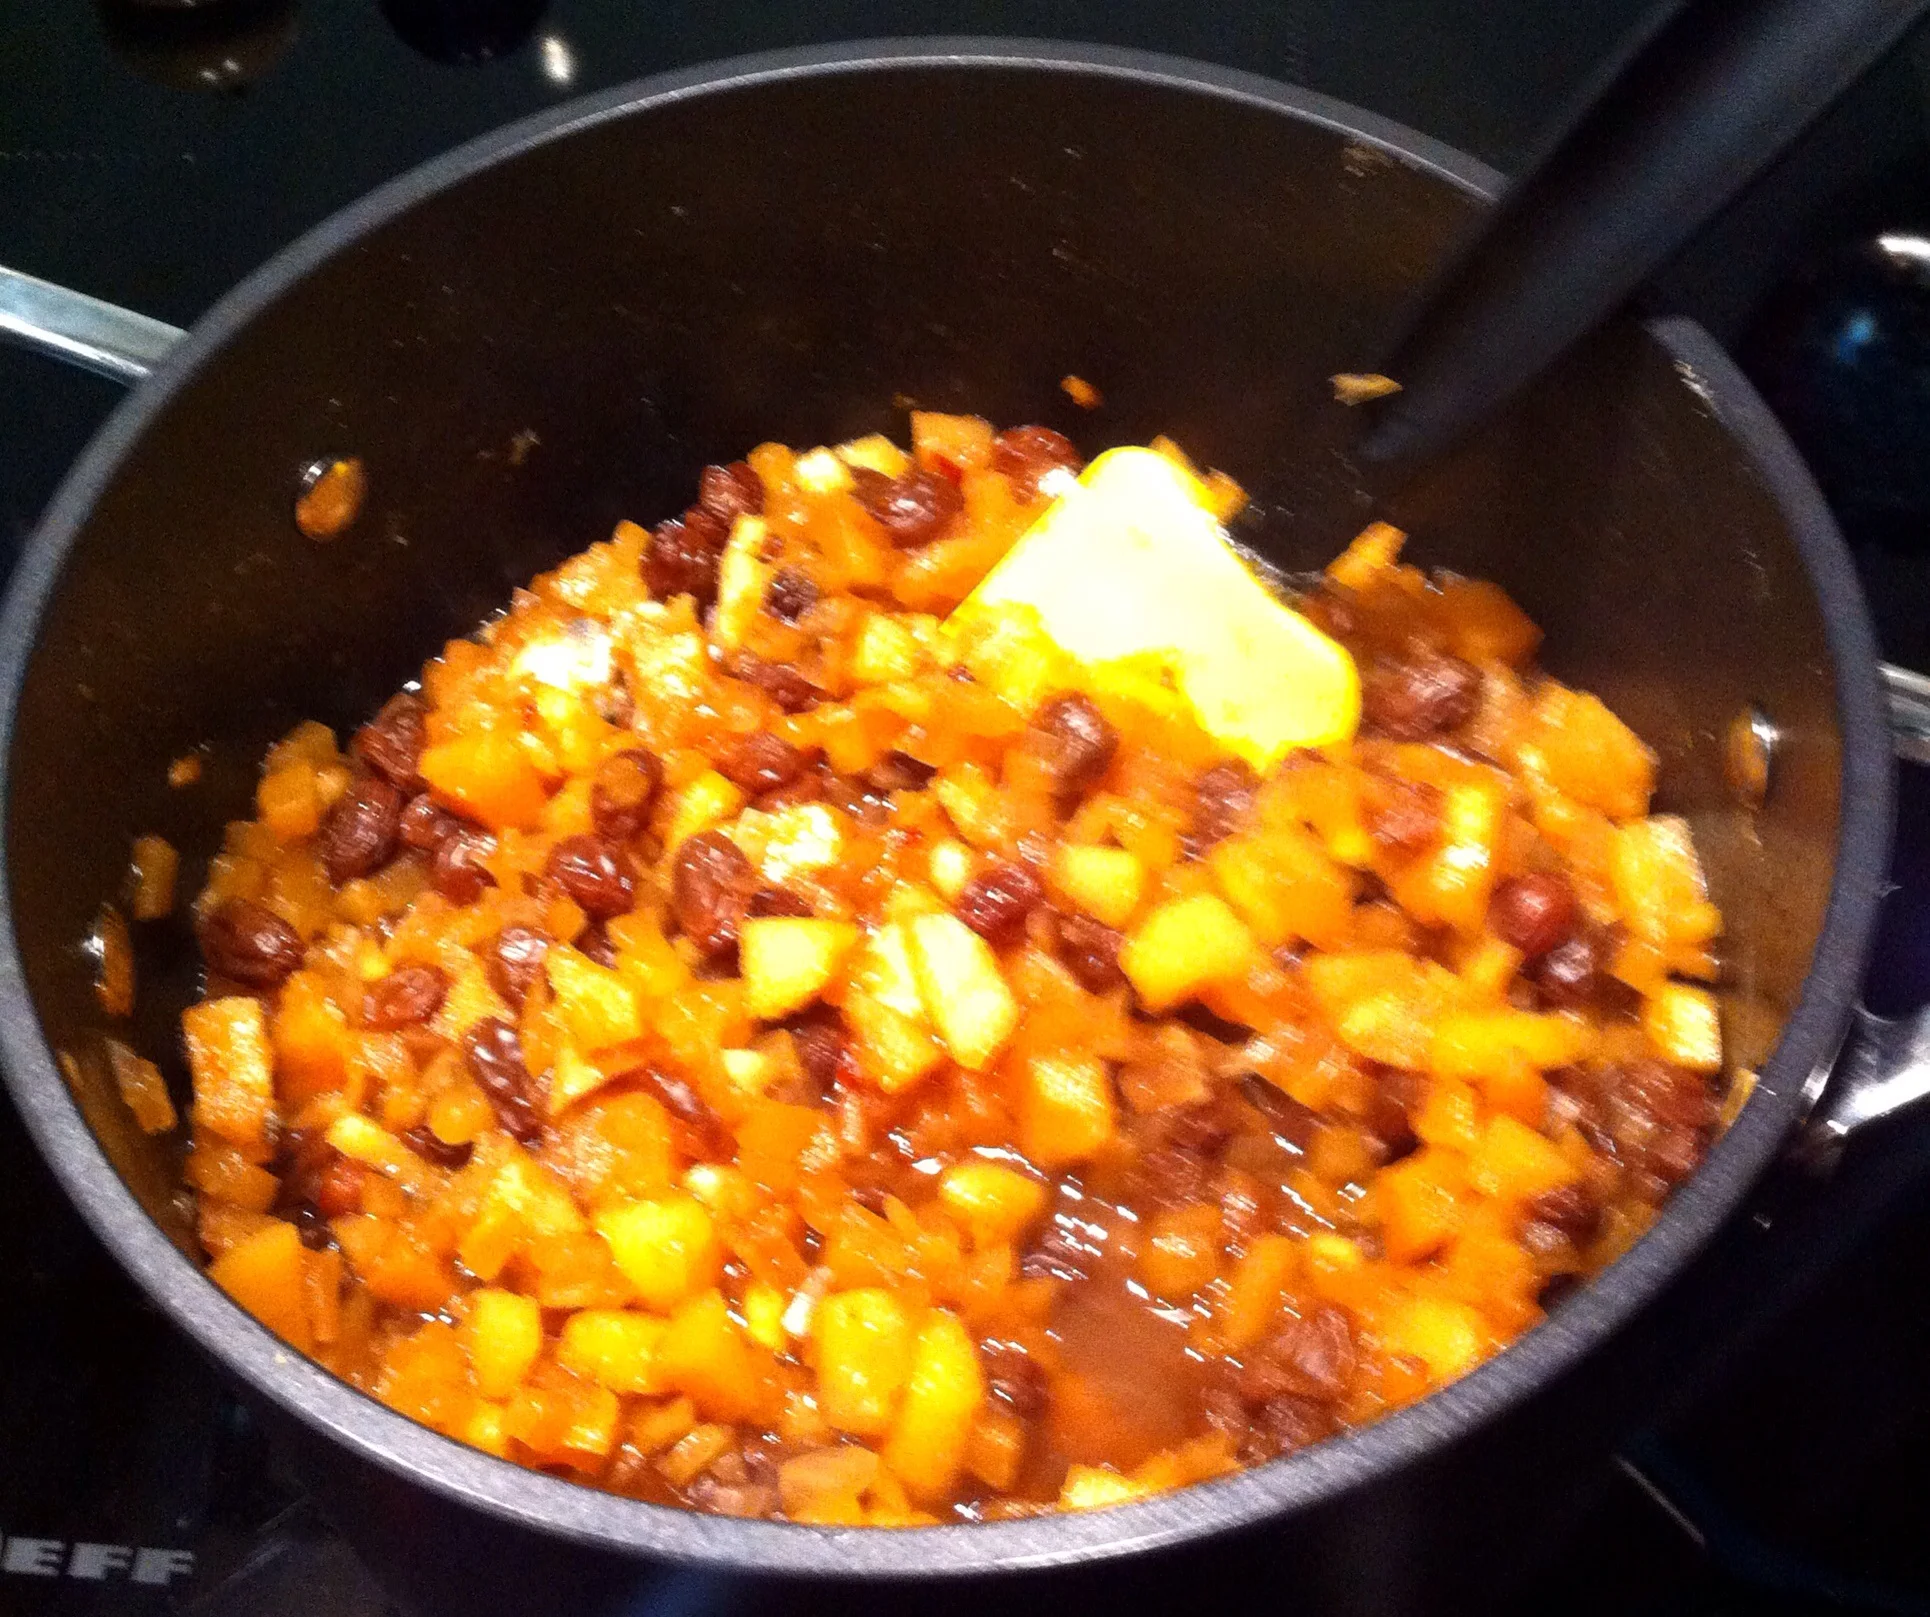
Making chutney is quite easy once all the preparation is done as you give it a good stir then bring it to the boil slowly, giving it a stir every now and then. It takes a while, but there's a lot in the saucepan. Then you leave it simmering uncovered for at least a couple of hours, checking it regularly with a stir to make sure it doesn't burn. 

It's ready when it is thick and glossy and rich in colour but with the chunks of fruit and veg still discernible. The photo below isn't the best - but it's the only one I have - but you can see the change from when I started cooking. 

image.jpg

So onto bottling. This needs to be done while the chutney is still warm and you'll need to sterilise the jars you're using. As you can see I reuse jars I've collected throughout the year, but I'll only reuse them once - after that I recycle them. I sterilise my jars in the oven after first rinsing them in hot water. I keep meaning to try putting them through a dishwasher cycle but either never get the timings right, forget about it until I need the jars  or don't have enough room in the dishwasher!

Once you've got your chutney in the jars, push it down with the back of a spoon to push out any air pockets and then pop on the lid tightly and label. Pam says to store it in a cool, dark place and leave for a couple of months to mature before using and to use within two years. 

Halving the recipe made six jars of varying sizes - I told you it was a monster recipe - and this is now stored with previous year's chutneys for eating and perhaps the odd Christmas present or two, with a bit of prettifying! 

image.jpg
image.jpg

The verdict

- I love to make chutney and I prefer my own chutney to any shop bought Branston-style pickle. Infact I no longer buy that kind of pickle.  

- There's a lot of chopping involved and I always forget how much, but I'll make more chutney. Maybe one day I'll get around to making a pumpkin chutney, or trying the other two variations of gingered rhubarb and fig or plum and pear.  

- I don't know how the ginger for horseradish swap went for sure, but it tasted ok when it was hot! And I think it was a relatively sensible and like-for-like swap.  

- What's not to like about chutney?!