Filling our gabion baskets

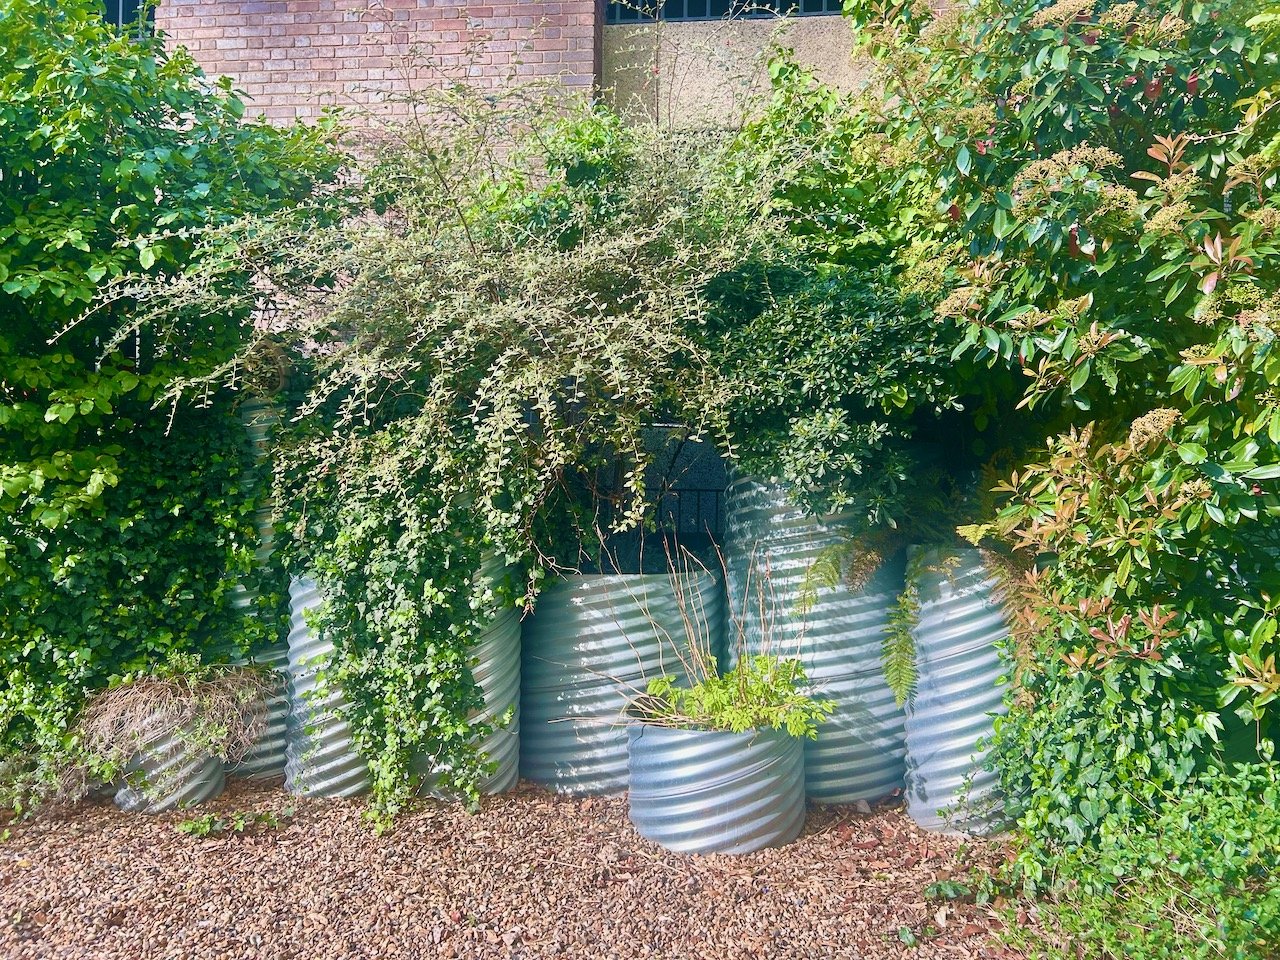
It's been a while since I shared the start of our gabion basket journey, and I can't believe how quickly it's gone, so today, belatedly I'm sharing how we filled them. I was keen for a mix and match approach, but MOH favoured buying rocks and going for a more normal look. The sort of look you see on the sides of motorways, and as we later discovered in our local B&Q, and then again for part of the gabion wall at Hyde Hall. They're everywhere and it’s like when you've decided on a new car, you’re suddenly aware of it everywhere, and wonder if you’ve made the right choice.

I don't expect you'll be surprised to learn that we didn't go for the uniform and more usual buying rocks to fill these. MOH had worked out the quantities needed - using one of the gabion basket providers sites - and told me a big number, I think in the hope to shock me. It didn't shock me as I'd already used that calculator and gone one further and worked out the cost for buying the stones too.  Yes, exactly.

I did some speedy internet searching, on eBay and Gumtree and Freecycle, to see if we could buy bricks and rubble, and even if people would give them away. It turned out we could, and even better, there were a couple of people giving stuff away less than twenty minutes away by car. Proving to MOH that we could collect enough stuff for free, and he knows me well enoug to know when he was beat.

So on another one of those hot days we headed over to Hither Green and loaded the boot of my Renault Clio full of sacks of rubble, bricks and broken slabs. The lady there was happy for us to take as much as we could and a car-full was gratefully accepted. The next day we headed over to the other side of Blackheath and loaded the car again, this time with help from the man giving the rubble away.  He said he was glad to be getting rid of it, so it was the least he could do. In this collection there were roofing tiles, more broken slabs, some rubble and some bags of post-crete that had been activated. 

So now as well as the stones, bricks and other suitable garden rubbish we had two car-fulls of free rubble or hardcore. And the latter was all stored in our front garden, so there was still the large job of moving them through the house and up to the end of the garden. In the heat that wasn't a job we relished, and then while we were preparing the area and getting the baskets positioned I managed to get a reaction to a mosquito-like bite.

We'd already decided to fill the large 1 metre depth x 1 metre high x .5 metre wide baskets first. There's two of those and they were the most important to be filled as our new pizza oven would sit on top of these. With the bite growing ever bigger and me becoming increasingly grumpy about it and less mobile, I was banned from carrying bags of rubble.  

Thankfully that coincided with the day that my SIL and BIL were drafted in to help out, and the day the four of us installed sleepers in another part of the garden.  And yes, they did work hard and we were ever so grateful. It's amazing how much more work you can get done with four pairs of hands, over two (even when one pair of hands isn’t as useful as they’d be without that bite!)

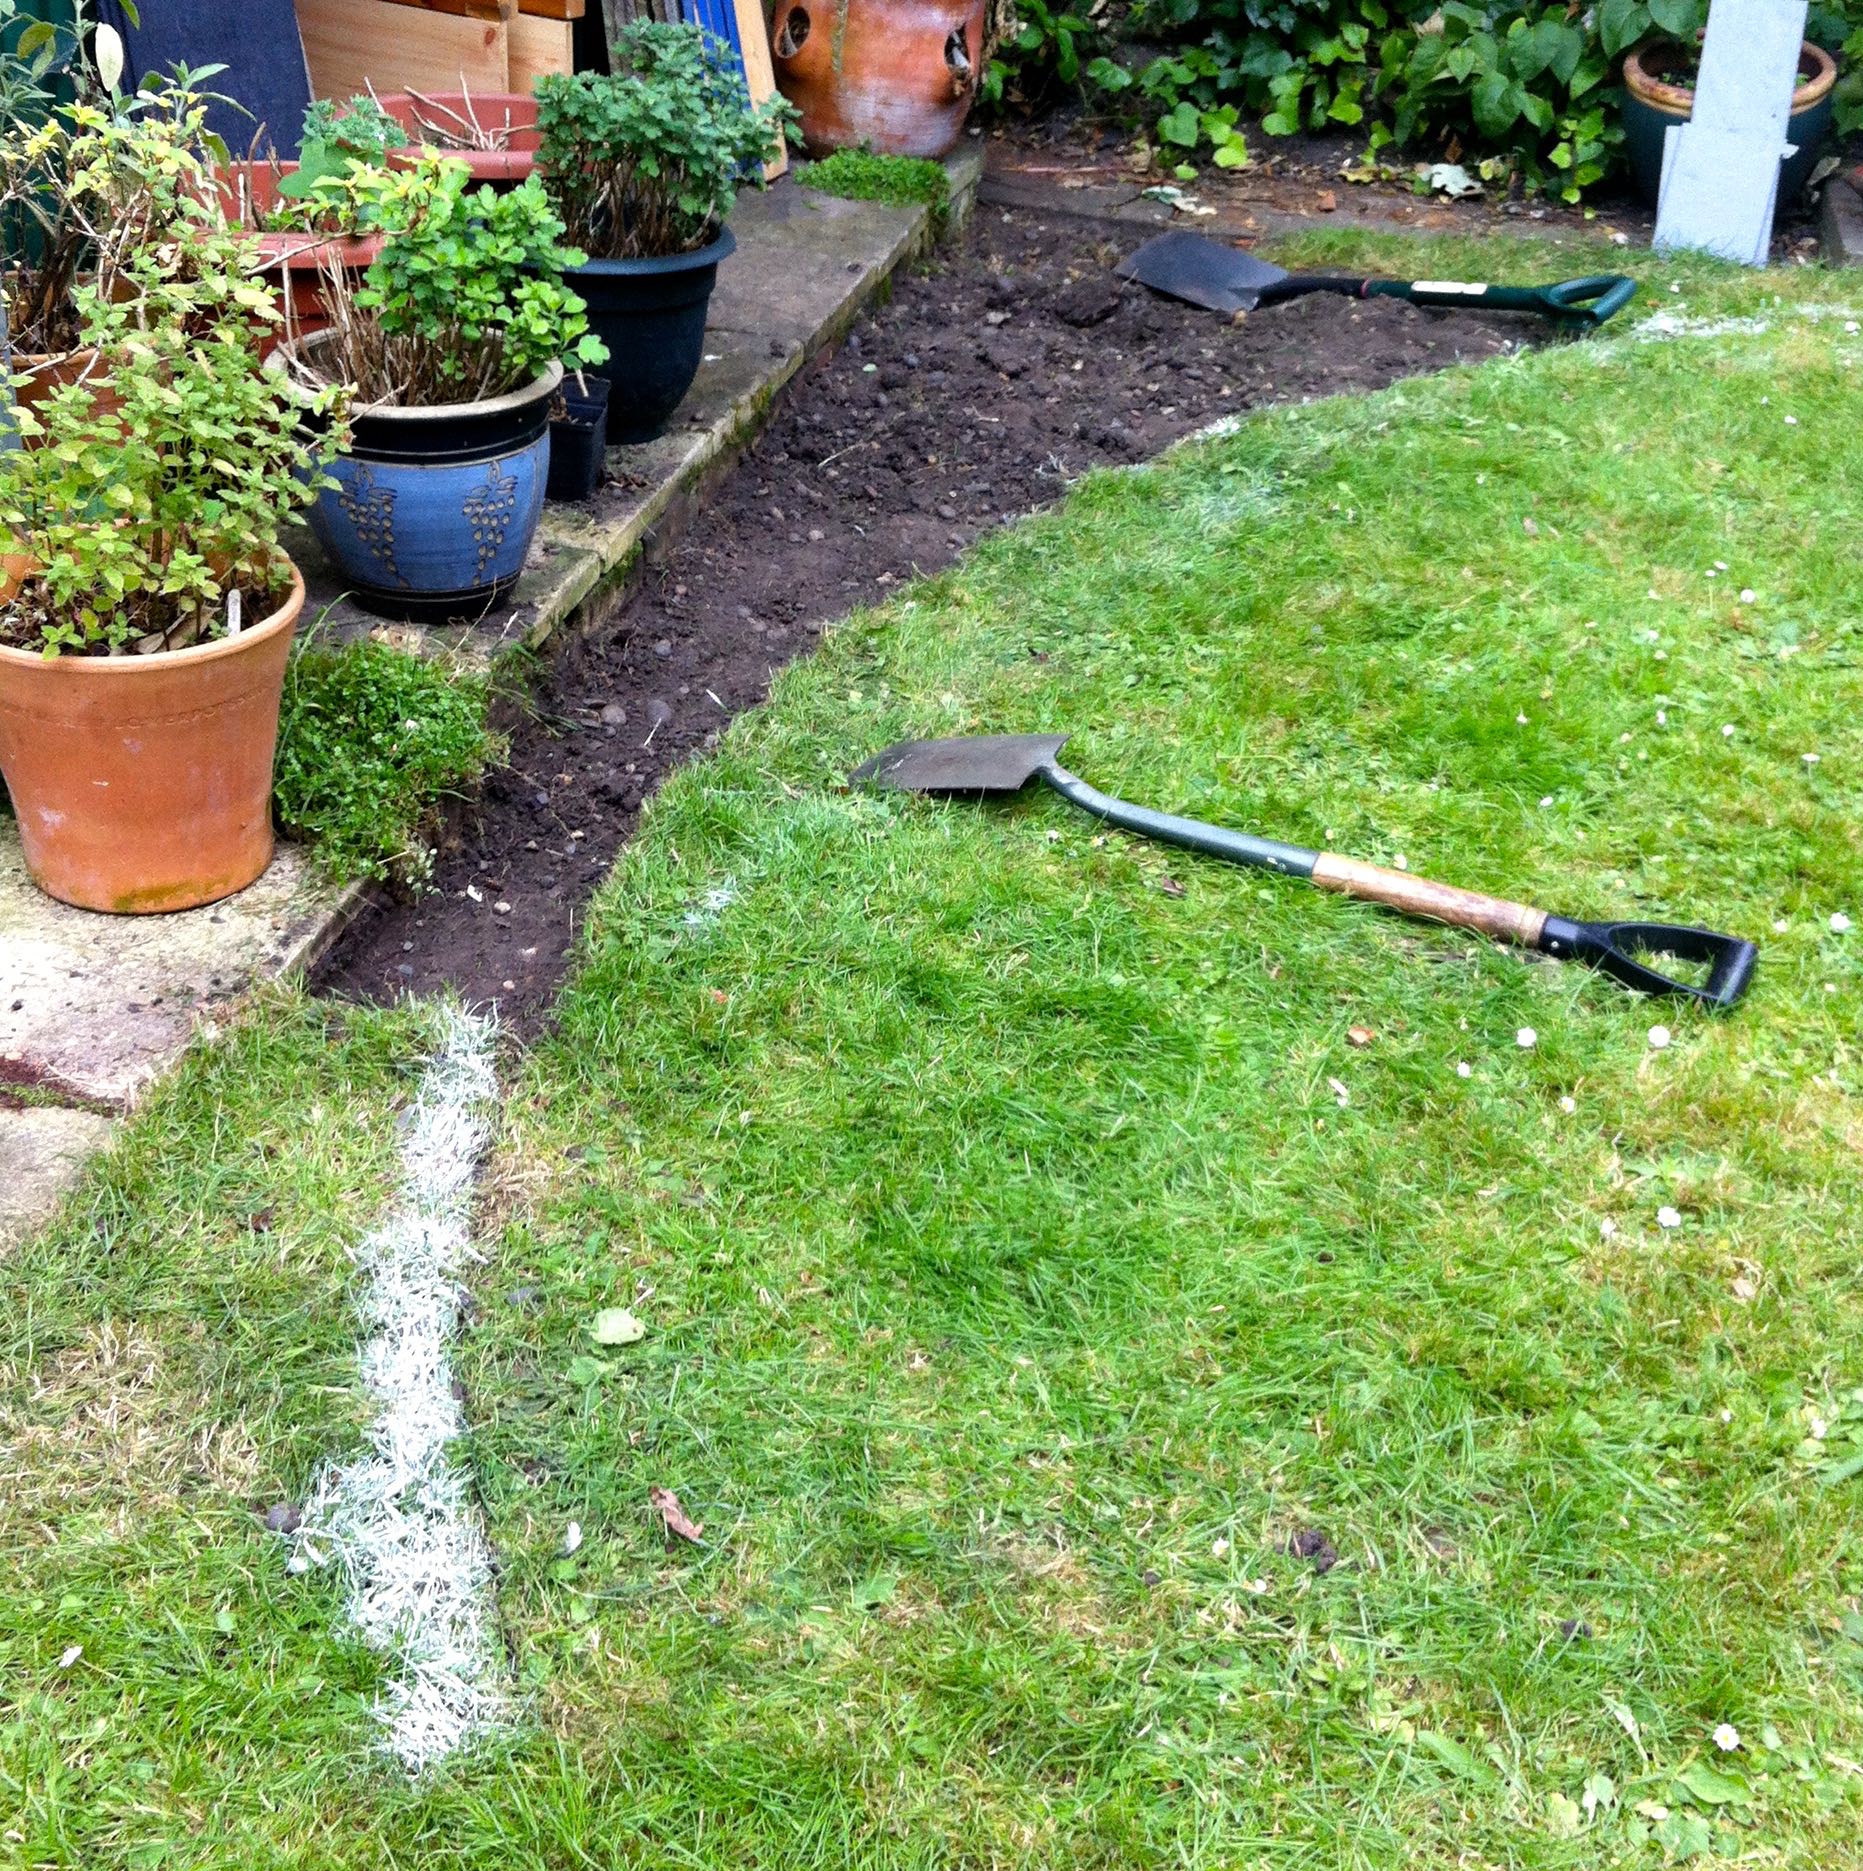
So while the three of them carried our newly found collection of rubble through the house, around the chicane of the dining room table, out of the conservatory, across the circles and up to the stone circle at the end of the garden I waited and sorted out pieces suitable to be at the front and on display. The thing with gabion baskets is they get their strength from how they're filled. So the filling needs to be compacted and free of large gaps, as large gaps don't equal stability.

And so we made a start. 

Starting to fill our gabion baskets with bricks and rubble sourced from freecycle

What we immediately learnt was that 1 metre is a long way to place things, and I quickly became a dab hand of nursing blocks for the edge down the drop using hands through the wire baskets. And even then it'd often fall over as it got to the bottom, and that's where the rake (both ends) came in handy. 

Never let it be said I'm not resourceful!

And gradually I got into a rhythm and worked out how many bricks and half-bricks I could fit into a row, and how by using slate I could make the small level adjustments I needed. I was also keen to use the remnants of paving we had leftover from our patio and the stone circle (and subsequently the patio extension and barbeque stand) so there was some continuity and of course, so we could finally use up what we had left!

Starting to fill the gabion baskets ensuring the front was 'pretty' enough to be on show and negate MOH's  concerns

It didn't take that long for them to fill. And clearly that's easy for me to say, as I was waiting for the rubble to be delivered rather than lugging it up the garden!

Filling the two larger baskets - a hands on shot

Throughout the afternoon there was much stepping back to admire and check progress. And if you tackle a project like this (or in fact any project) it's something I recommend. The level may be telling you it's level, but what does it look like? For a detail person like me, who annoyingly can often spot when things are millimetres from where I wanted them, it's the only way to go and be sure you're happy with it. 

That of course occasionally gets me into slight pickles, like the time when I wanted the stone circle moved by five centimetres, thankfully I'd spotted its location wasn't right before digging really started, so while the gardeners were a bit miffed to start with, once I'd shown them the difference it would make, they were totally on board, but it was touch and go for a moment.   And if you're wondering how I managed to show them something that didn't exist, well I didn't of course, but I did show them the view from our rear windows and how the circle was niggle-ling-ly (yes I know that's not a word) out of kilter for the eye.

Stepping back to admire our work

And let's zoom back in for a moment, as once the gabion baskets are filled, they need closing and so the sewing with wire skill was called on again. It's pretty neat isn't it?

ALL MOH'S OWN WORK

ALL MOH'S OWN WORK

Following advice from Katie Rushworth, from ITV's Love Your Garden, we laid a paving slab inside the basket, then closed the lid and added a paving slab on top. The reason for this is that if (or when there's movement inside the basket, the internal paving slab will help retain some the baskets stability. Clever huh?

Feeling pleased with how the first of the smaller cubes - aka the designated cooking stand - turned out

Oops, it's time to stand back and admire our work again!

Stepping back again - that happened a lot - to check progress

And this is with all of the baskets filled. We didn't have enough rubble and hardcore for all of the smaller baskets and ended up buying some London Stocks bricks to give it enough of a yellow feel for me. We also bought some thermal blocks (think breeze blocks that are easy to cut) for the inners. This made filling the final three seating baskets much quicker and gave us the knowledge that our seating blocks, will be pretty stable. 

And then suddenly the baskets were full

So our gabion baskets are filled, and it's starting to take shape - what do you think?  There's still a bit to do and I hope to share the next installment much quicker than before, because it won't be long before we get to the pizza!

If you're keen to see more examples of how gabion baskets are used, then why not follow my board on Pinterest. It comes highly recommended as MOH also undertook research and sent me links to some of the things I'd pinned onto my board. He doesn't do social media, and couldn't work out why I found this amusing...  

But if gabion baskets can get him looking at Pinterest (albeit through Google searching) then it really is quite a powerful tool!

Home Etc

Circles. And a lot of digging.

So I've been talking about circles in our grass for quite a while now, but last week they finally happened. Or started to happen. The skip arrived Tuesday and the next day was all about collecting the junk from around the garden and the greenhouse and shed and starting to fill the skip. Feeling pleased with ourselves and wondering if we'd not got as much junk as we thought, we left the digging until Thursday.

It started by marking out the circles, and although we did this back in April back then we did it freehand. Now we were actually making the cuts, removing grass and plenty of soil we took a more scientific approach with a bit of string tied to a screwdriver. And started furthest away from the house, which was a good idea for a couple of reasons. One it was furthest away from the house and if we cocked it up it wouldn't be visible and because it was good to carry the earth a long distance while we were fresh and keen.  Although it was the first of these reasons that really swayed us.

Thankfully though it worked out ok, and the first - and largest - circle we cut, actually looks like a circle!

Marking out the circle and our cutting line
Starting to cut the first - and largest - circle
Stepping back and admiring our circular lawn

After finishing the first circle - or three quarters of it, we marked out the next circle. In that one though we had a spot or two with some grass missing, and a ton bag of slate in the way in another place. I'm sure we'll sort both out, and the slate (there's another bag the same size) will go up against the edging that we've yet to finalise.

In some points though we lacked some grass

Clearly on a roll, we quickly marked and cut the next circle by the greenhouse, and marked out another in front of the yew. And then things started to get tricky.

Looking down our garden

We couldn't decide on where to put the next circle, it didn't seem to work as we thought. I went back to the photos from April and we'd added an extra smaller circle further up the garden. But as that looked right we needed to find a way out of our conundrum. And like many good problems we took a look at it from another angle. 

Quite literally.

And we started from the front of the garden, figuring that it was important to get the circle nearest the house just as we wanted it and to make adjustments in the middle part of the garden.

the front circle and an extra row of patio marked out

So with a straight line added to mark out where the extra row of patio will go - we had enough slabs to lay an extra row and add a barbeque stand at right angles to the patio for MOH. The gardener's are coming to do that next month, but as we had the skip we thought we'd dig out the earth for that too.

The front circle marked out, we tackled the problem area and somehow it worked out and much easier than it'd seemed to looking at it from the other way - funny how that happens, isn't it?

Looking up the garden

We simplified this part too, as we felt it was just a little too fussy, and here if you look closely you'll find a mis-matched circle, but I don't think it will notice when it's finished. But I did smile when I noticed these sedums in the sun, standing behind the line!

sedum in the sun staying behind the line

So we now have circles in our grass, and a trench where the new row of patio will go. At the moment that's got a destined-for-the-allotment paving slab in it which is doing well acting as a stepping stone. We still have a fair bit to do though, we've decided on which edging to go for - more on that when it arrives and we start to fit it - and then there's membrane and slate to put down. 

But it's started.

And over four days we carried almost 75 trugs of earth through to the skip, no wonder my gardening gloves were a little worn out!

Worn out gardening gloves

Turning those plans into reality. Or circles.

You'll know from earlier posts that I have great plans for our garden and that we plan to shape our lawn into a series of connecting circles, and that we've been thinking about that for a while. Well now - or in the next month or so - that's actually going to happen.  And now that it's on the horizon I have an even bigger plan so we can sequence the work and make the best use of the time off we have at the start of August.

I think the bigger plan scares MOH but I guess he also knows that's how I work, so that's how it is.  My even bigger plan is broken down into areas such as lawn circles, a new bike shed, the old vegetable beds, sleepers - that's a new addition - and the long awaited skip. Having the skip means it's a good chance to clear out both the shed and the greenhouse, as I've got that other challenge on my mind too. The plan is dependant on the weather though, as once we've cut where the circles will be we'll be carrying trugs of unwanted earth through the house, so keep your fingers crossed for dry weather!

This weekend we started to prepare where our old vegetable beds used to be. The beds themselves were rotting and redundant as we finally have an allotmentIt was only when we dismantled them that we realised how large this area was. And how much extra space we'd have here for our new flower bed. Maybe I'll finally get a much-longed for hydrangea, who knows?

It's in the part of the garden where last year we installed some trellis for the jasmine to clamber upon, to help the rhubarb. Now the rhubarb is at the allotment and doing well, although we're not picking any this year to allow it to recover from the move.  We added some flat roof slates in front of the trellis posts, so they and the fence behind them aren't sat in soil.  The roof slates were only £1.18 each from our local builders yard and were a cheap, and we hope effective way to protect the wood.

With the roof slates in place and the higher soil level evened out, we were finally able to plant out our little Christmas tree. Which is actually less little than it used to be. It's roots were growing through the pot and so I hope it's happy in its new unrestricted position.  I also planted some other plants I'd been collecting - some sedum from another part of the garden, a white berry-ed plant and some lavender which I picked up from the sale bin at the garden centre and a yellow flowering plant from my dad. So this is what that area currently looks like.

WORK IN PROGRESS

WORK IN PROGRESS

With the bigger plan coming to life we need to put more details into the sleepers part of the plan. Even before this weekend we knew that we'd need something to edge the beds and retain the soil. The half brick solution we have nearer the house wasn't going to work. We also wanted to add something bolder in the area under our laurel tree, and so after much searching for inspiration on the internet we settled on of using sleepers.

And of course I don't just want them to lay flat and square. That would be far too easy - although in my defence there will be some that are laid flat, but I can't promise square. The plan is to use the sleepers in front of the Christmas tree and other new plants in the photo above, and in front of the lilac which is to the left and under the small cherry tree, which is on the right of the jasmine trellis.

That's the bit with the sleepers laid mostly flat.

Under the laurel tree I want to have a curve of upturned sleepers. High enough in the middle to perch on, but low enough so it's not hard work to get the bikes over, as the new bike shed will be on the higher level. 

So with MOH on board, this weekend we've started doing some practical research. We've been online looking at sleepers and how to install them and at the garden centre we got up close to a sleeper to see just how heavy it was, and more importantly if we could lift one between us.  We think we could, just about...

OUR TEST SLEEPER WHICH WAS JUST ABOUT LIFTABLE

OUR TEST SLEEPER WHICH WAS JUST ABOUT LIFTABLE

We know for our plans we'll need to cut the sleepers to the lengths - and heights for the upturned ones - we want. And for that we'll need a pretty decent saw, and preferably not the manual sort. We'll also need to secure the sleepers to each other so they stay where we want them, so we've also been looking at which power tools we'll need. We definitely need the right kind of saw and most likely an electric screwdriver too.

With so many sleepers - the current estimate is more than ten, but less than twenty - having them pre-cut won't be cost effective, especially as we'll be fine tuning the plan as we go, which makes it even more important to have the right tools to hand. Hopefully that will help make sure things go smoothly.

One thing I did learn this weekend though - mentioning needing new power tools is the sure fire way to spark MOH's interest in a project! I fully expect when the sleeper project starts, despite being the master planner, to be demoted to 'gofer' when the power tools come out. Which is fine by me. I'll let you know how we get on!

Happy and Home at A Residence blog