


Well clearly that's not quite the lyrics that S-Club planned, but next year MOH and I are having a party. Quite a big one, well maybe not that big but we'll be celebrating 110 years. That's fifty years each and ten years married before you age me, or him!
And our birthdays and wedding anniversary fall in May, June and July we'll most likely plump for a date somewhere in the middle, much the same as we did when choosing the date to get married eleven years ago. As we're creatures of habit - we all are deep down - we're once again planning to have the party in our garden. This time though, the house is more finished and for those of you that were at the wedding, both bathrooms will be working this time too.
So we've started to think about what makes a good party...
Venue, ticked.
People, ticked - we haven't done the guest list yet, but we know plenty of good people.
A date, well June-ish is like a half-tick, isn't it?
Invitations, well most likely by email but I'm hoping to make some proper ones too.
While we can't control the weather - wouldn't that be handy - we have thought about having some tented outside space. I'm not sure yet if that's a gazebo or something hired, but a half-tick here too for considering options. I've also got one eye on those shops that sell mini-marquees to see if one comes up at a reasonable price, and if it does I'm on it.
It's also the type of occasion that means I have the perfect excuse to spend time on Pinterest and all in the name of research. But let's be honest I don't really need an excuse. If you want to see more of what I'm pinning as inspiration I've included the board at the bottom of this post. I'm pretty sure though there'll be bunting and fairy lights and pretty vases of flowers.

Image from Unsplash
Food and drink - yes we've already thought a lot about these, so I'm giving that a half-tick too. Some of it I'm going to encourage MOH to make - his desserts are just fabulous - some of it I'll do too and we're thinking of getting someone in for the fiddlier bits. The local craft brewery can supply some ale - ok and some fizzy lager too - and maybe we'll have a day trip to France to find some nice wines. Definitely a half-tick perhaps even a three-quarters-tick here.
Music, we've thought about that too. From a slightly unusual perspective, I'll admit. And that's how we can match the volume levels of our neighbours. Well for one day only, the rest of the time we don't stand a chance. I was thinking brass band or steel drums, but MOH was thinking about a large amplifier. We're undecided on this one, you probably can tell. It's likely to be none of these, but who knows?
No washing up, no breakages and even not having to worry about if anything might break. It will certainly make clearing up much easier too. And I'm sure there's everything we could need - plates, cutlery, small beakers for the desserts and glasses for wine and beer. I'm claiming a three-quarters tick for this one too!
Now, what have I missed?
Five brocades and a clock at Chambord
Today we're peeking inside the Chateau de Chambord rather than taking a look around the gardens outside the church. And rather than show you the large halls, that were easily 30ft wide by 90ft long and sparsely decorated I'm sharing some of the wall coverings we saw. The heavily brocade wallpapers appeared in many of the rooms. The patterns changed, as did the colours. Often gold was present, except in the blue which was in the chamber of the queen, Maria Theresa of Spain the first wife of Louis XIV in the seventeenth century.
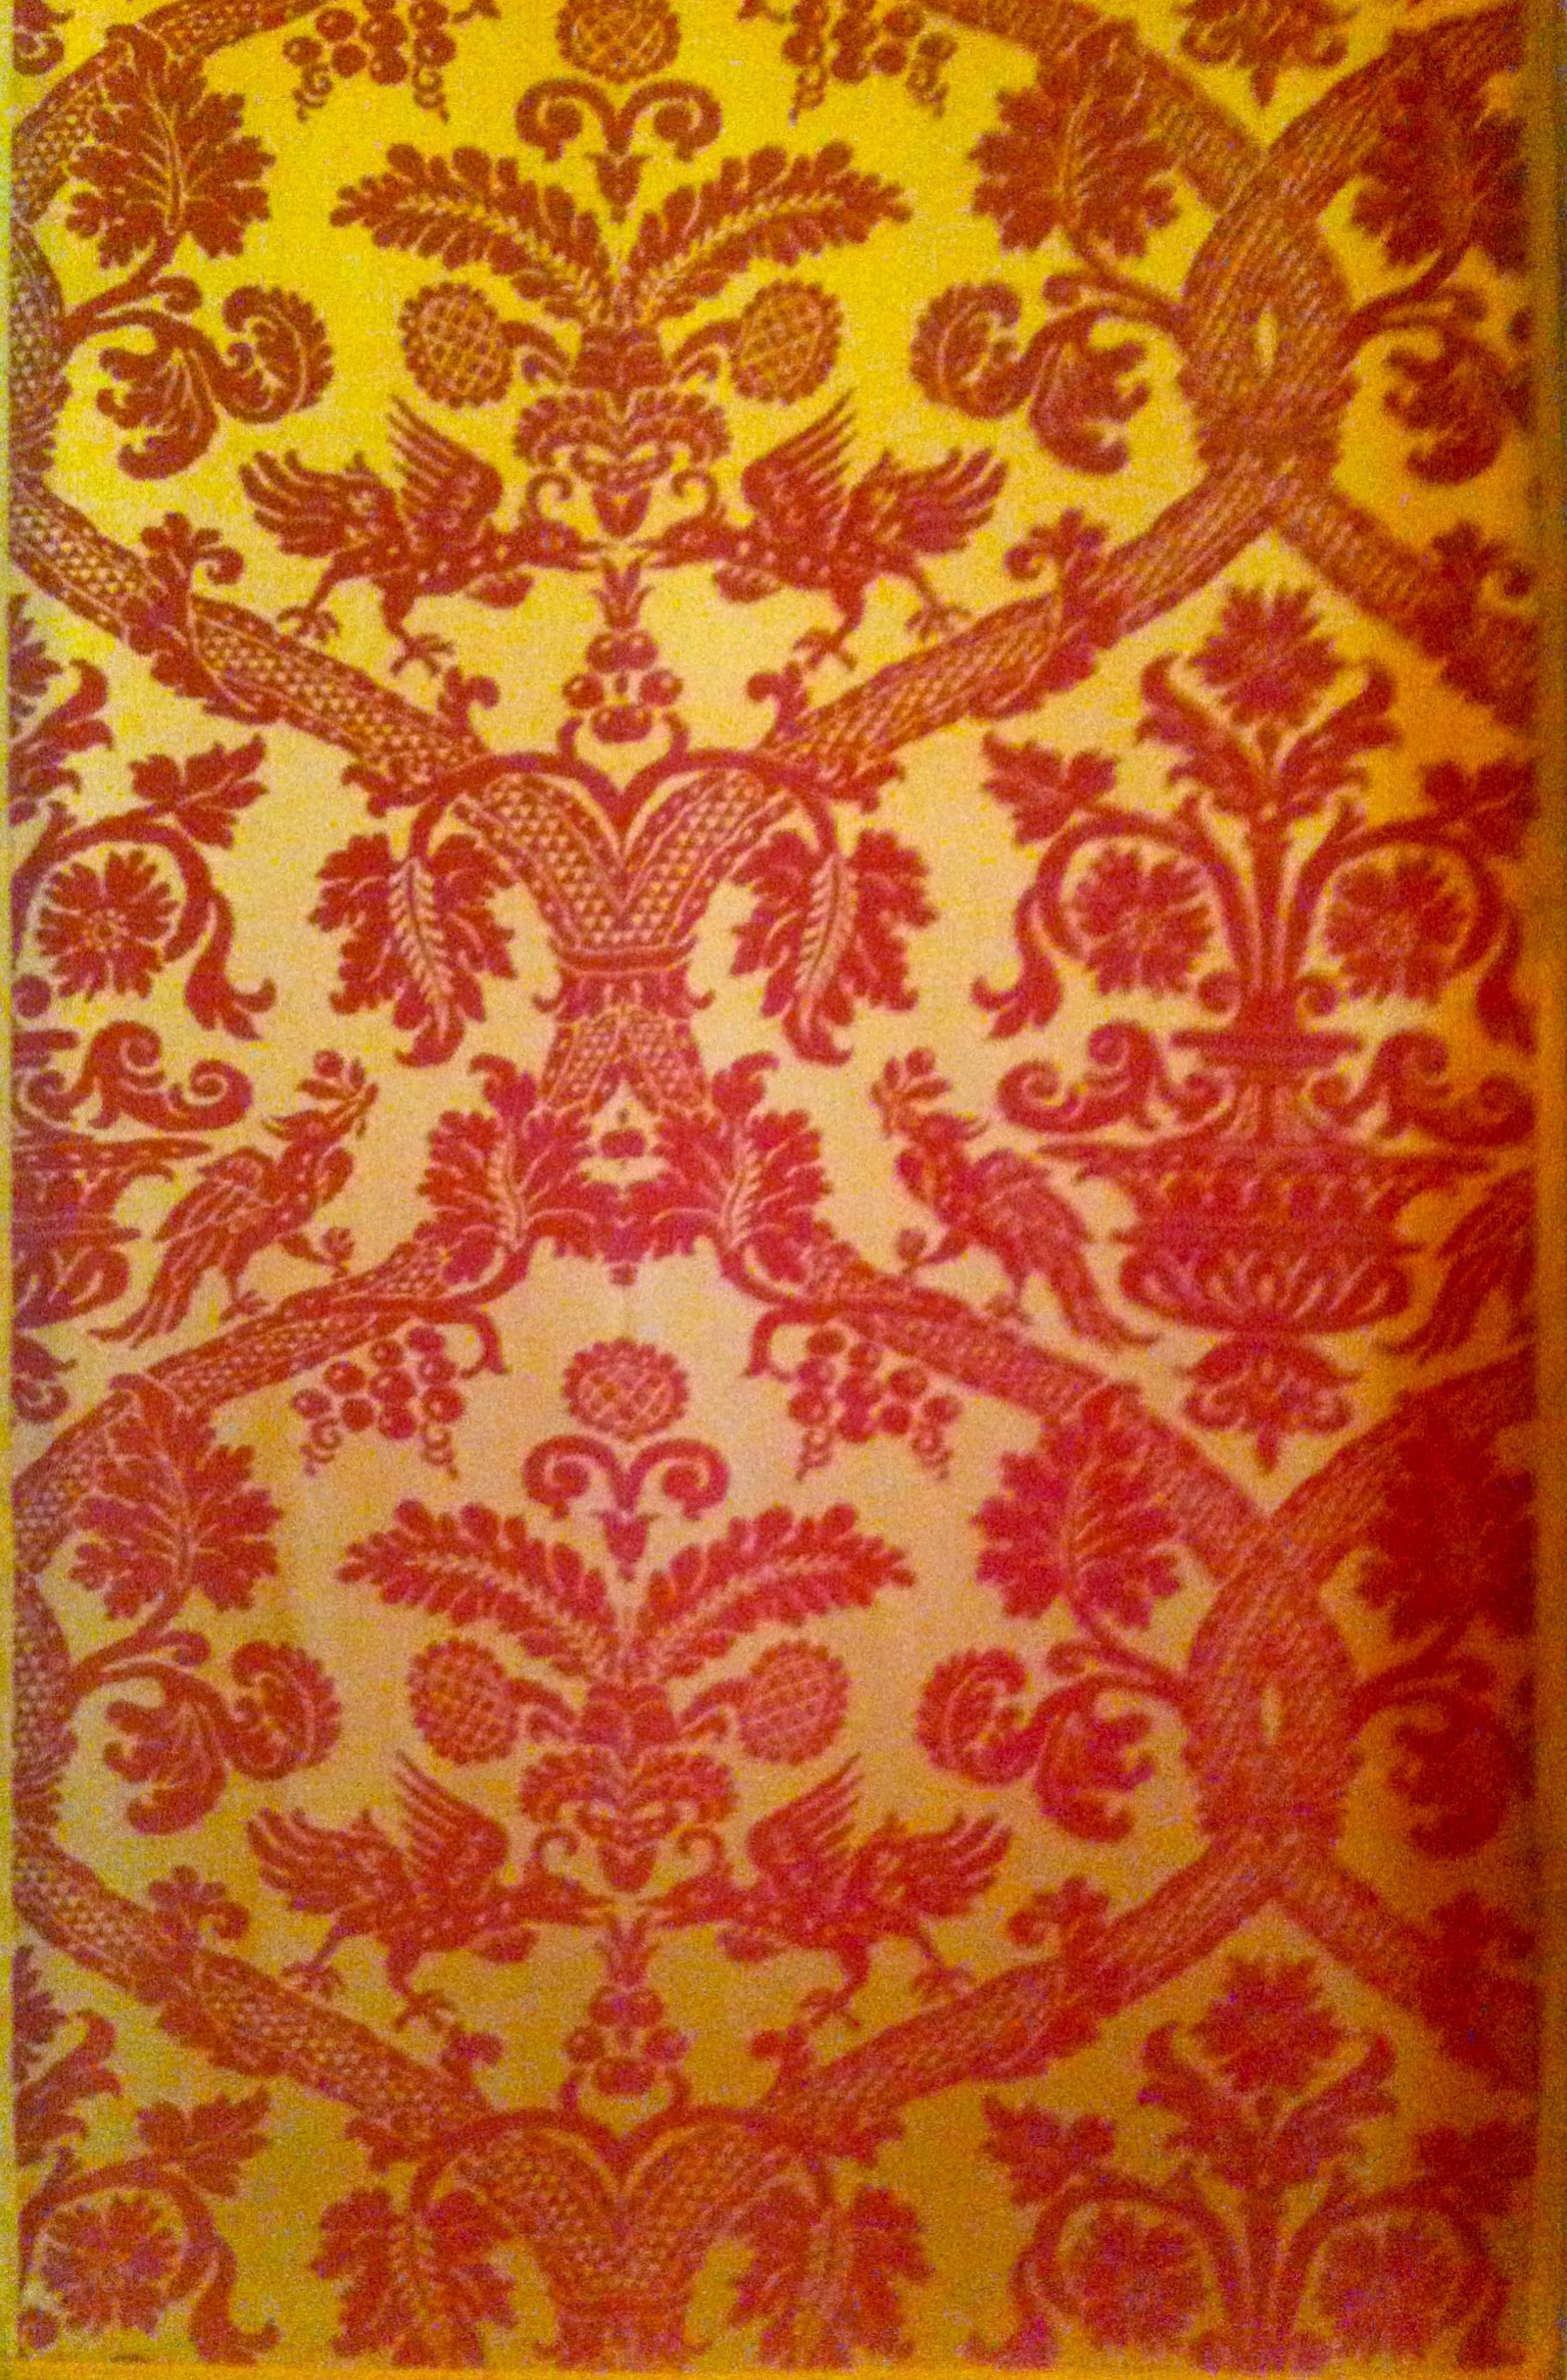
RED

PINK
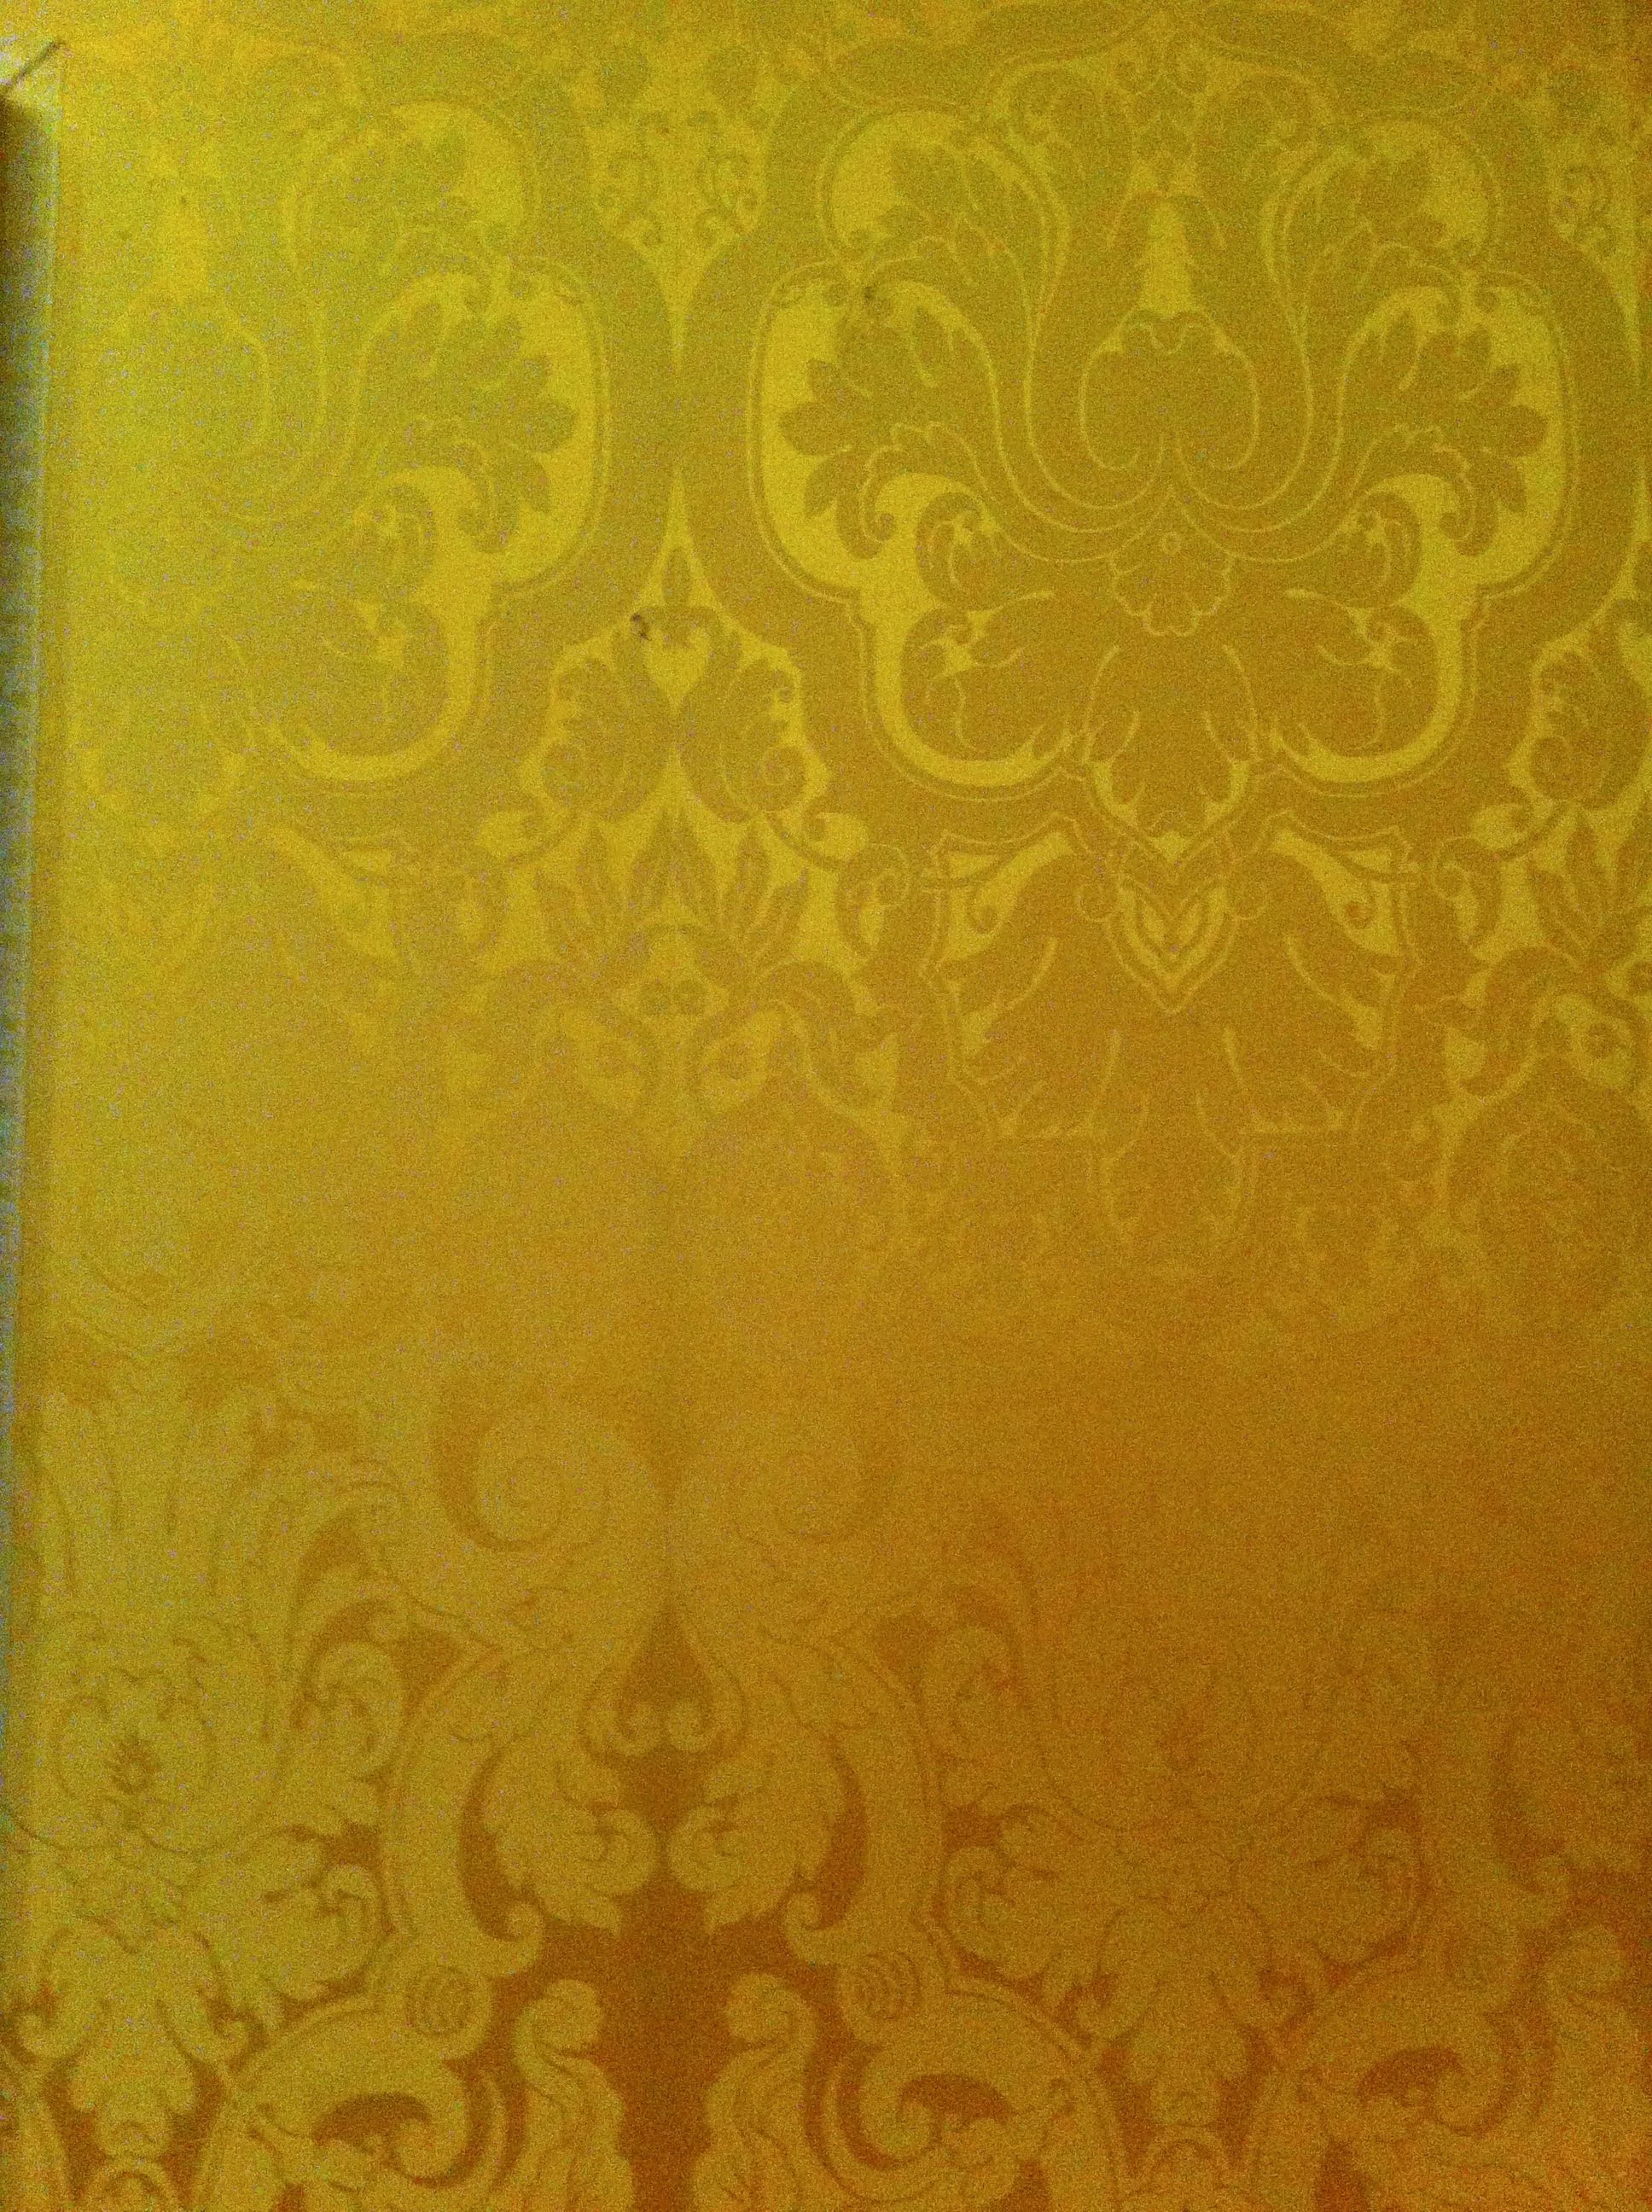
YELLOW
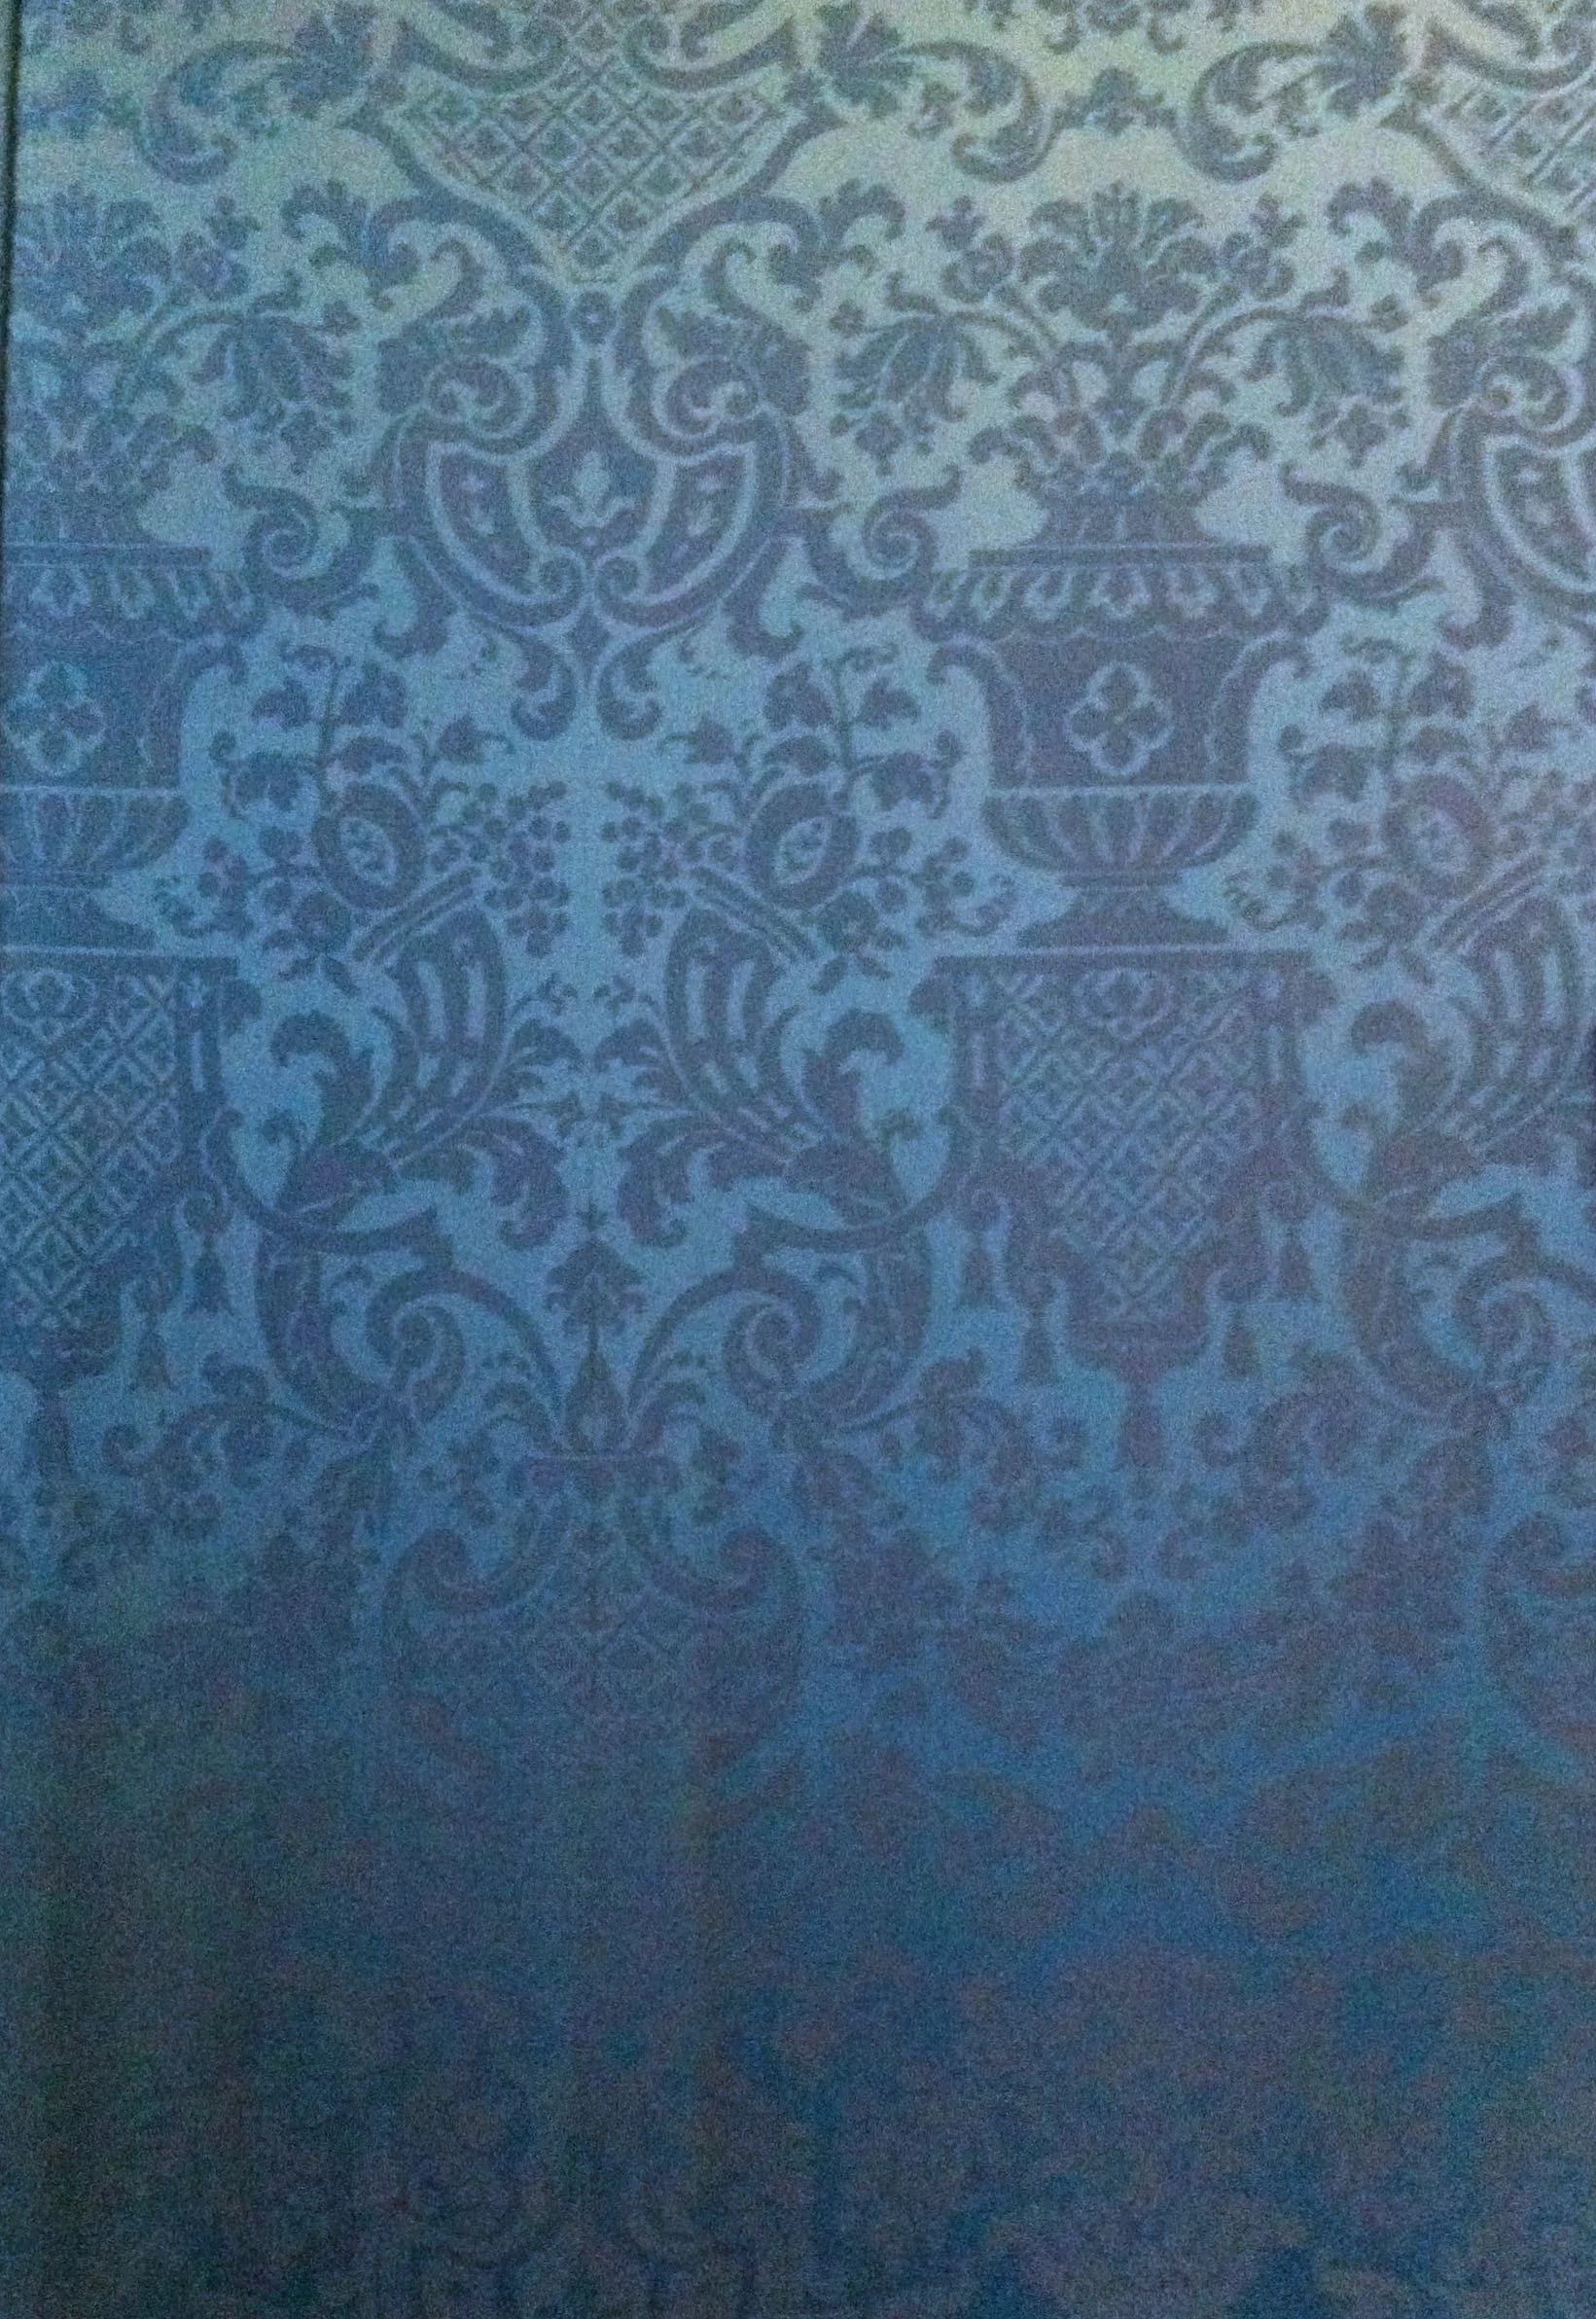
BLUE

GREEN
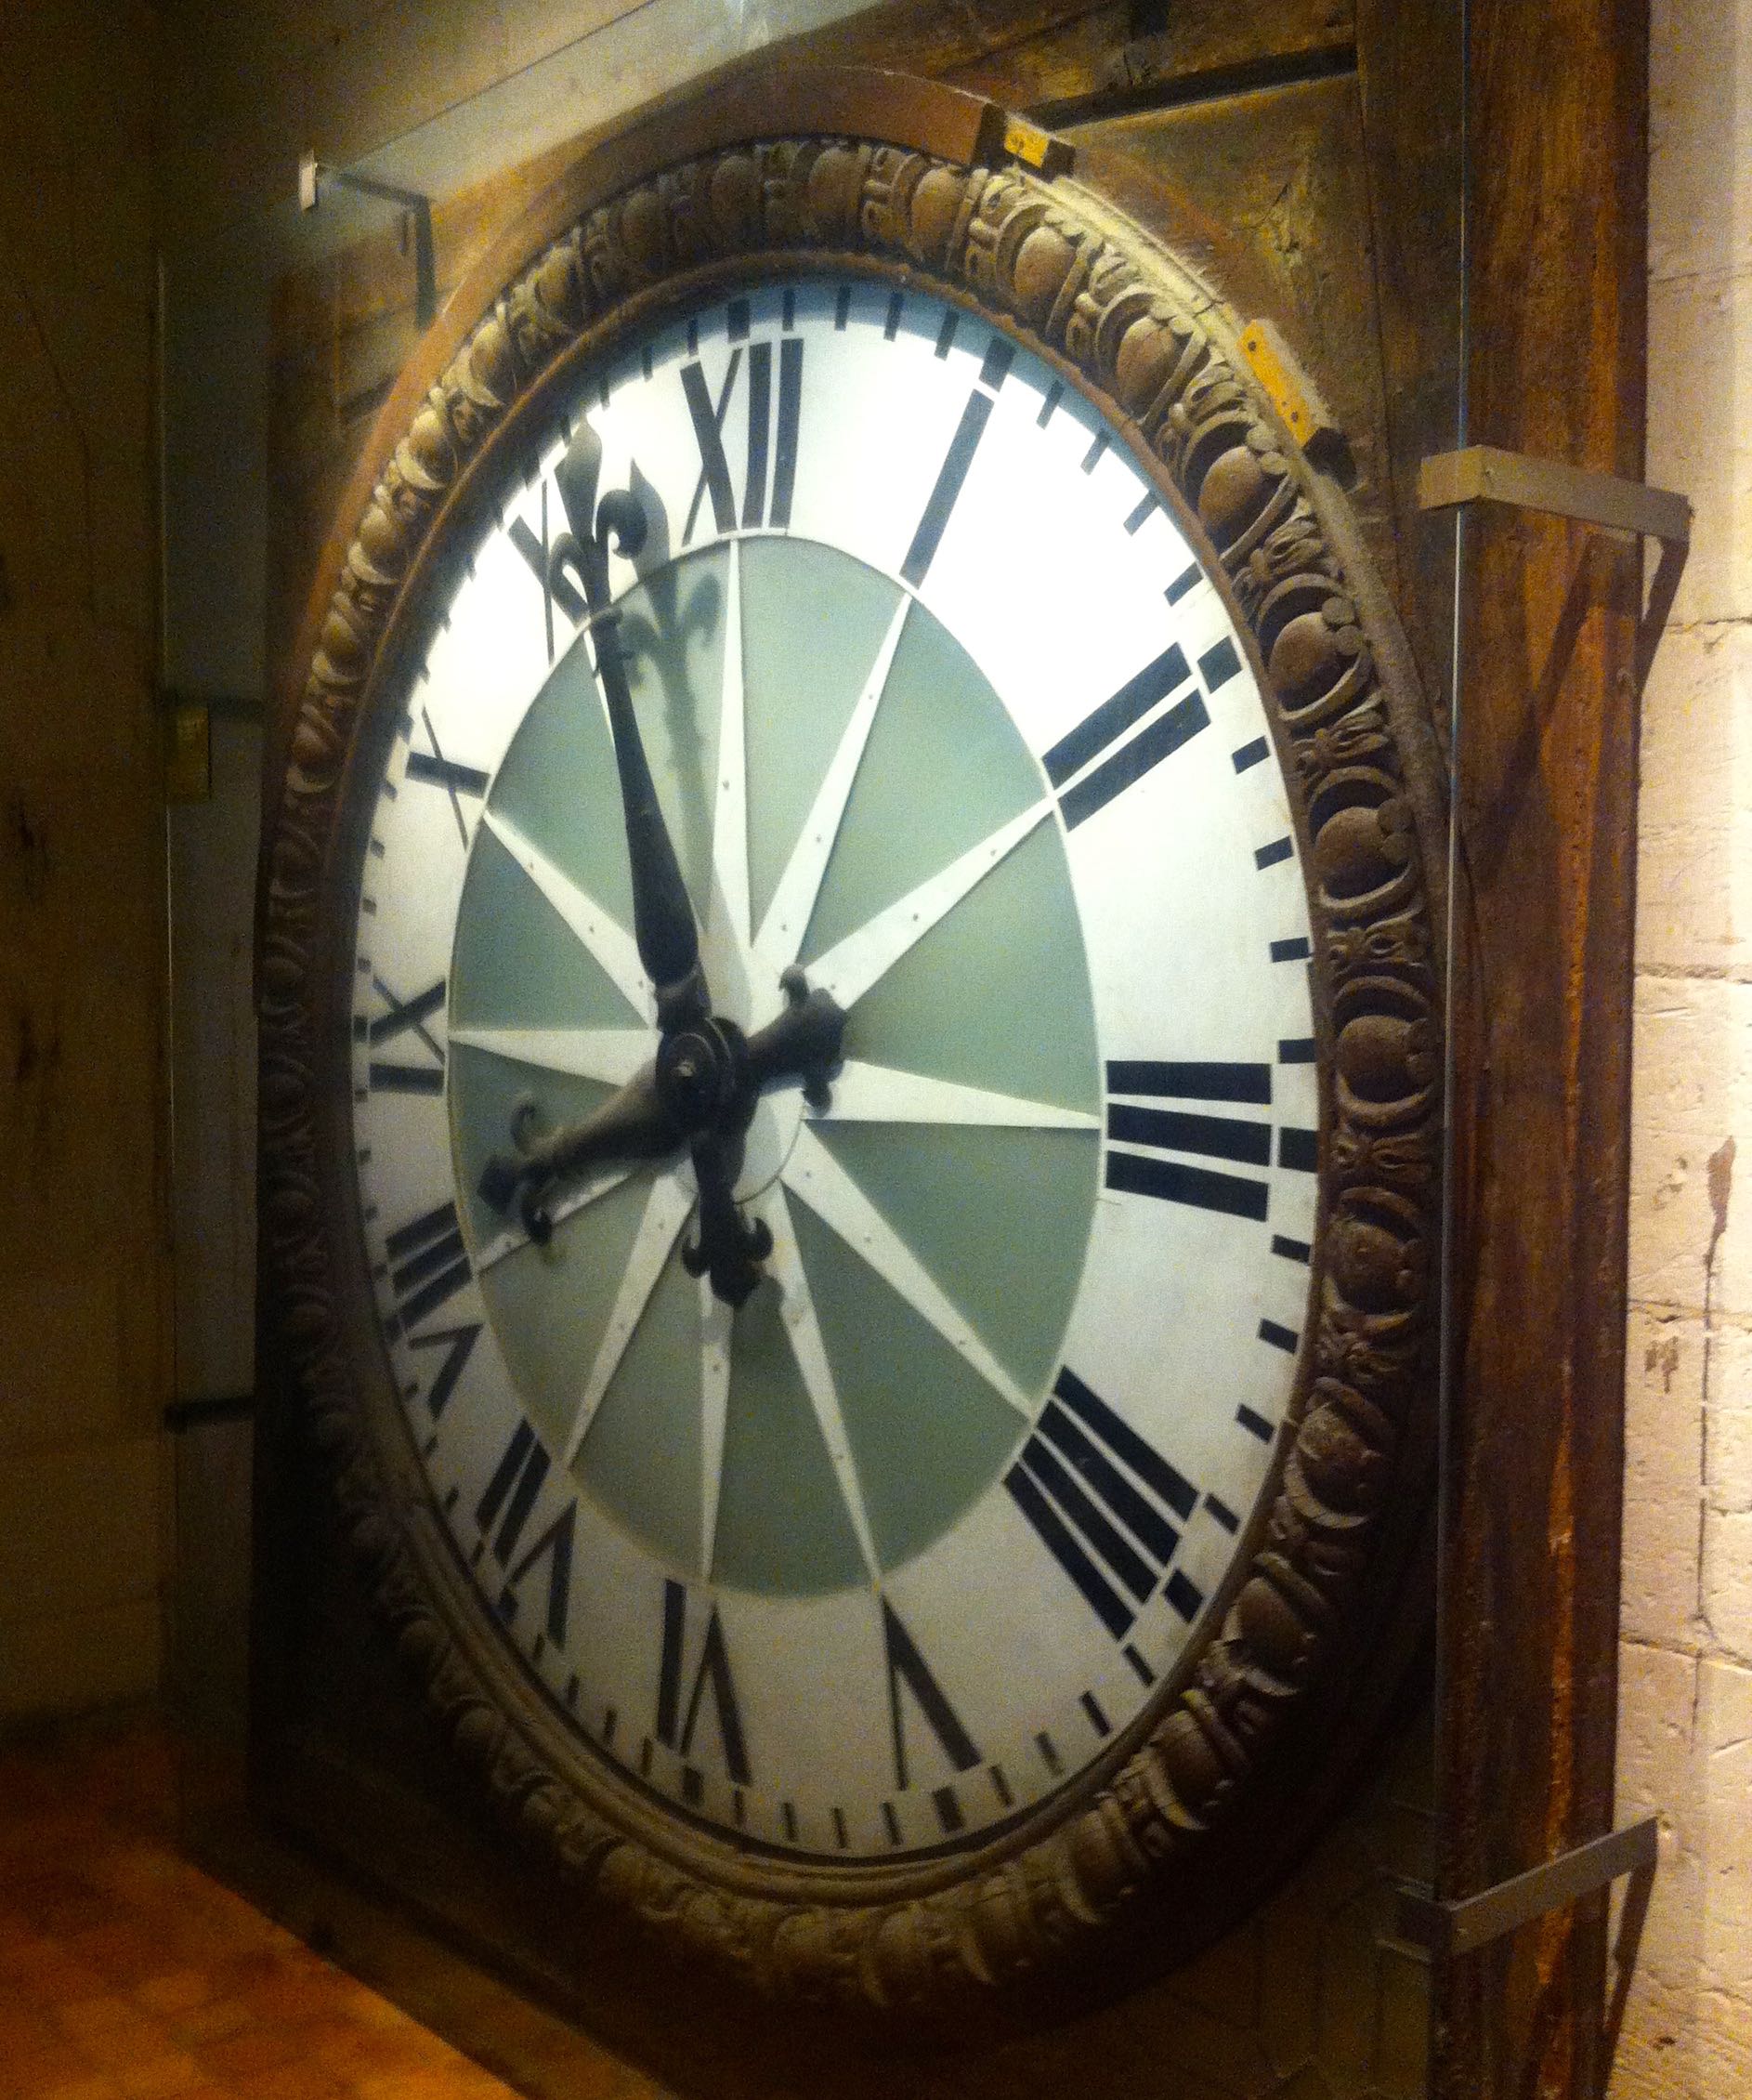
FACADE CLOCK
Seeing them all together like this highlights the differences in the pattern, but as I wandered from room to room the patterns weren't quite so obvious. The clock was set in the central window of the south facade and kept time over the chateau for three centuries and it worked using a cable and pulley system before being retired in 1950.
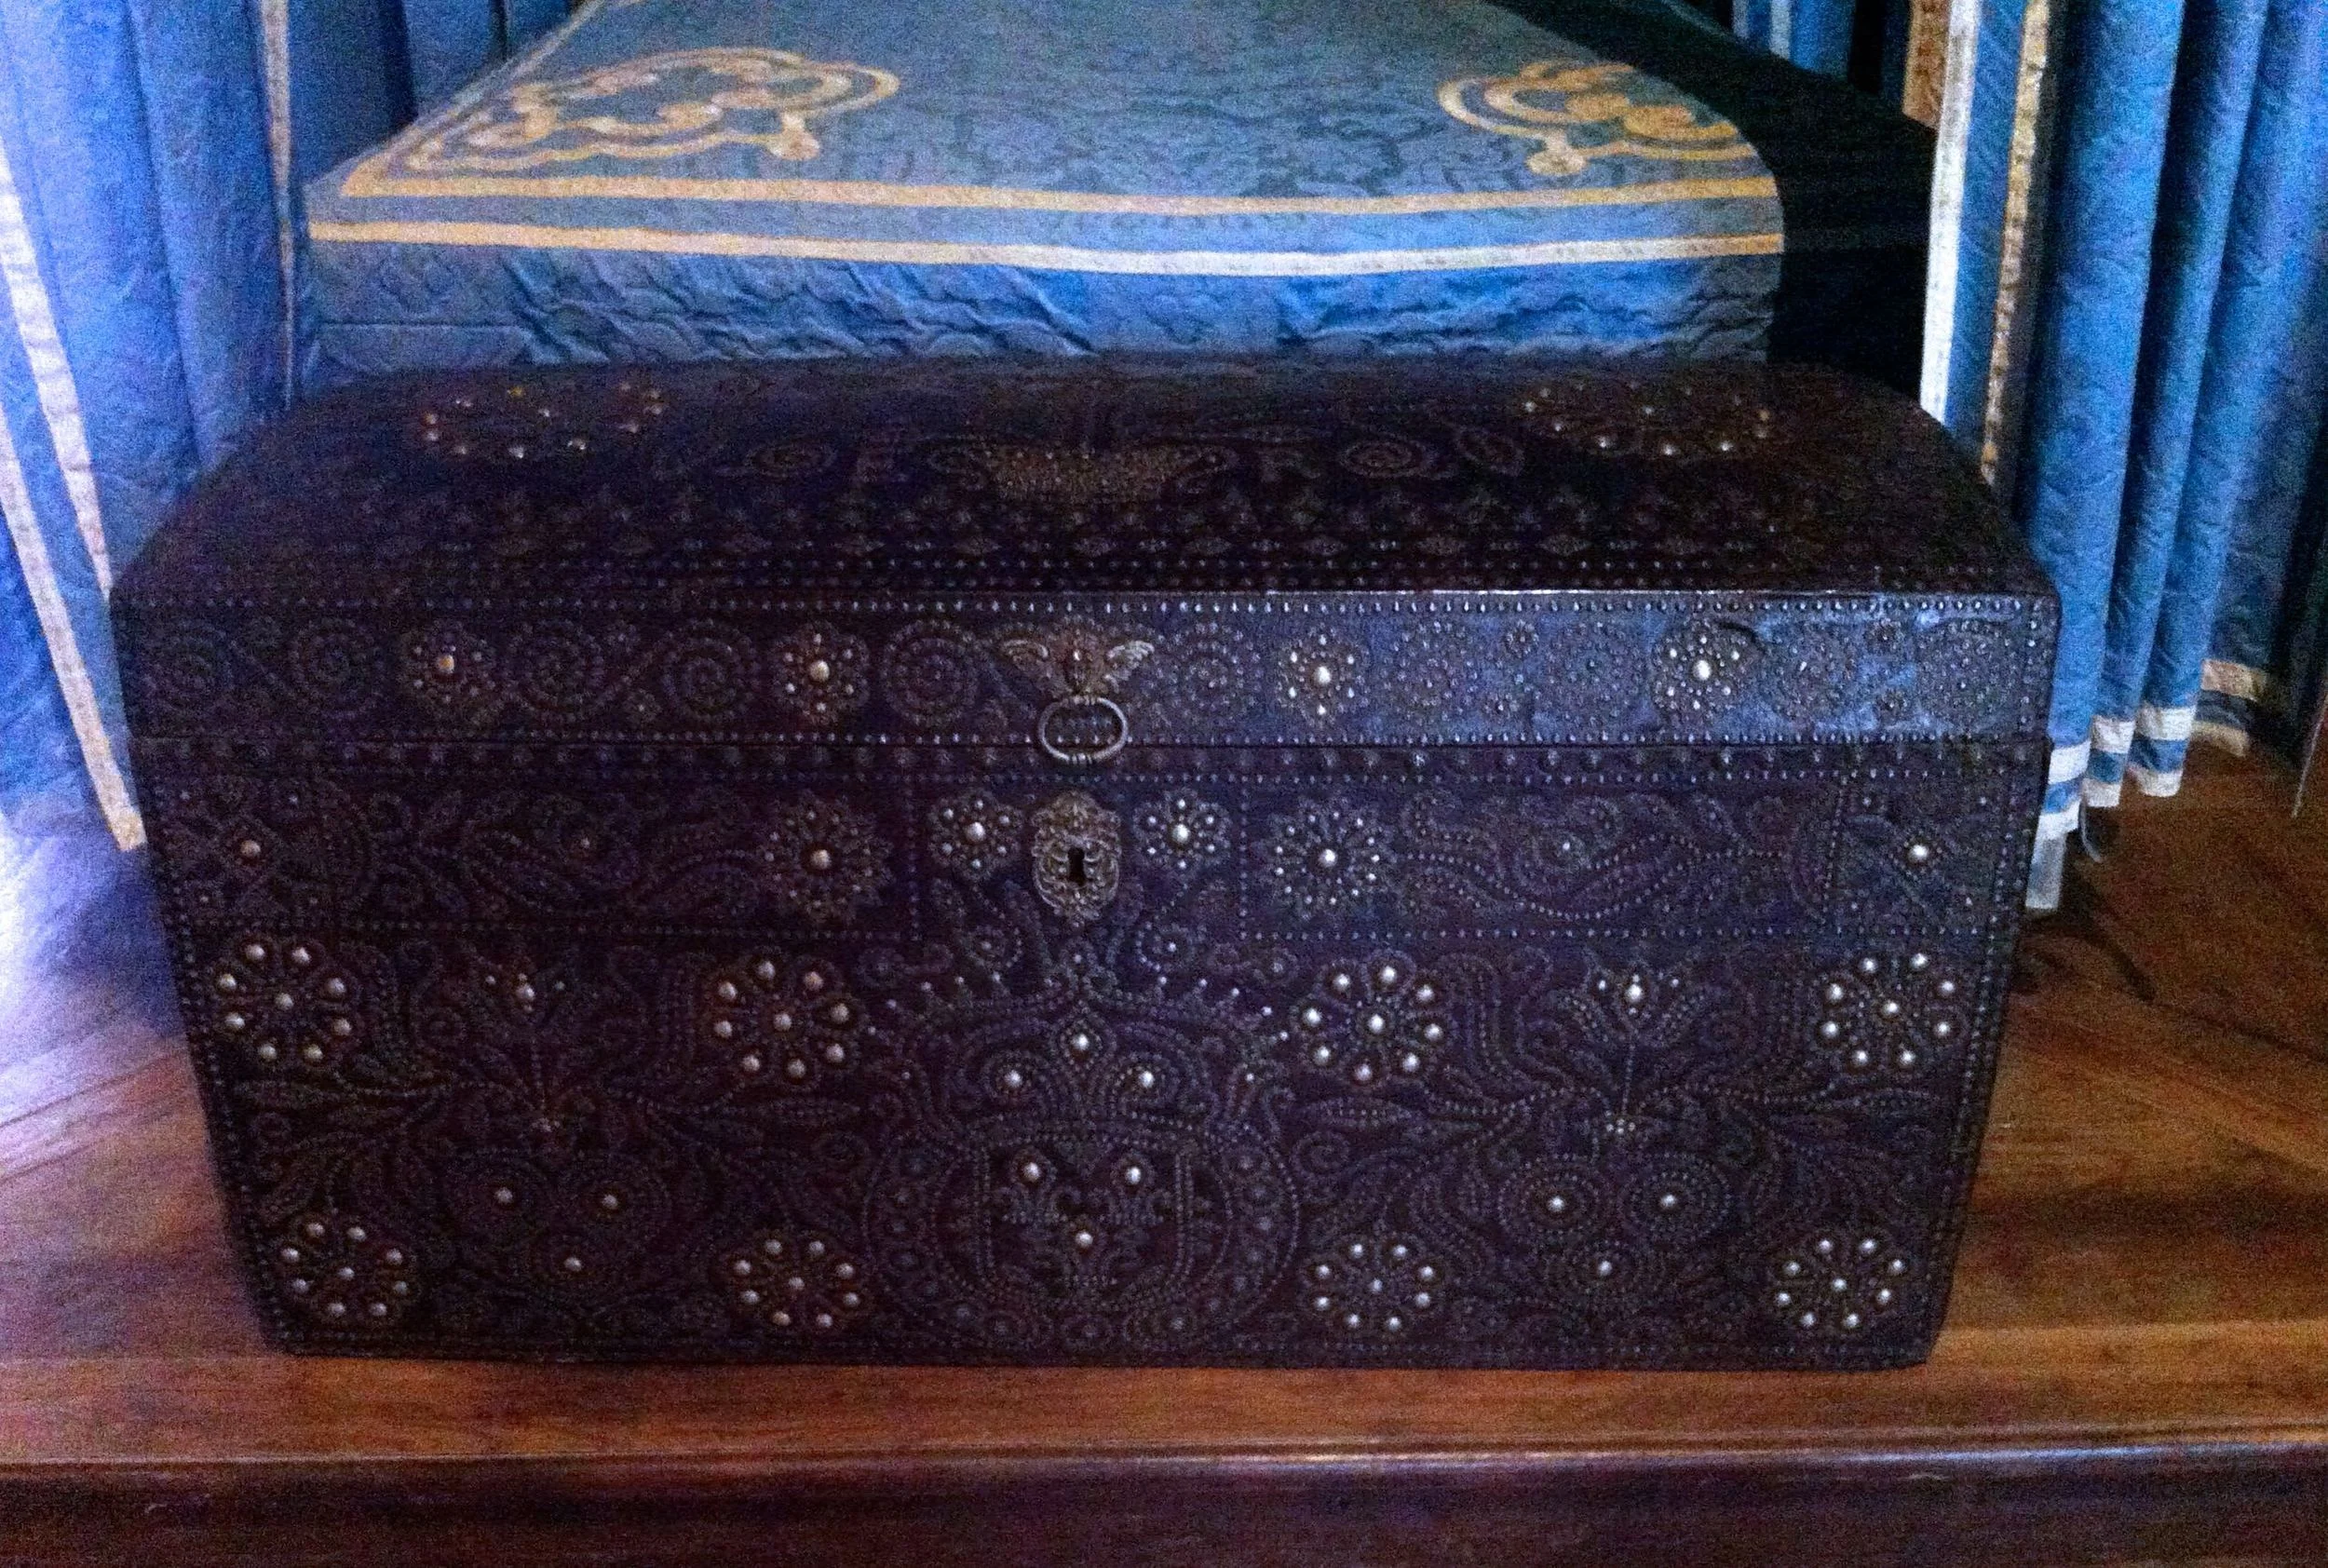
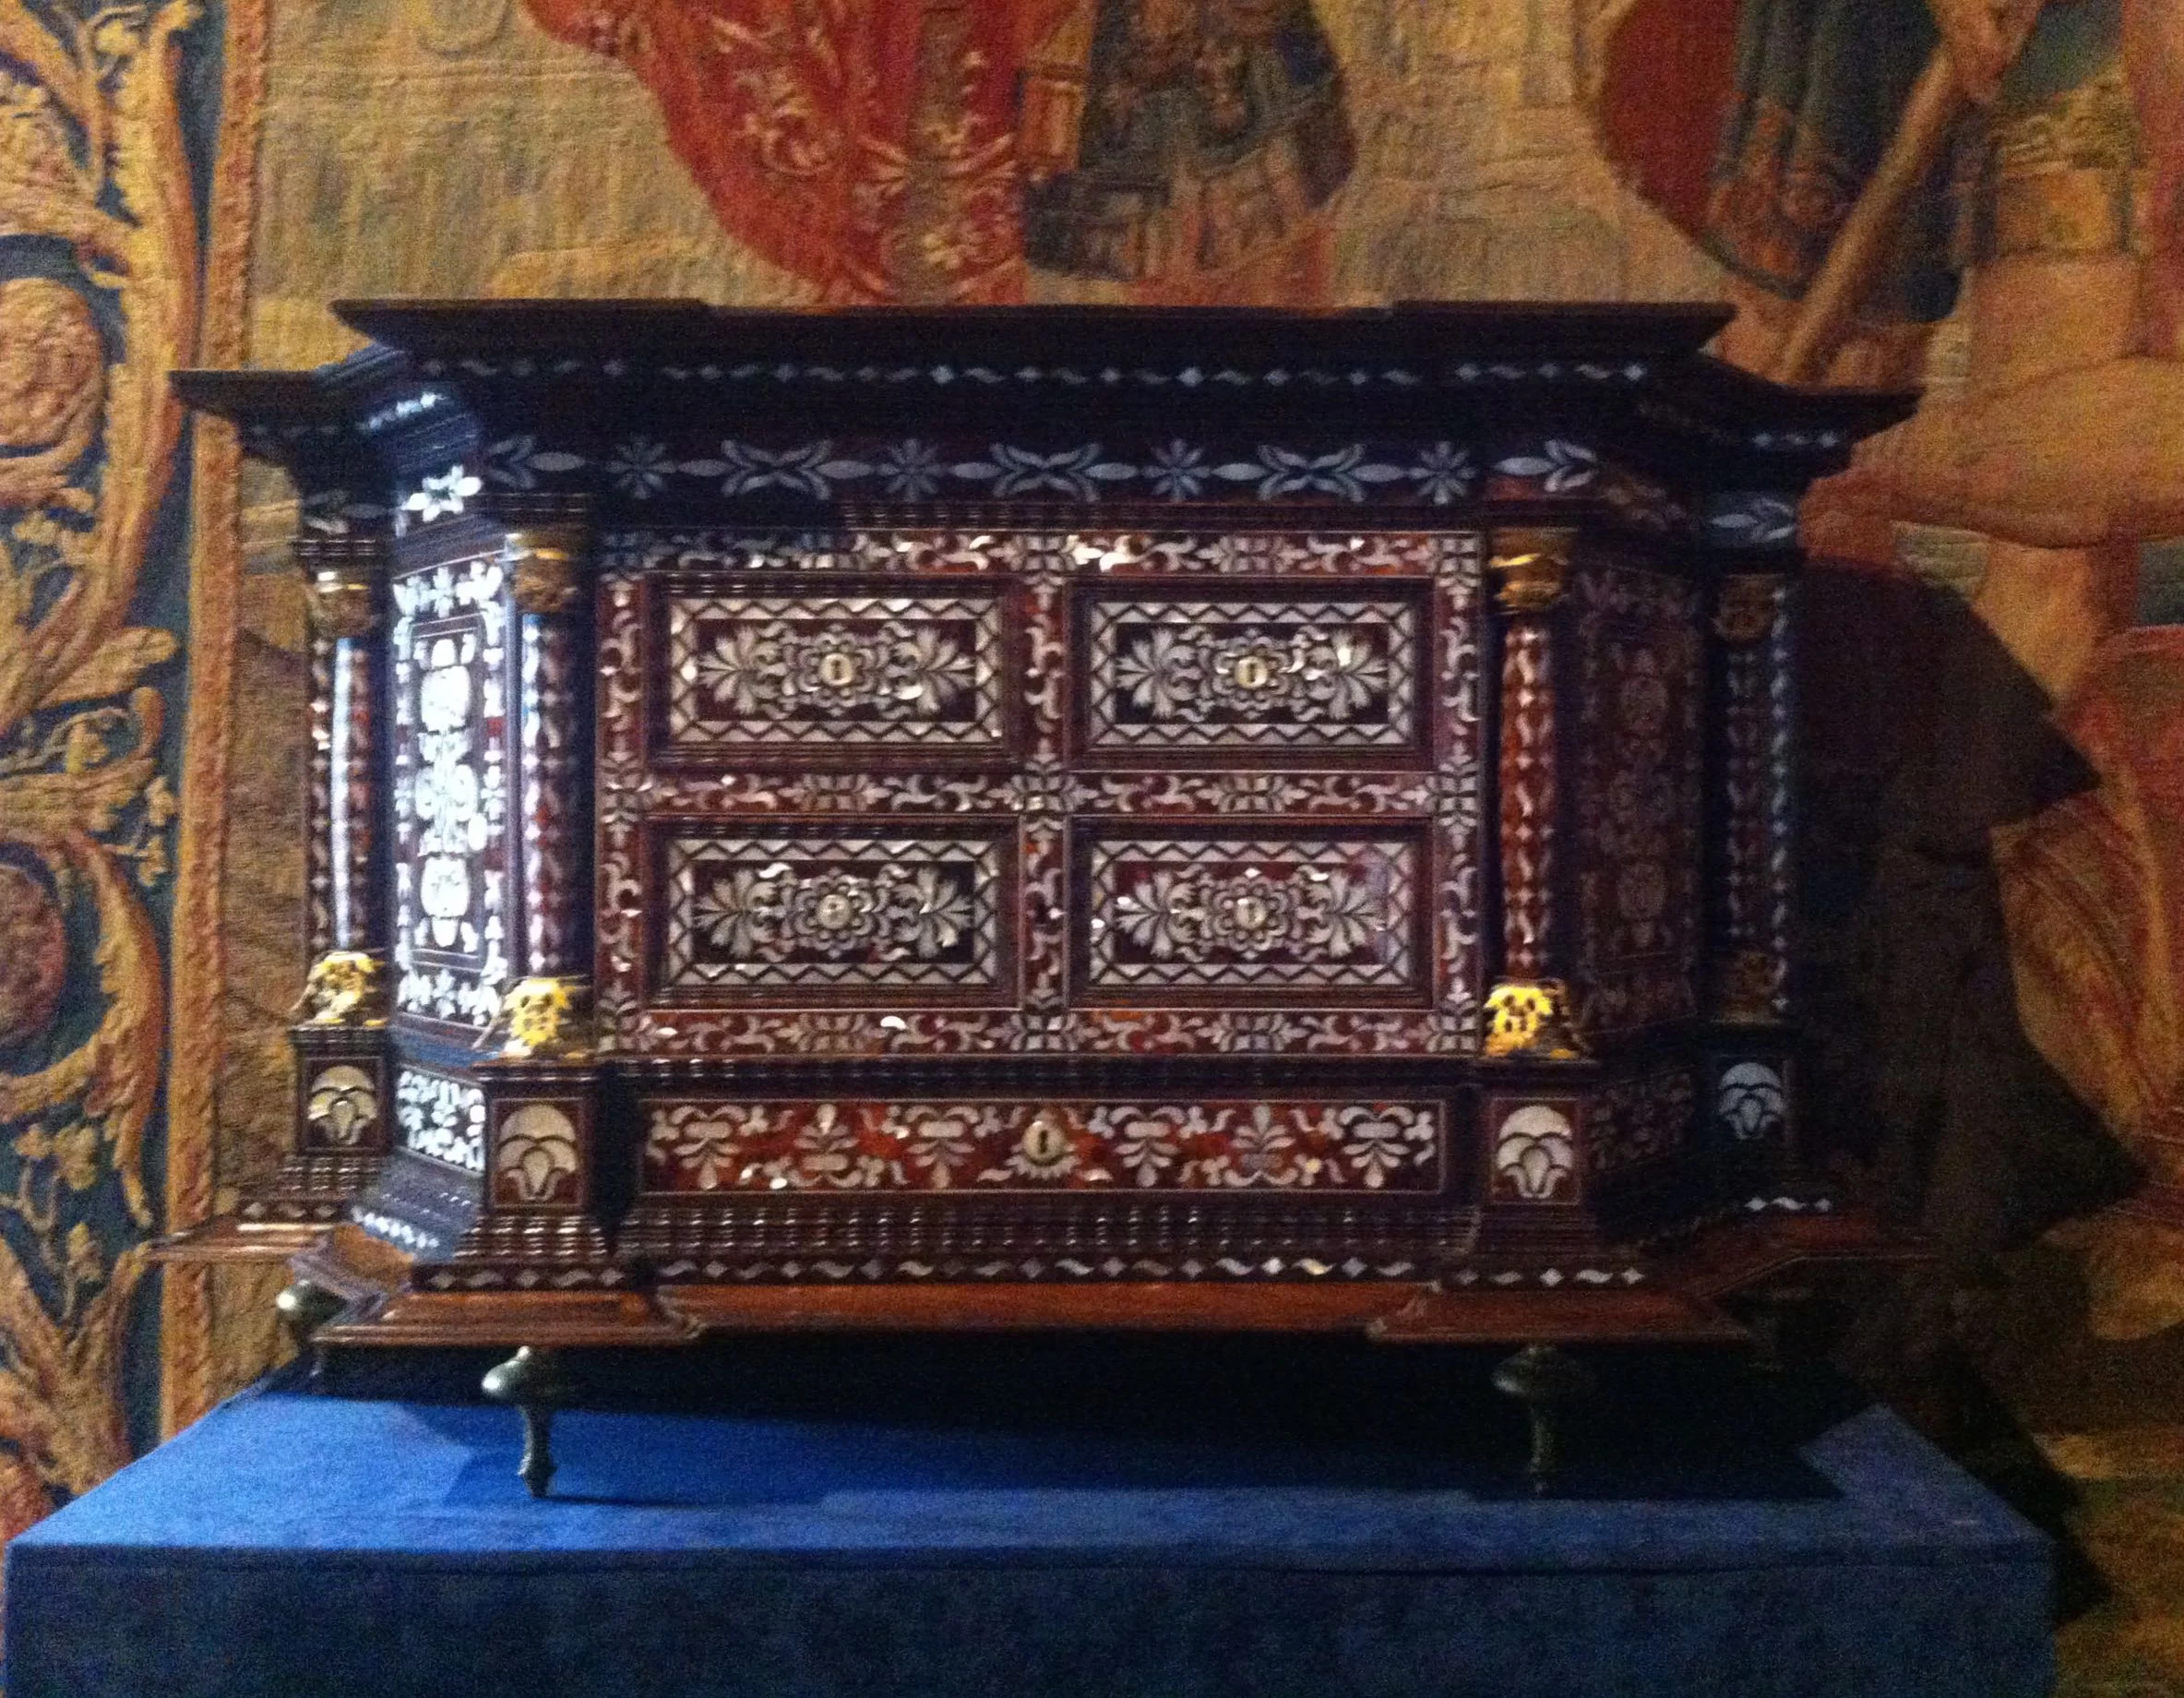
The final two pictures I'm sharing were back in the chamber with the blue brocade wallpaper. At the end of the bed was this studded leather chest and beyond it was a cabinet inlaid with mother of pearl. Aren't they great?
Turning those plans into reality. Or circles.
You'll know from earlier posts that I have great plans for our garden and that we plan to shape our lawn into a series of connecting circles, and that we've been thinking about that for a while. Well now - or in the next month or so - that's actually going to happen. And now that it's on the horizon I have an even bigger plan so we can sequence the work and make the best use of the time off we have at the start of August.
I think the bigger plan scares MOH but I guess he also knows that's how I work, so that's how it is. My even bigger plan is broken down into areas such as lawn circles, a new bike shed, the old vegetable beds, sleepers - that's a new addition - and the long awaited skip. Having the skip means it's a good chance to clear out both the shed and the greenhouse, as I've got that other challenge on my mind too. The plan is dependant on the weather though, as once we've cut where the circles will be we'll be carrying trugs of unwanted earth through the house, so keep your fingers crossed for dry weather!
This weekend we started to prepare where our old vegetable beds used to be. The beds themselves were rotting and redundant as we finally have an allotment. It was only when we dismantled them that we realised how large this area was. And how much extra space we'd have here for our new flower bed. Maybe I'll finally get a much-longed for hydrangea, who knows?
It's in the part of the garden where last year we installed some trellis for the jasmine to clamber upon, to help the rhubarb. Now the rhubarb is at the allotment and doing well, although we're not picking any this year to allow it to recover from the move. We added some flat roof slates in front of the trellis posts, so they and the fence behind them aren't sat in soil. The roof slates were only £1.18 each from our local builders yard and were a cheap, and we hope effective way to protect the wood.
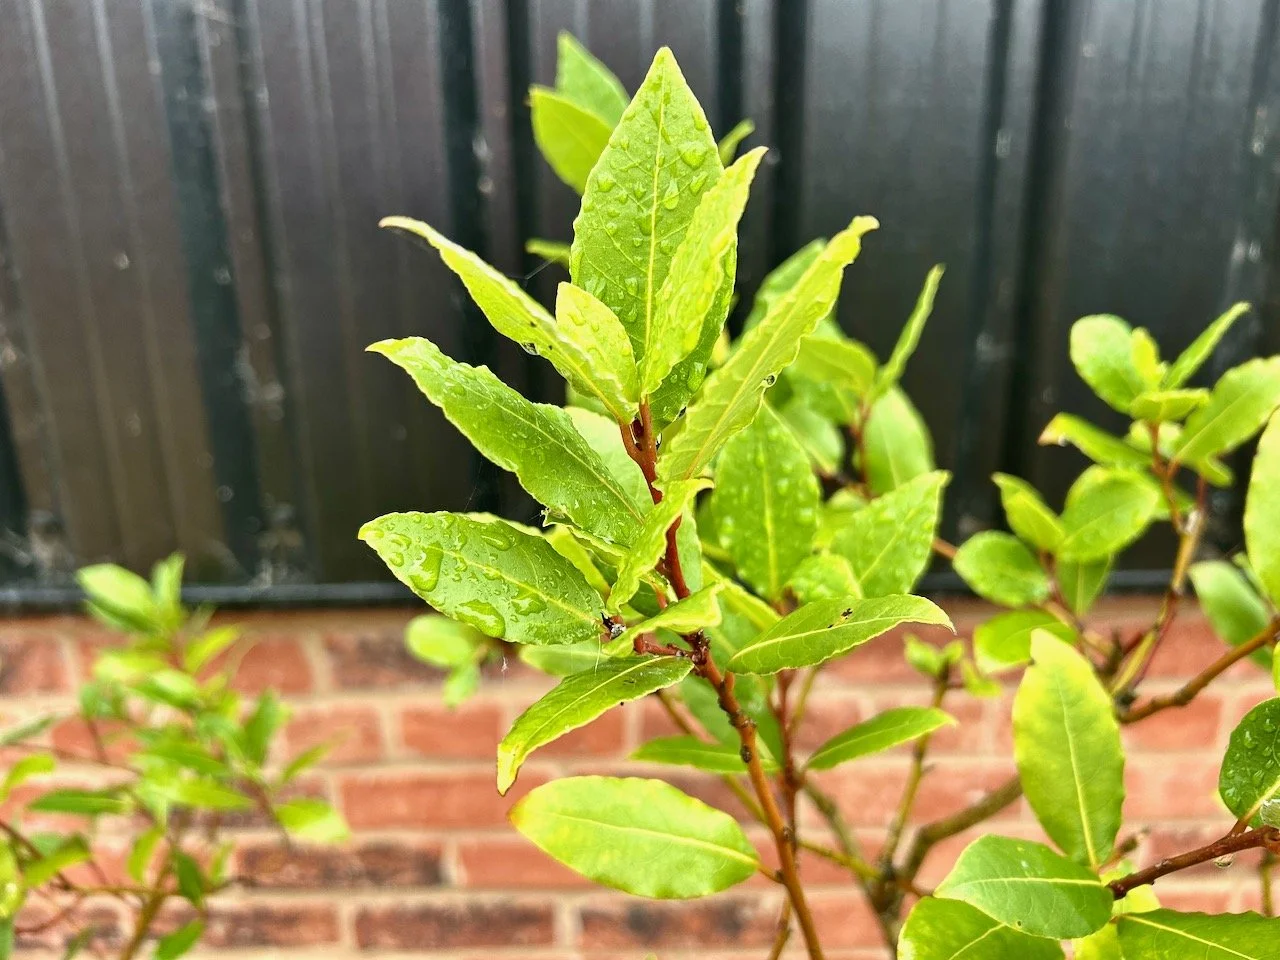
With the roof slates in place and the higher soil level evened out, we were finally able to plant out our little Christmas tree. Which is actually less little than it used to be. It's roots were growing through the pot and so I hope it's happy in its new unrestricted position. I also planted some other plants I'd been collecting - some sedum from another part of the garden, a white berry-ed plant and some lavender which I picked up from the sale bin at the garden centre and a yellow flowering plant from my dad. So this is what that area currently looks like.
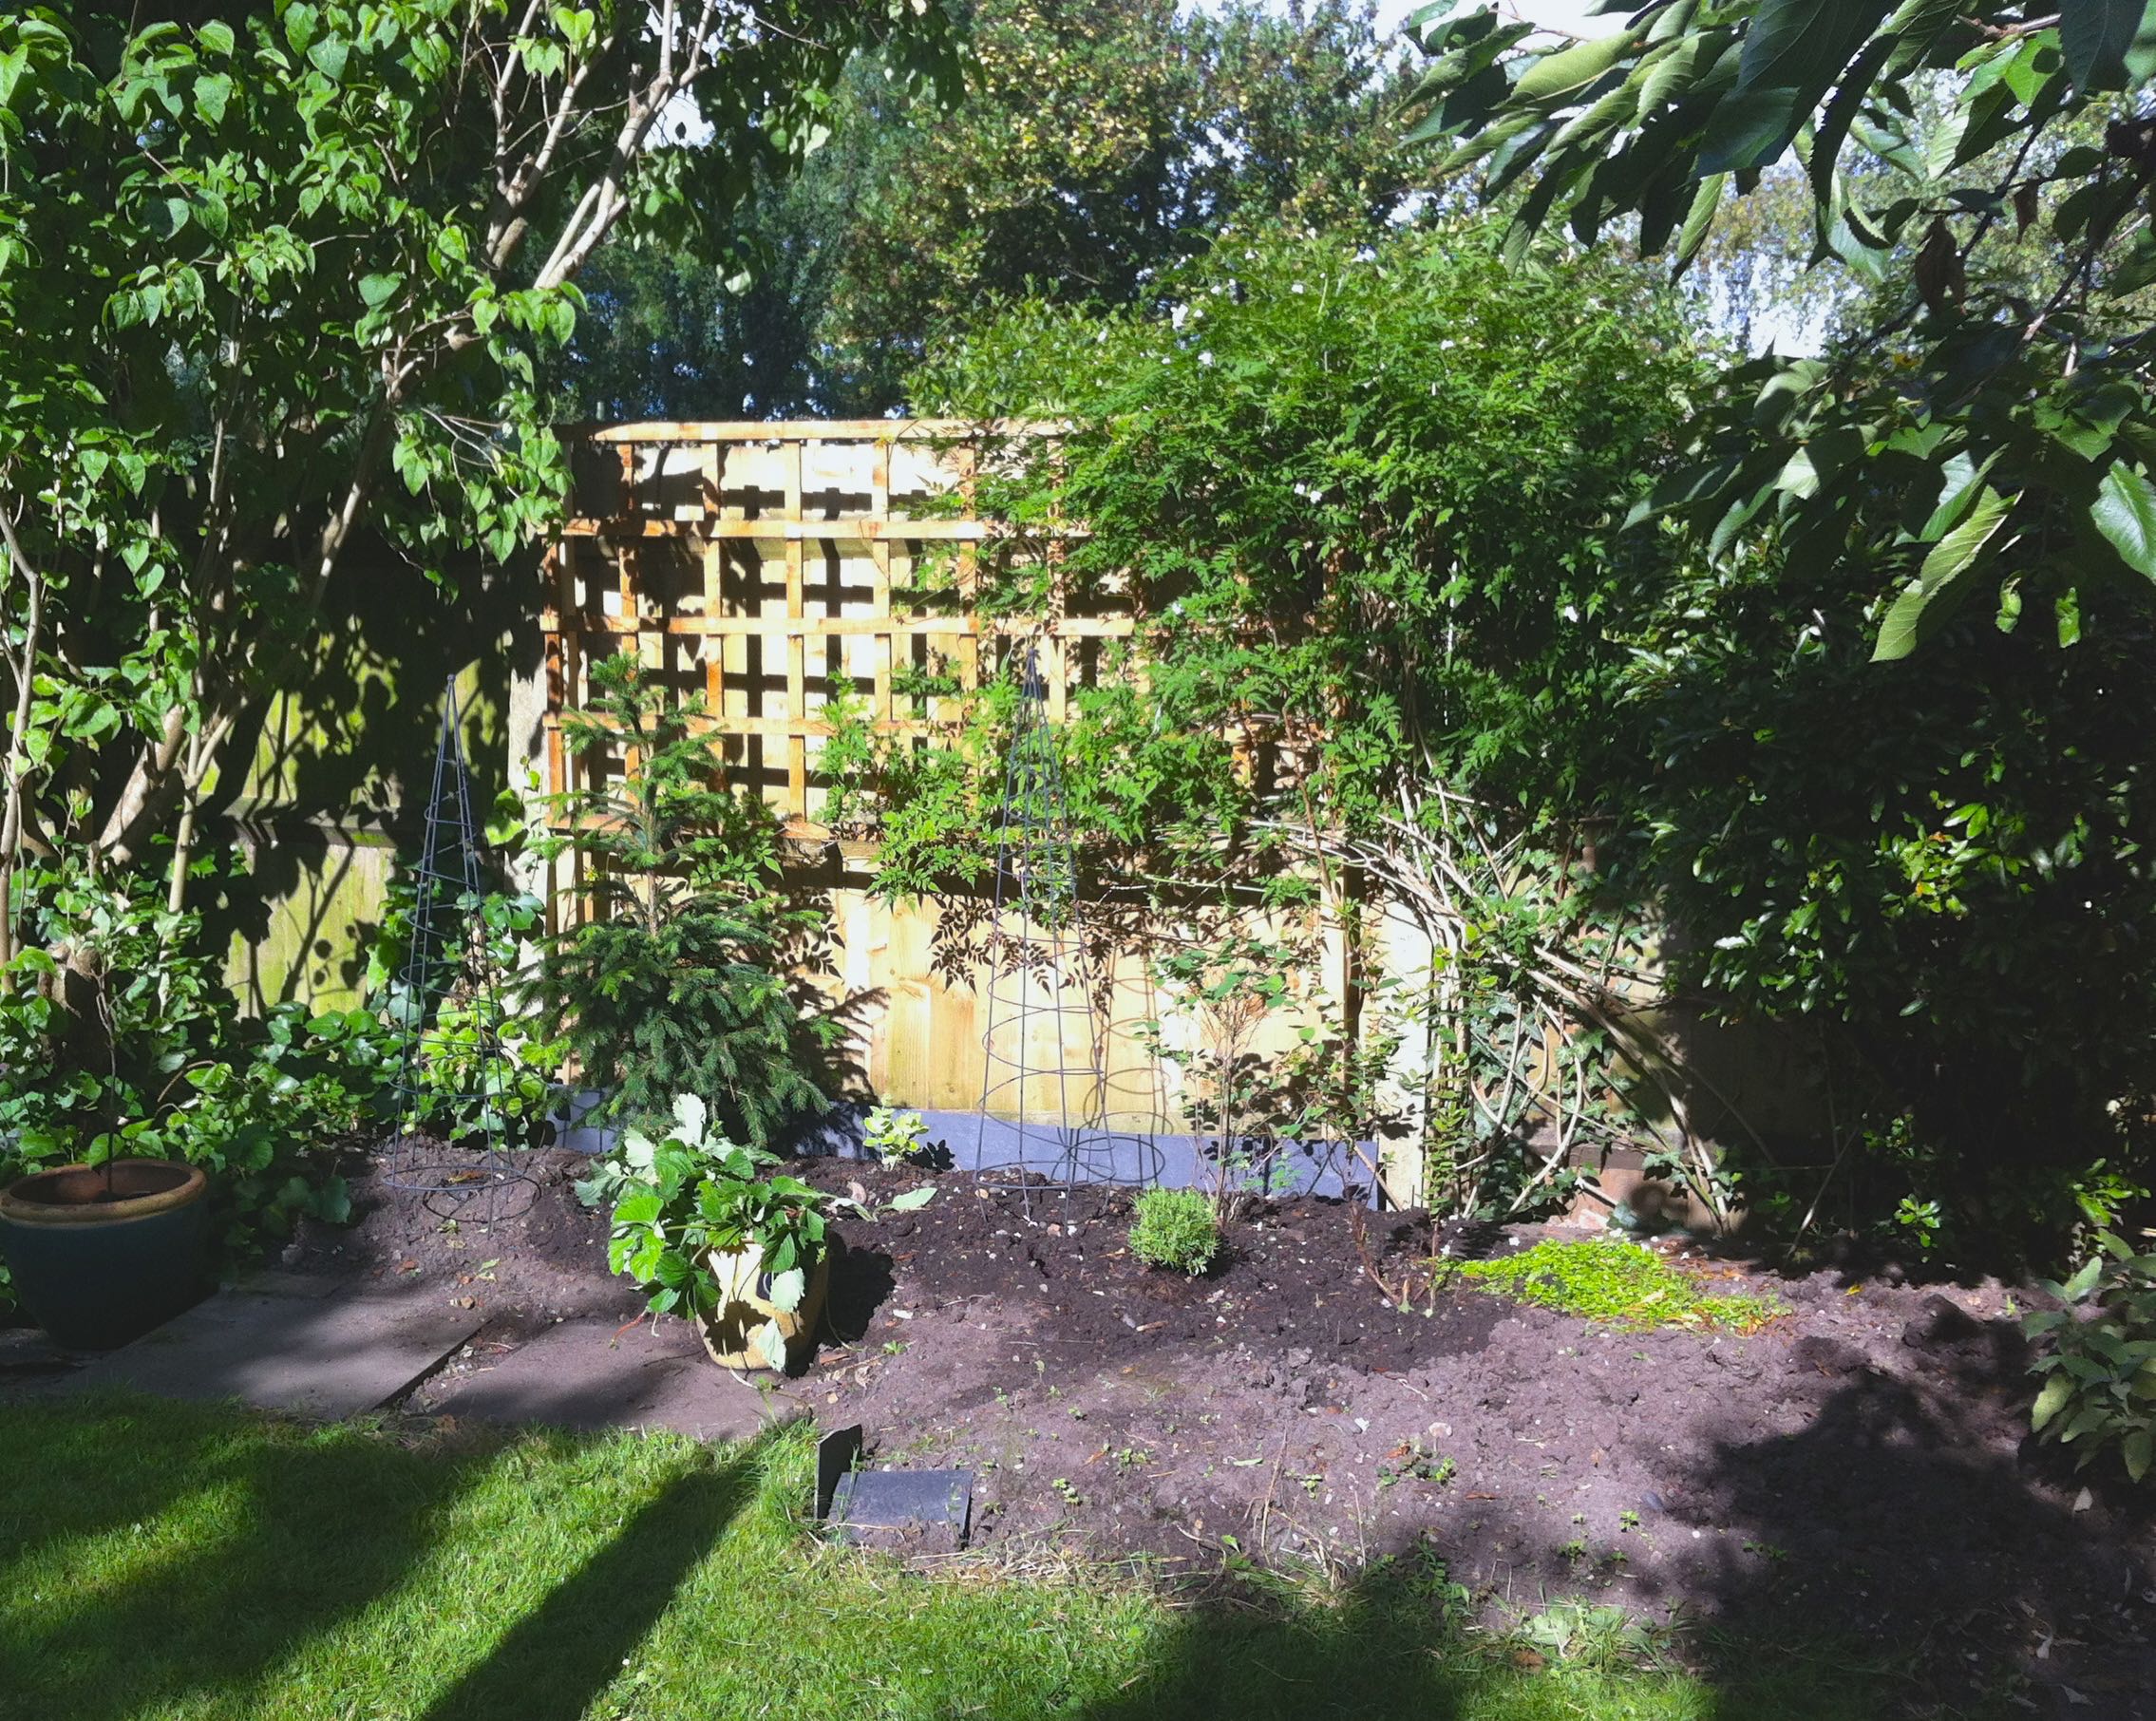
WORK IN PROGRESS
With the bigger plan coming to life we need to put more details into the sleepers part of the plan. Even before this weekend we knew that we'd need something to edge the beds and retain the soil. The half brick solution we have nearer the house wasn't going to work. We also wanted to add something bolder in the area under our laurel tree, and so after much searching for inspiration on the internet we settled on of using sleepers.
And of course I don't just want them to lay flat and square. That would be far too easy - although in my defence there will be some that are laid flat, but I can't promise square. The plan is to use the sleepers in front of the Christmas tree and other new plants in the photo above, and in front of the lilac which is to the left and under the small cherry tree, which is on the right of the jasmine trellis.
That's the bit with the sleepers laid mostly flat.
Under the laurel tree I want to have a curve of upturned sleepers. High enough in the middle to perch on, but low enough so it's not hard work to get the bikes over, as the new bike shed will be on the higher level.
So with MOH on board, this weekend we've started doing some practical research. We've been online looking at sleepers and how to install them and at the garden centre we got up close to a sleeper to see just how heavy it was, and more importantly if we could lift one between us. We think we could, just about...

OUR TEST SLEEPER WHICH WAS JUST ABOUT LIFTABLE
We know for our plans we'll need to cut the sleepers to the lengths - and heights for the upturned ones - we want. And for that we'll need a pretty decent saw, and preferably not the manual sort. We'll also need to secure the sleepers to each other so they stay where we want them, so we've also been looking at which power tools we'll need. We definitely need the right kind of saw and most likely an electric screwdriver too.
With so many sleepers - the current estimate is more than ten, but less than twenty - having them pre-cut won't be cost effective, especially as we'll be fine tuning the plan as we go, which makes it even more important to have the right tools to hand. Hopefully that will help make sure things go smoothly.
One thing I did learn this weekend though - mentioning needing new power tools is the sure fire way to spark MOH's interest in a project! I fully expect when the sleeper project starts, despite being the master planner, to be demoted to 'gofer' when the power tools come out. Which is fine by me. I'll let you know how we get on!
