


* I was invited to the press preview of Gardeners’ World Live and provided with a pair of tickets to visit the show, therefore all my posts will be marked as 'Ad’ though as usual my views and opinions are very much my own.
The Urban Gardens were a new feature at the 2024 show. They were both designed by Cherry Carmen but the gardens were brought to life by two teams of landscapers both vying to win the competition hosted by World Skills UK. Each garden was designed to embrace issues related to climate change - one focussed on Shady & Wet, and yeap you’ve guessed it, the other on Sunny & Dry. But which would win out?
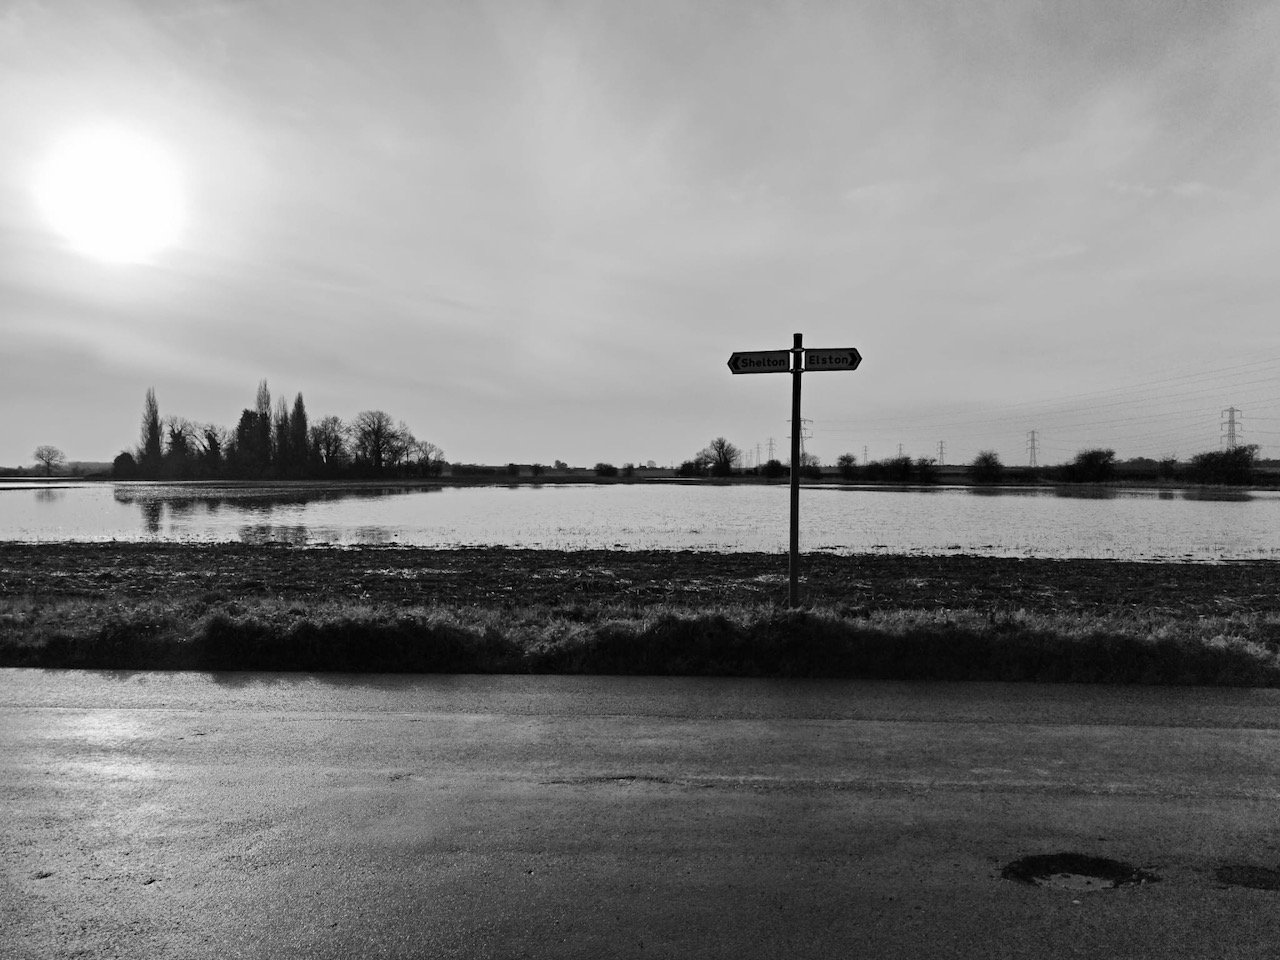
Determined to have its own say, the weather wreaked havoc with both of the garden signs - the wind managed to rip the board from the wood for the Shady & Wet sign - ironic much? And both signs ended up laying down alongside its garden - you couldn’t make it up could you?
Shady & Wet
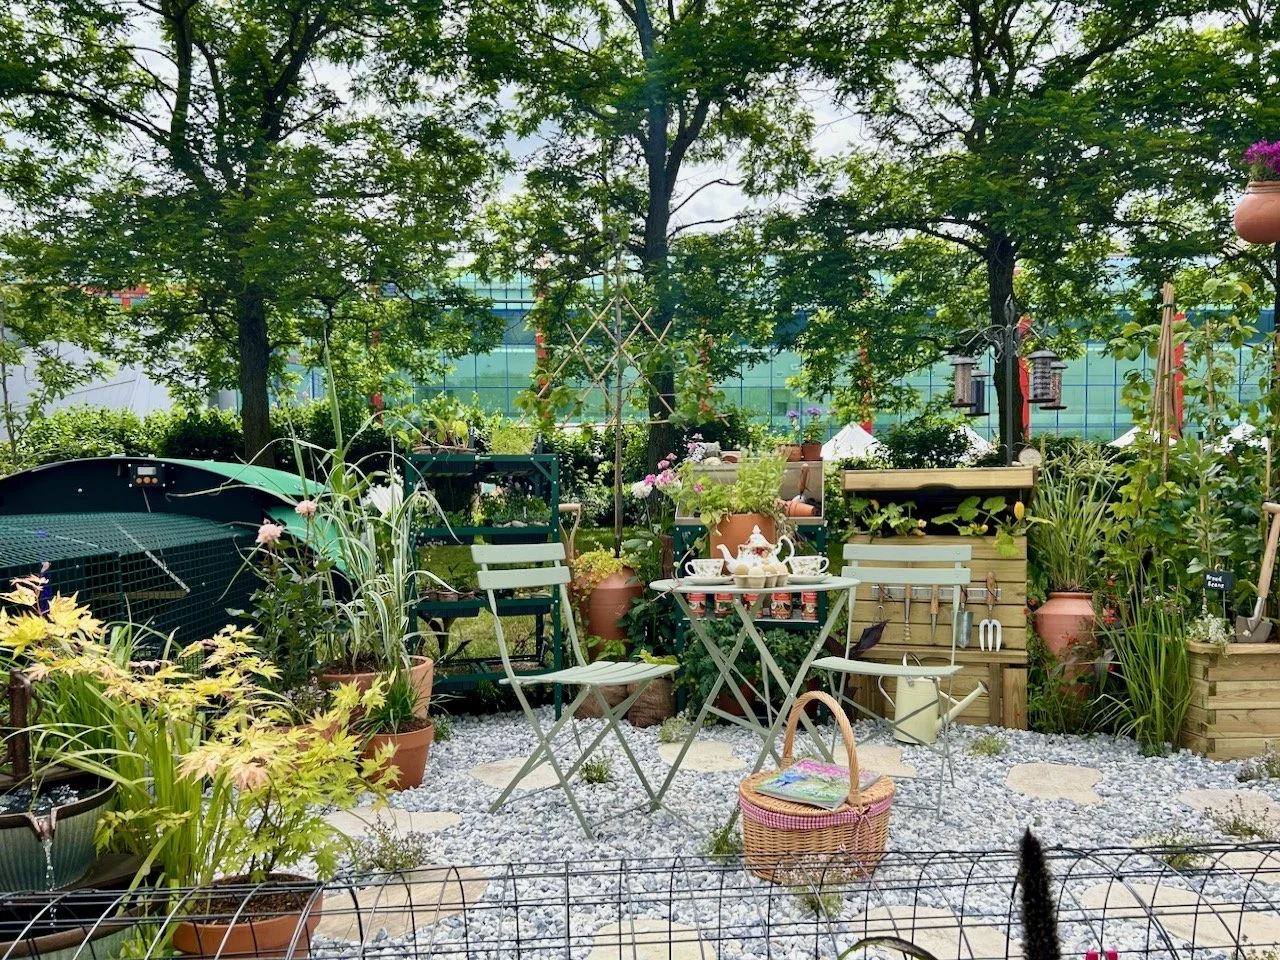
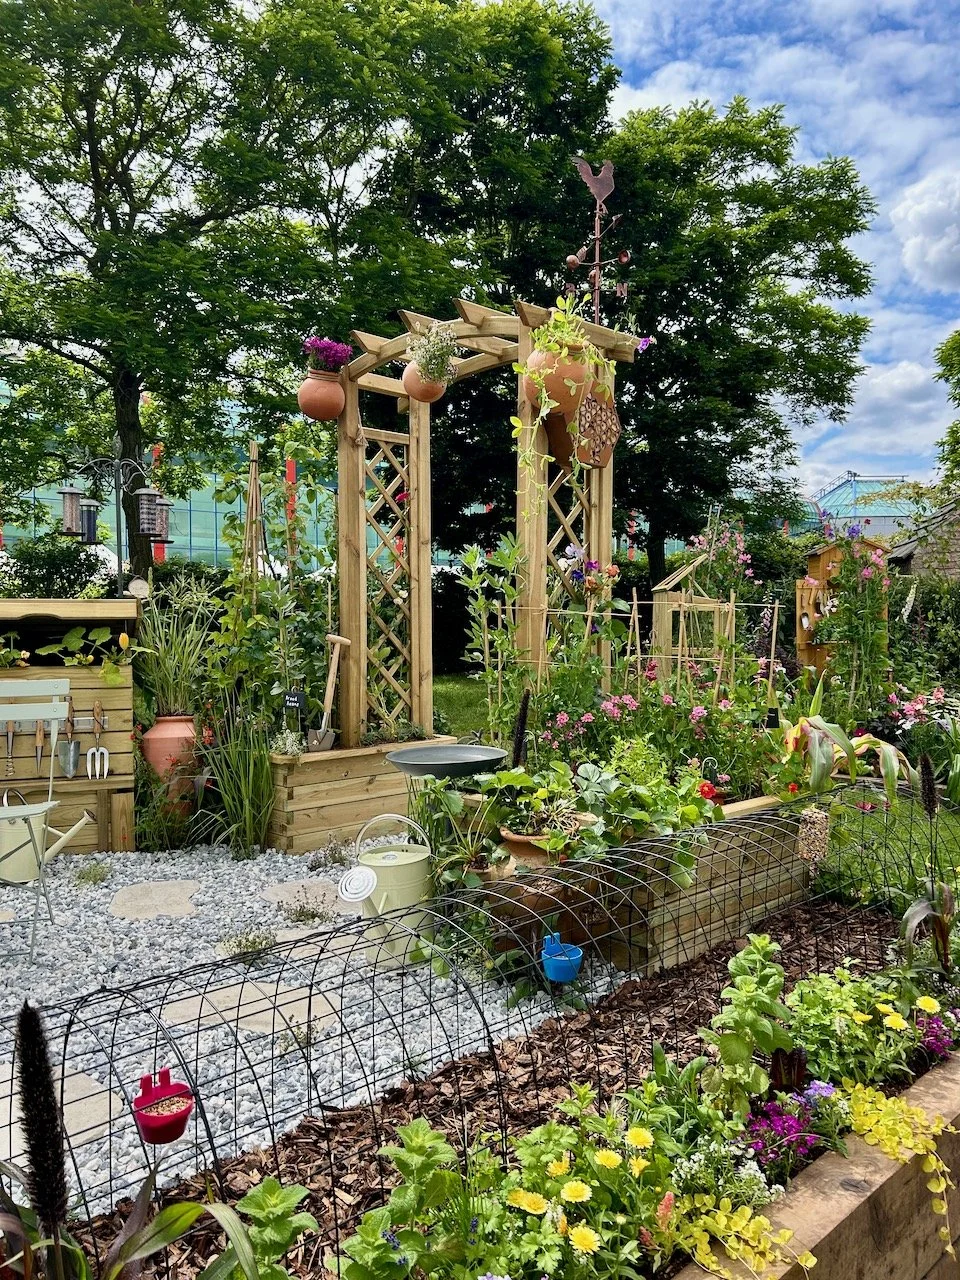
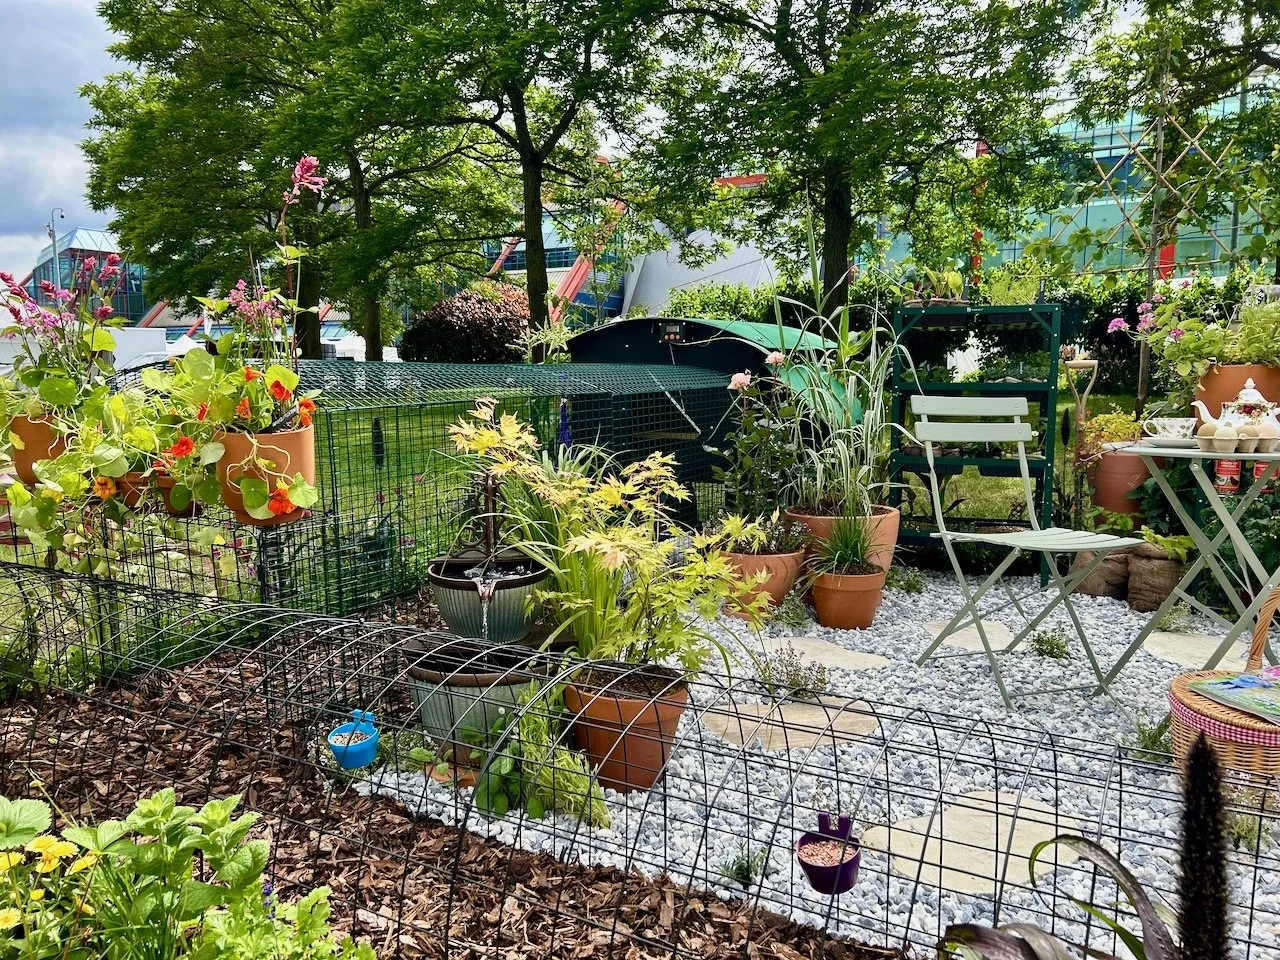
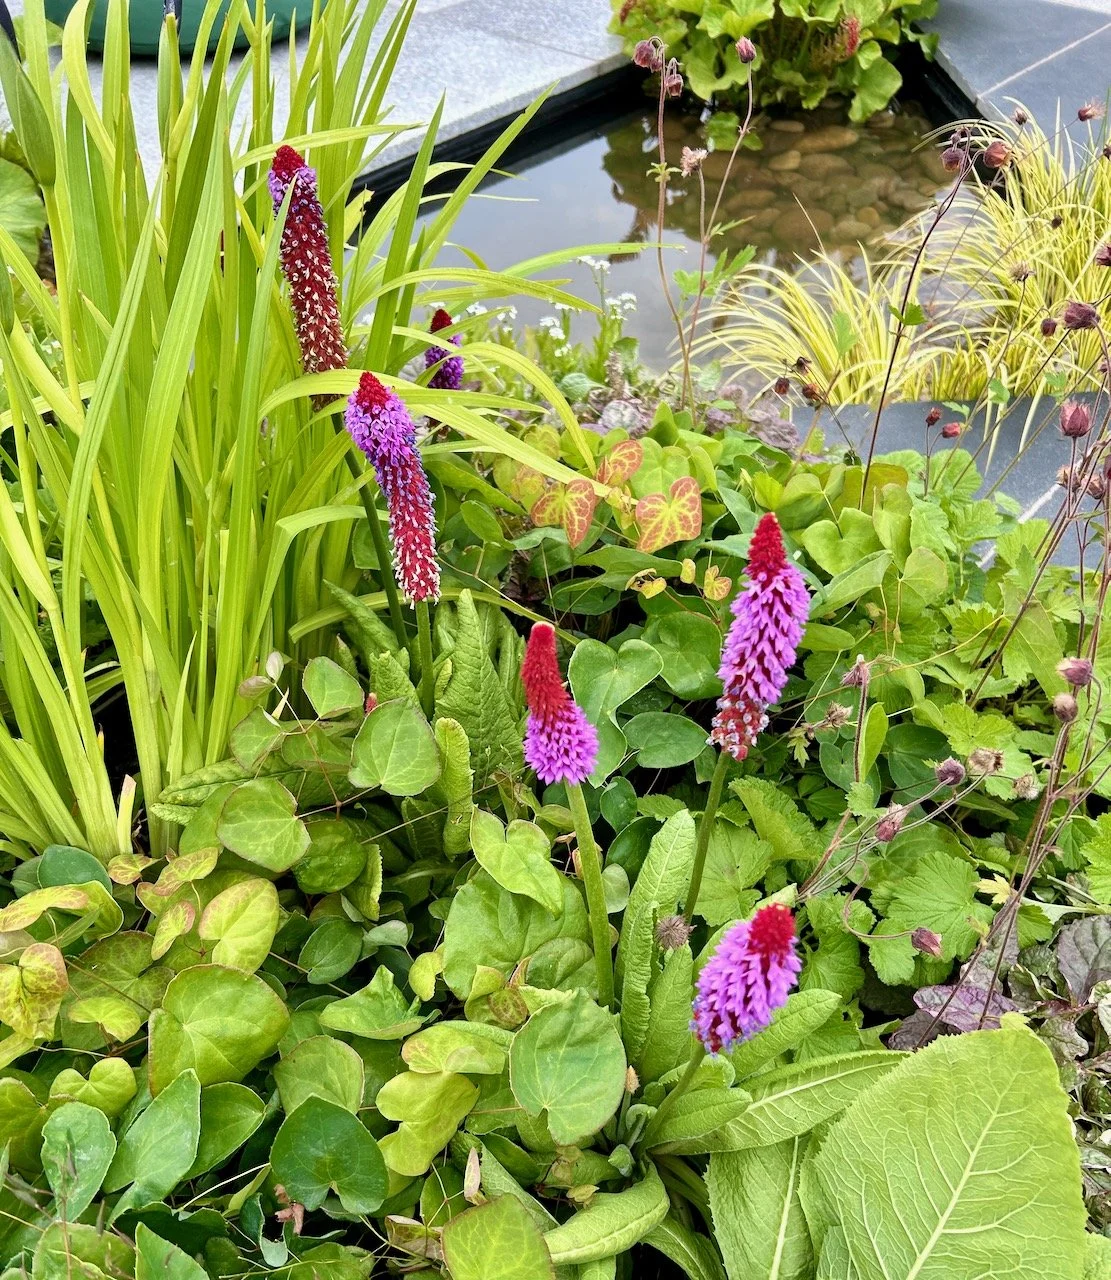
This garden was landscaped by Anna Mcloughlin and Ceri Furber and showcases a waterlogged or boggy garden. It’s a north-facing garden so doesn’t get the sun to dry it out, and so the planting demonstrates how to work with your garden’s reality and how by using correct techniques and plant choices you can still achieve something quite special.
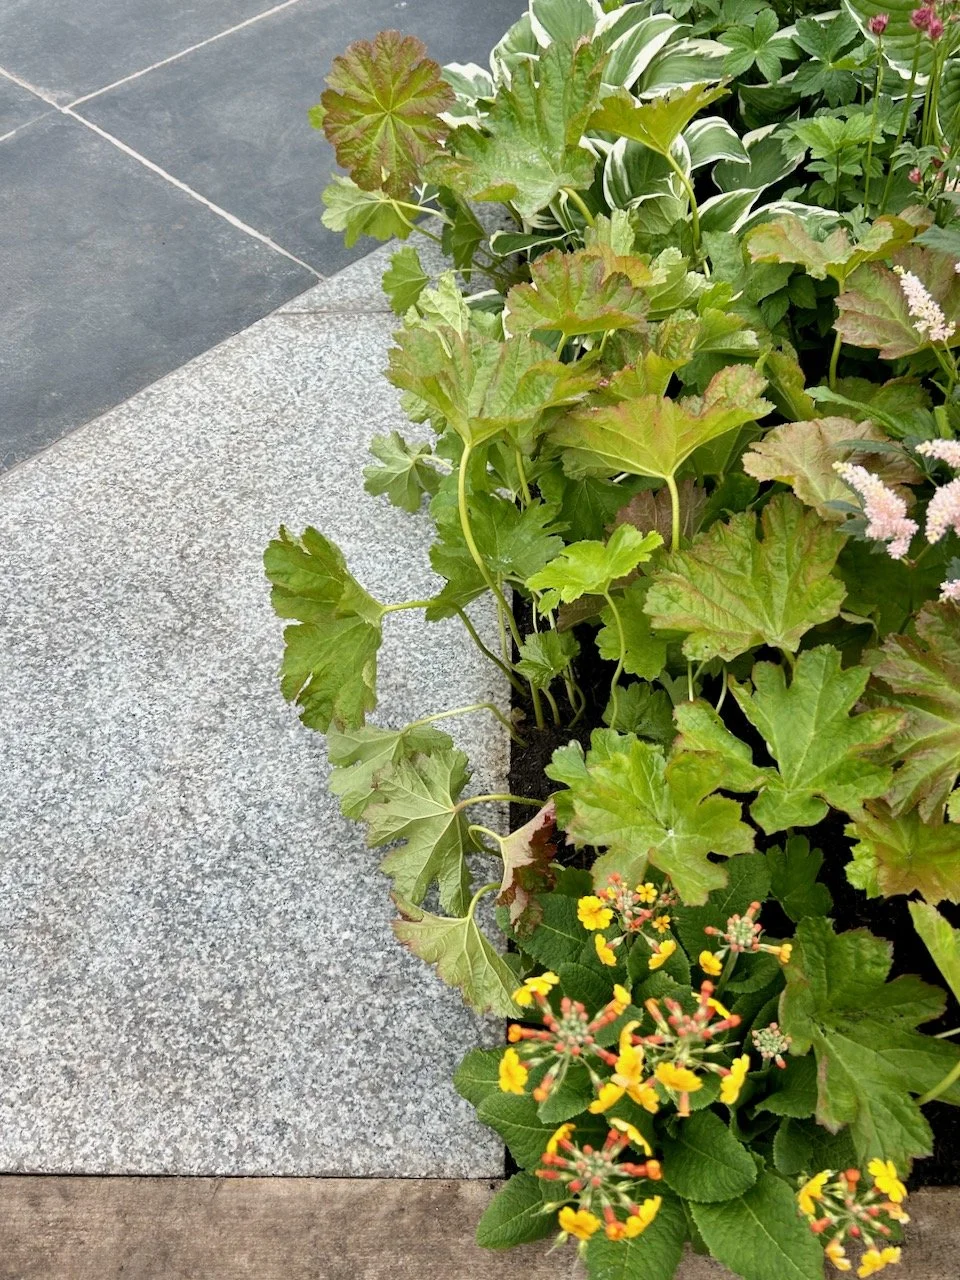
I liked the planting in the Shady & Wet garden and I think that each of us can do more to work with what our garden gives us - just because we like a plant, it doesn’t mean it will thrive in the space we have - and we have to learn and respect that. In our previous garden we rarely had any bedding plants, save for a few around the patio, as there just wasn’t the light they needed given the large shrubs and trees we had. It’s something we came to accept, and obviously saved a lot of work trying to force things to work where they really weren’t happy.
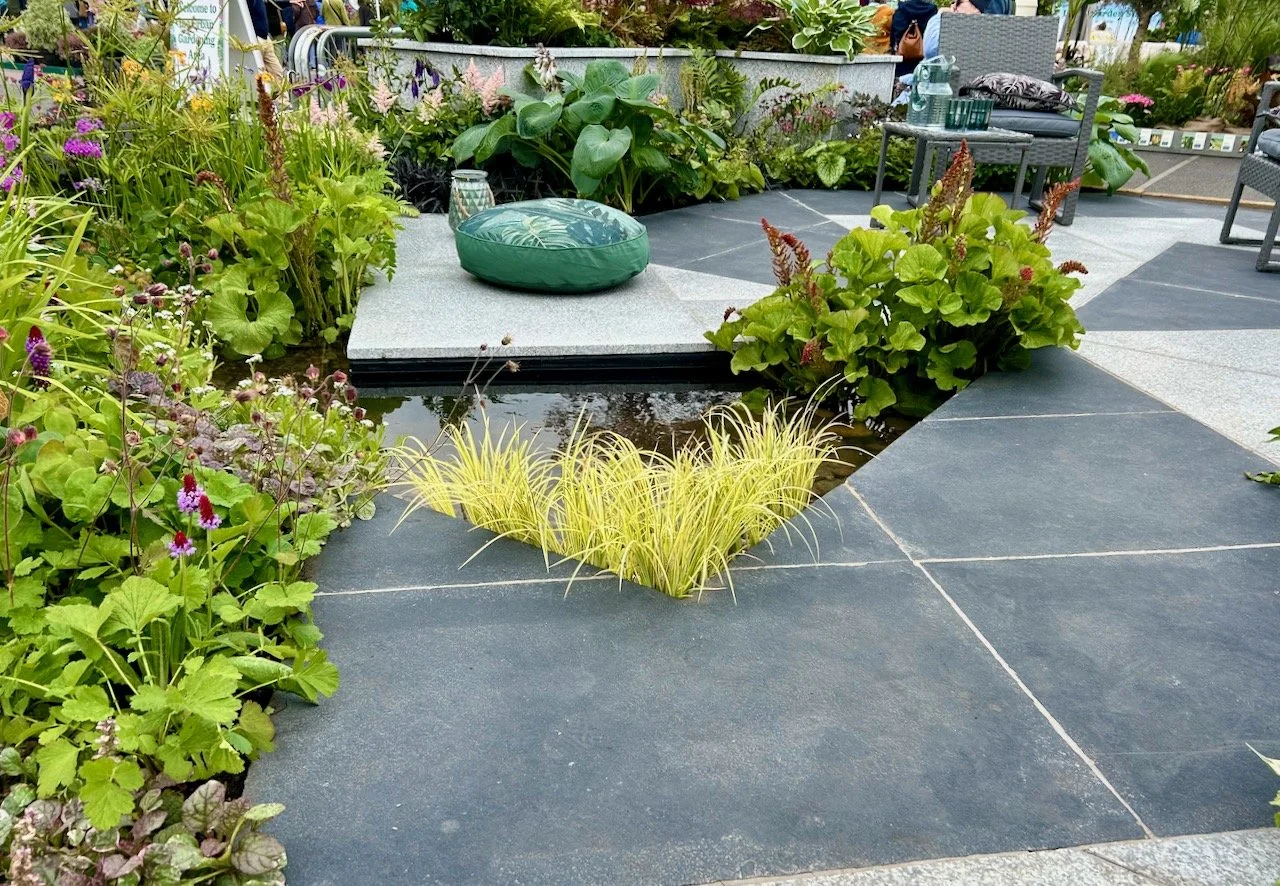
Sunny & Dry
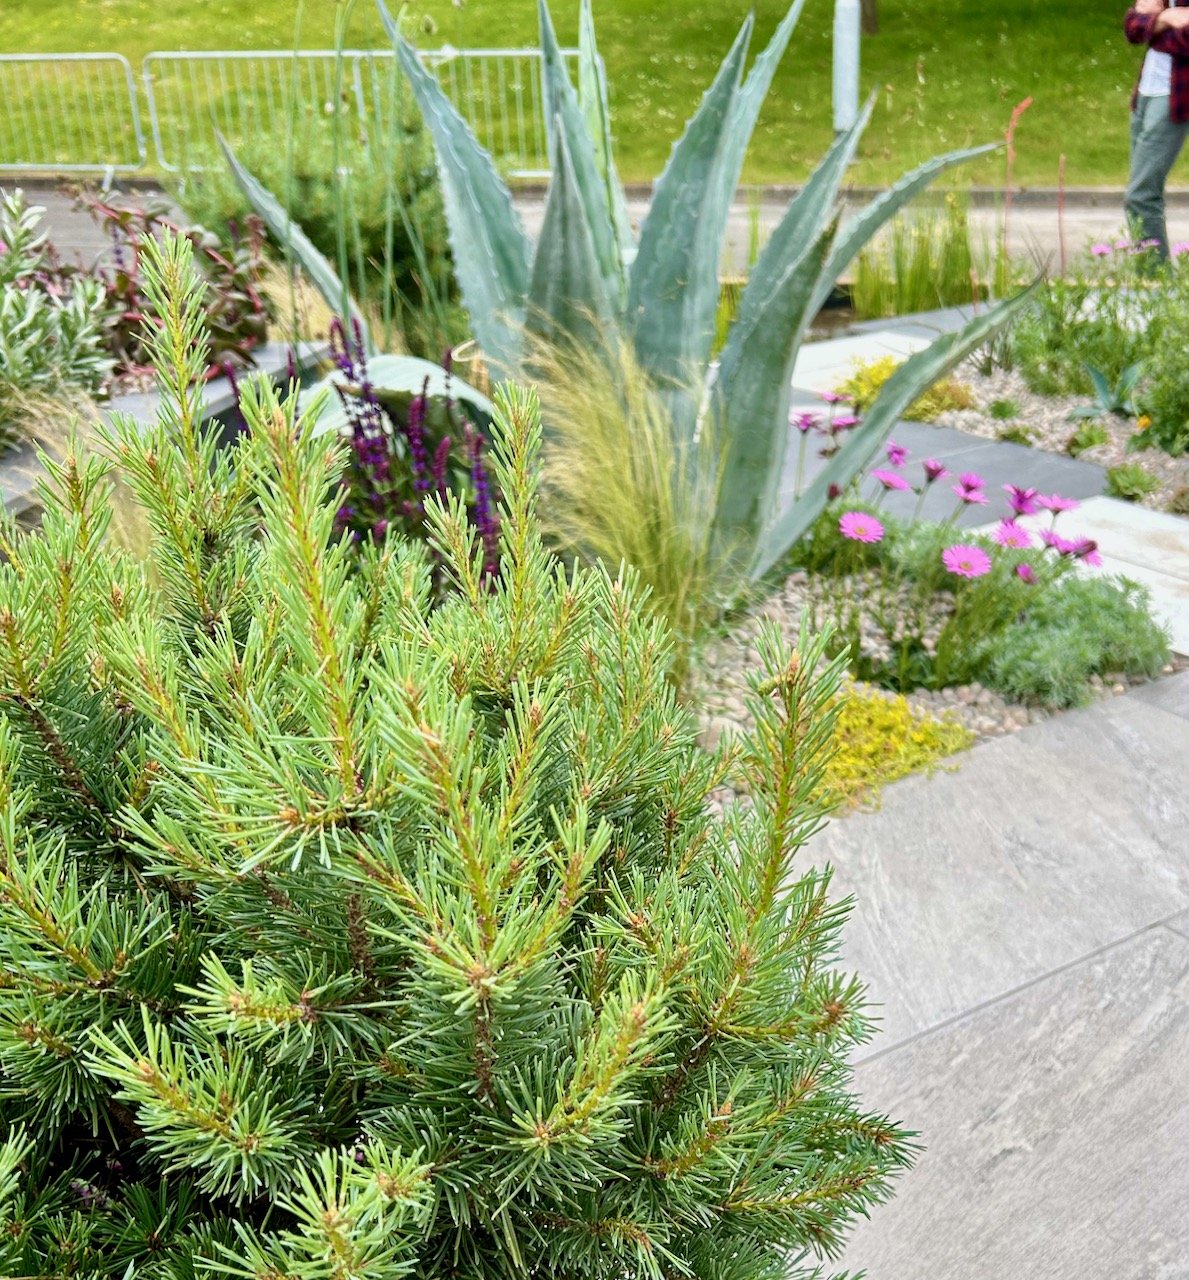
The landscapers for this garden were Aimee Copland and Jacob Mercer, and as you’d expect from its name this garden is south-facing and so becomes very hot in summer. Once again the planting and design has been adapted to work with, rather than fight against, the garden’s conditions.
This garden has a lot going for it and the plants appealed to both MOH and I. In fact this was MOH’s favourite garden in the show, which kind of surprised me and kind of didn’t. He likes strong sculptural plants - and has his eye on a banana plant, which while I’d be happy to have in the garden, so far I’ve resisted as I don’t think we’re quite ready to care for it, or have the supporting plants and infrastructure around it which I think it will need (but that’s a whole other post!)
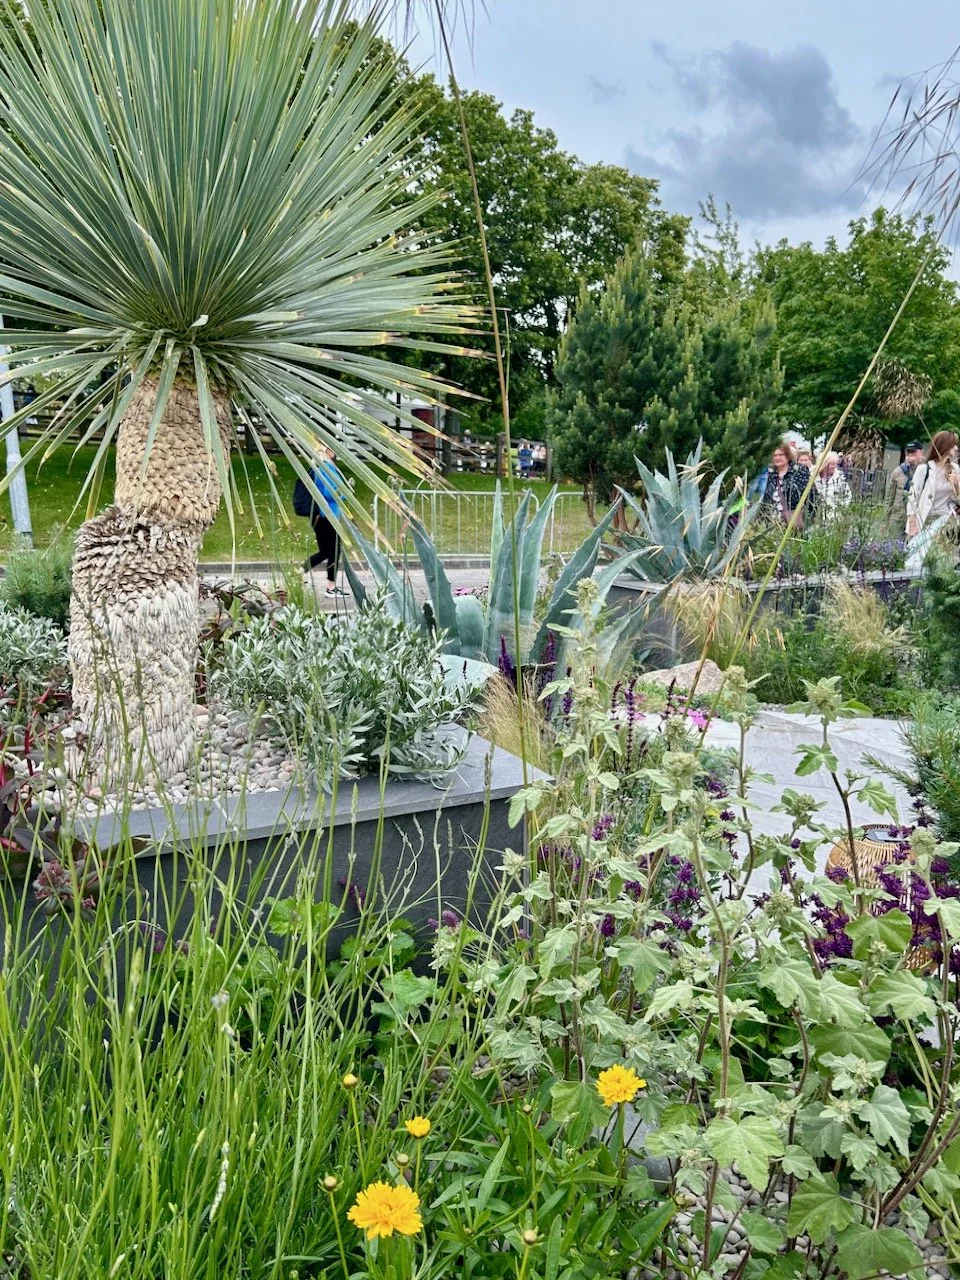
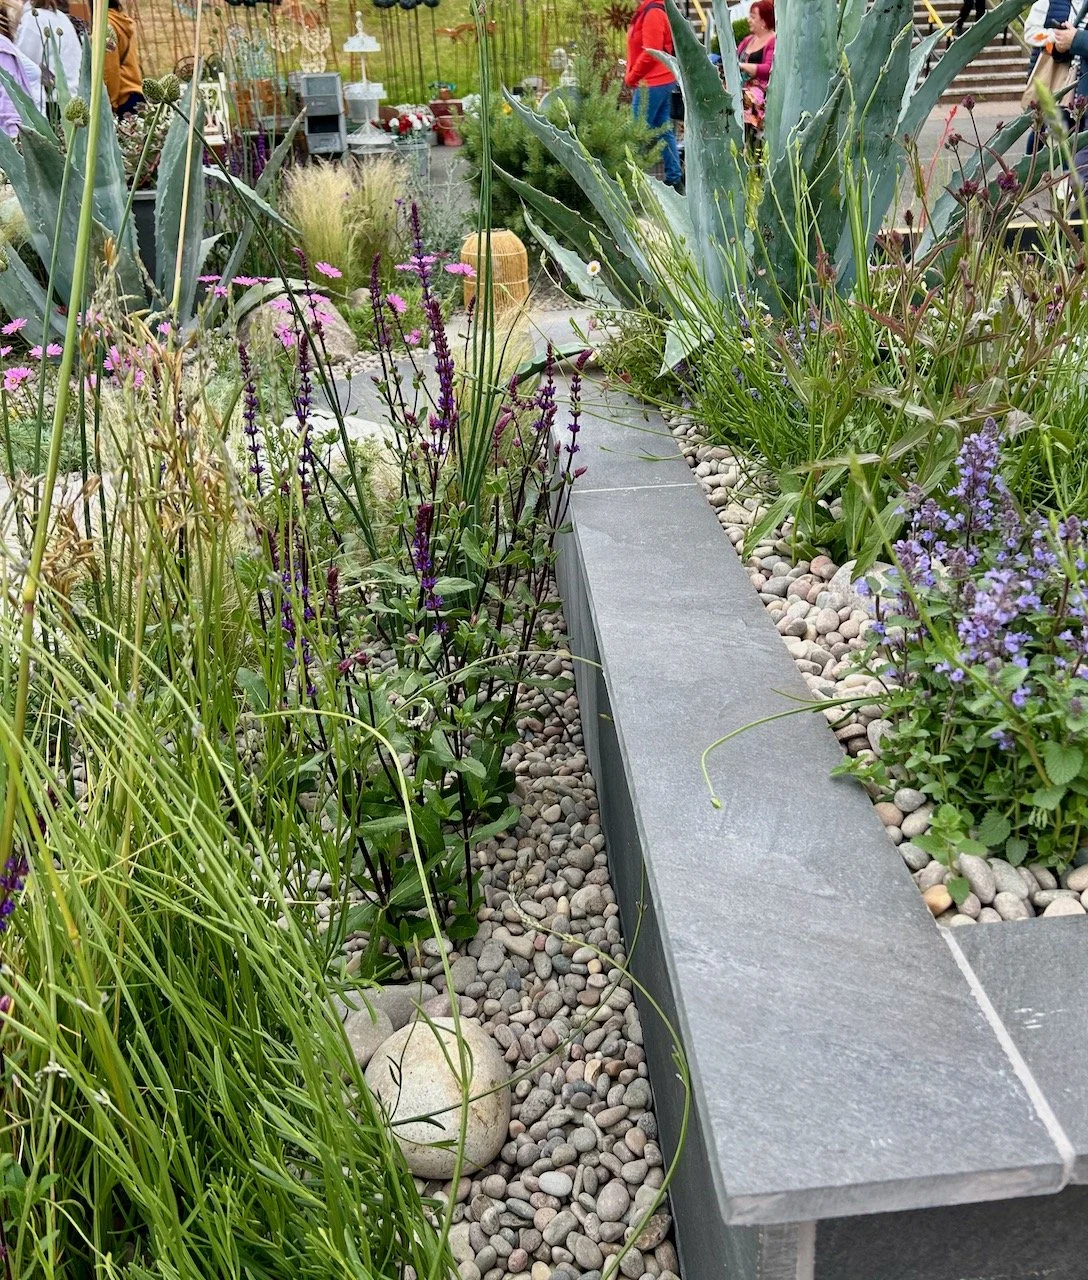
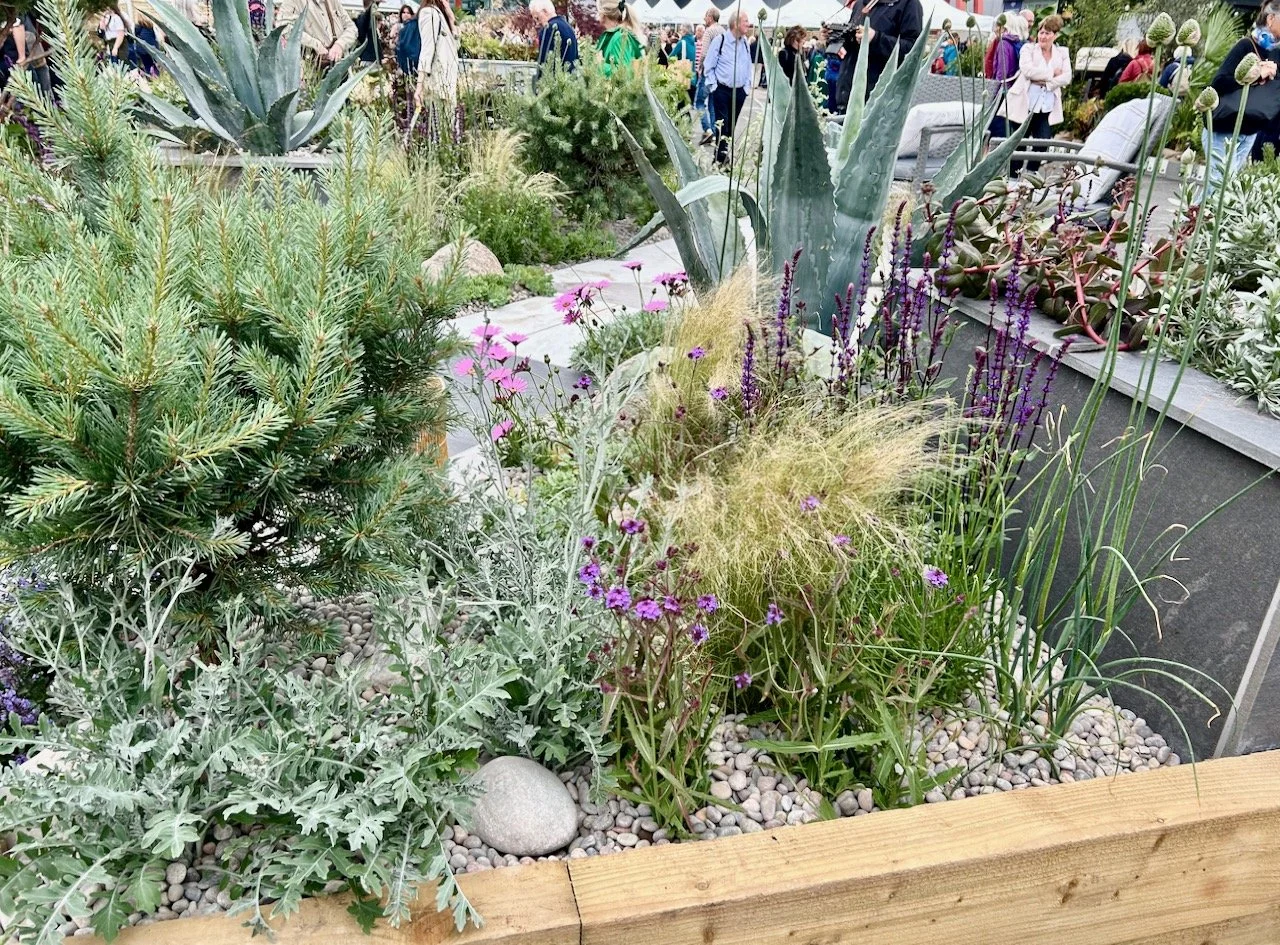
I do think that there is something to learn from the dry gardens that we’ve seen, both here in this garden and previously at the show and in other gardens, such as the RHS Hyde Hall - and I think that is definitely something we’ll be incorporating into our future garden. I think more and more of us will do that too especially as the climate continues to change.
Oh, and I almost forgot - the Sunny & Dry garden was awarded a gold medal, so I guess that garden won, and I’m not disappointed by that.
* With thanks to Gardeners’ World for inviting me to Gardeners’ World Live, it was just as good as I expected! I’ll be sharing more from my visit to the show - I hope you enjoy it as much as I do.