Using my Gelli Prints

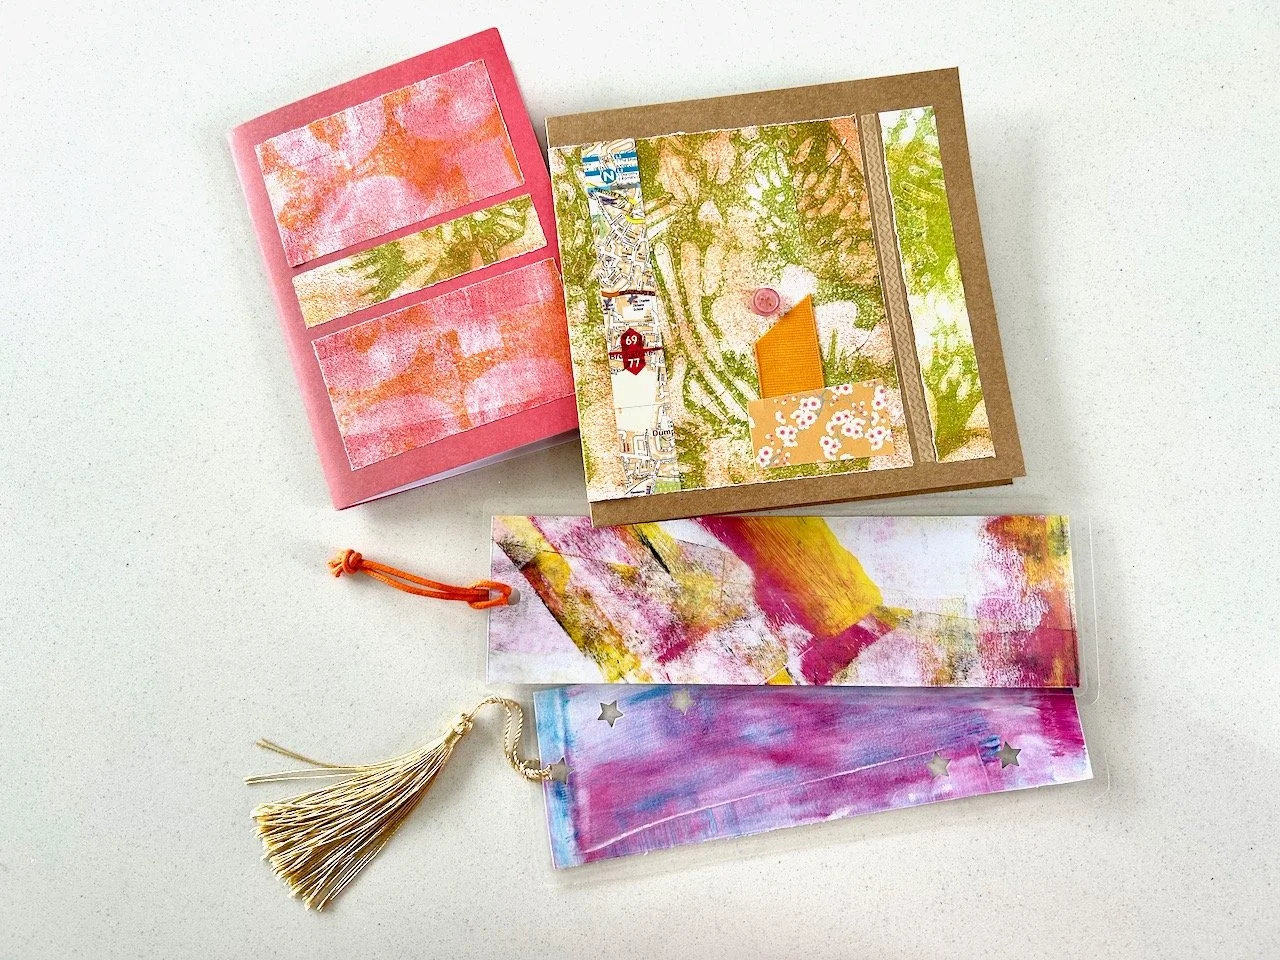
While creating the gelli prints is good fun, and slightly addictive, I knew that I needed to actually use them or otherwise you’d find me under several reams of them, and before long I’d probably need rescuing! The last class on the course was all about turning these wondrous prints into even more wondrous hand crafted items, and I left with quite a bundle of handmade items, some of which I probably wouldn’t have thought of or tried at home:

Using the gelli prints on (clockwise) a handmade notebook, a card and two bookmarks

A HANDMADE NOTEBOOK, A CARD AND TWO BOOKMARKS - THE GELLI PRINT WAY!

Though I was rather pleased with them, and I’m already using the bookmark with the orange tag in my book - and in case you’re wondering the orange tag is repurposed from a Superdry tag. I can definitely see that I’ll be using scraps of gelli printing alongside many other items I’ve saved for crafting - and I’m already wondering how small is too small for saving these scraps!

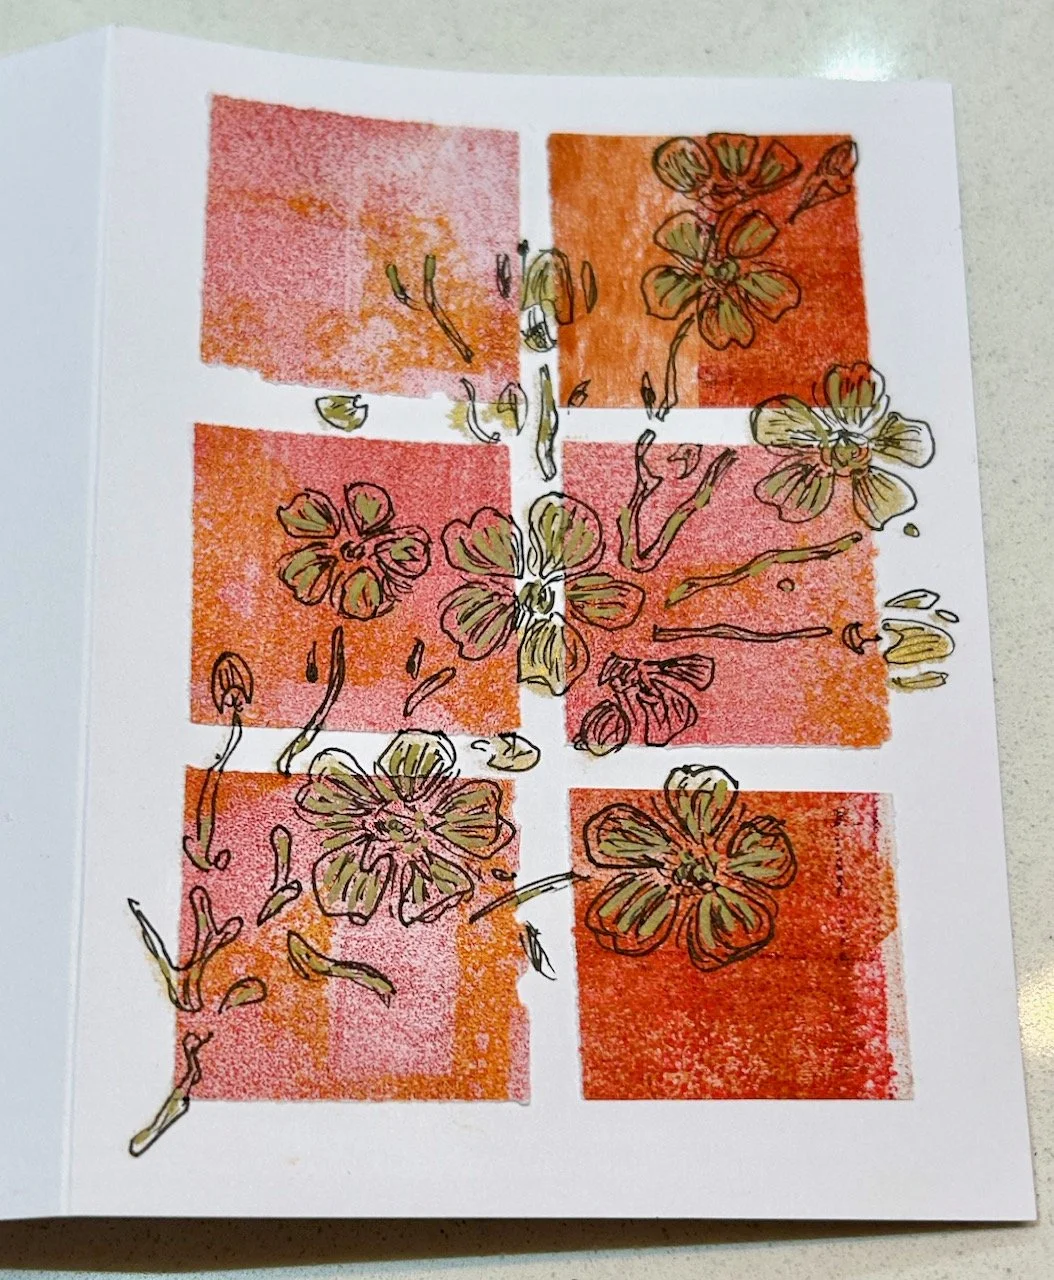
But anyway, inspired by the series of four classes I took in Newark and knowing that if I just put this to one side it would probably stay there for a while, I wanted to set about creating some more cards. I’d already toyed with strips of gelli printing and liked that so wanted to try blocks as backgrounds, with a design on top.

SIX pink/peach gelli print blocks with a gold and black floral design over the top on a white background

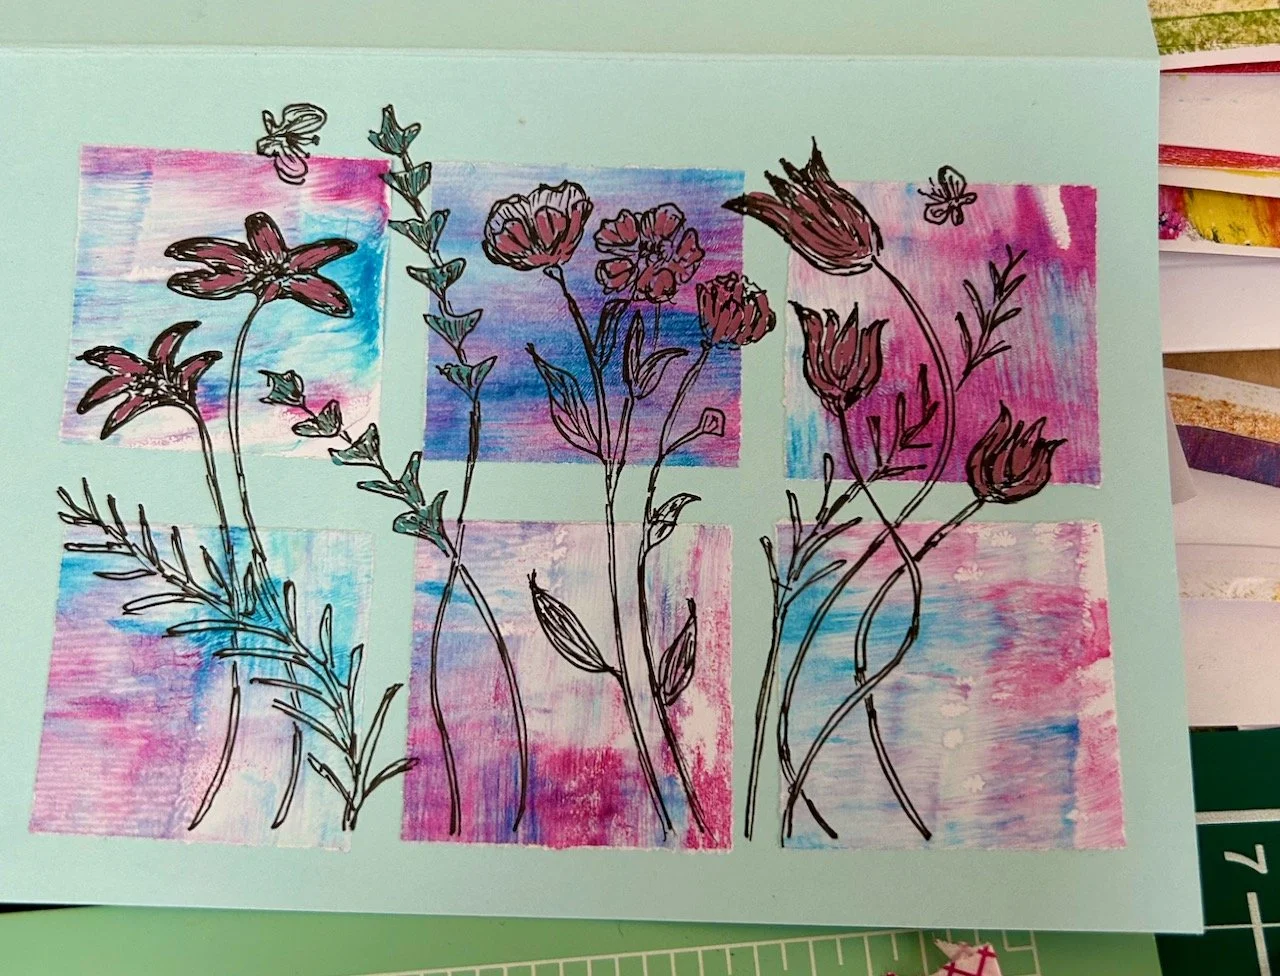
Both of these cards use the same concept but have turned out very different - and I like them both. I used a stencil for the outline of the floral and meadow designs and then adapted these, so they’re less stencil-like, using my knowledge of plants and flowers.

Six pink, white and blue gelli plate blocks arranged on a blue card with a meadow scene in black and highlights with pink and blue on top

And didn’t they work out well?

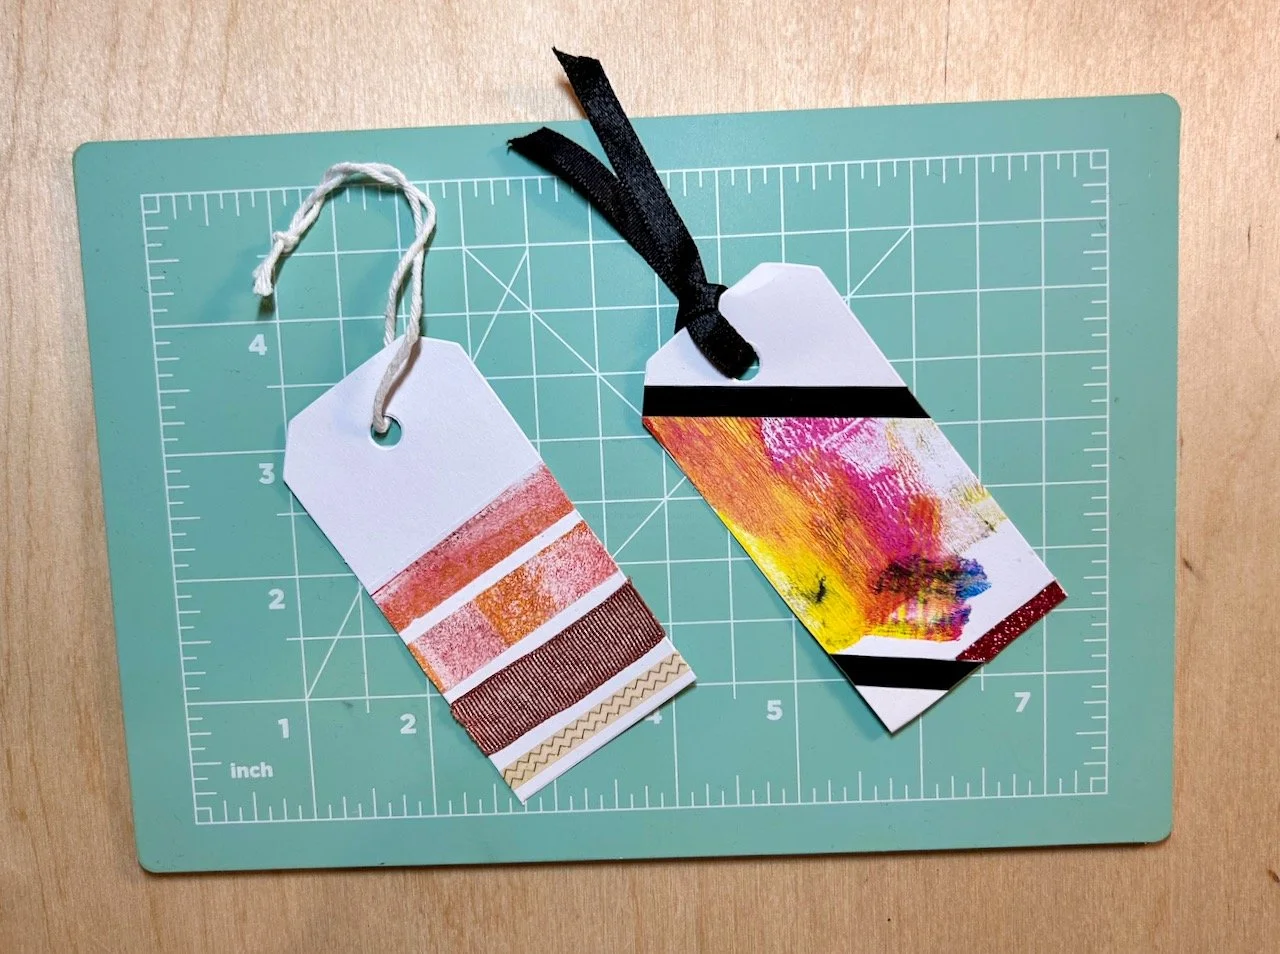
I wanted to try using some of the smaller scraps, and so that’s where gift tags came in. I think these were also successful and I used some scrap ribbon on both, and those black diagonal stripes - well they’re old dymo tape that I found in one of my many craft room boxes.

Two gift tags using scraps of gelli printing, some ribbon and washi tape (on the left hand tag) and dymo tape on the right

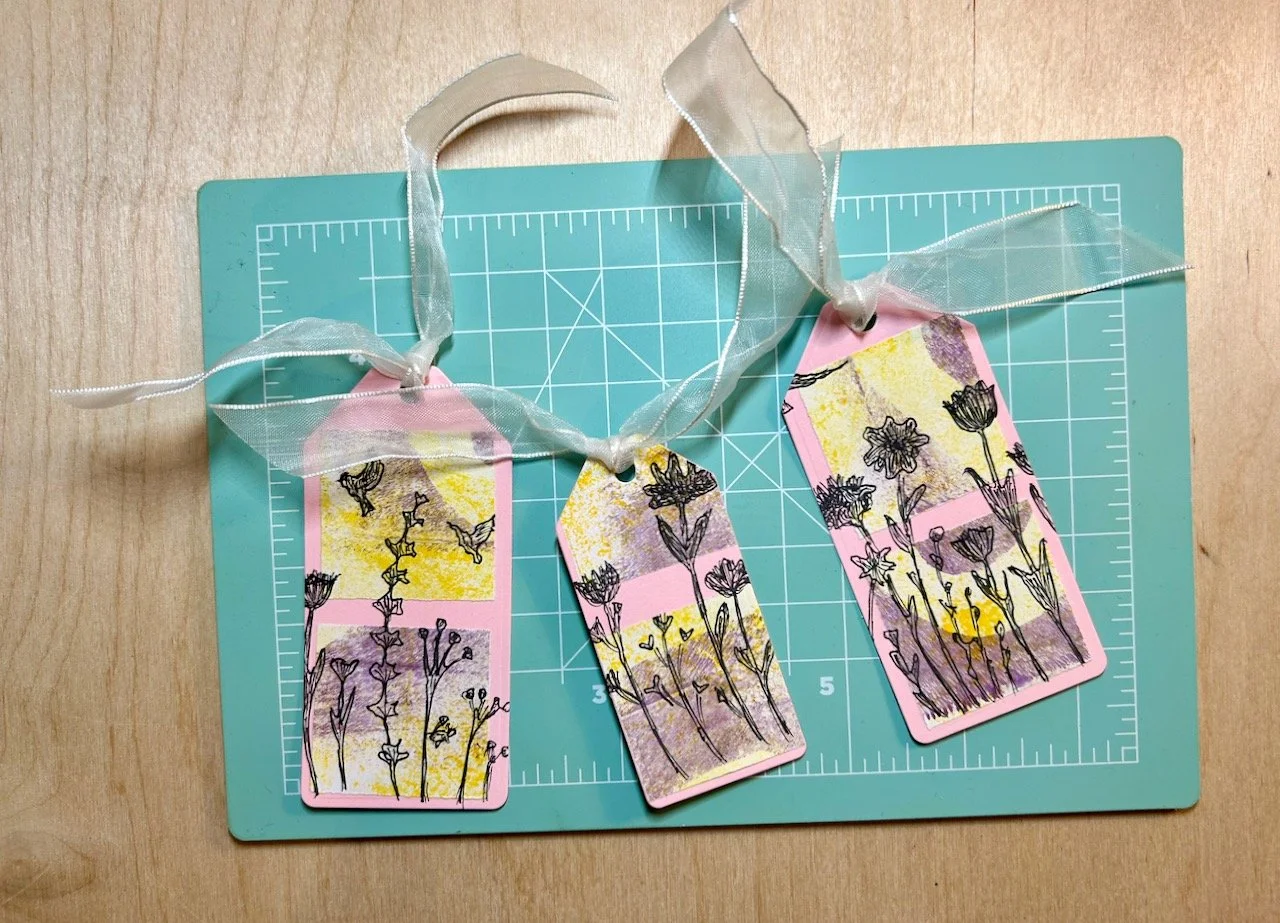
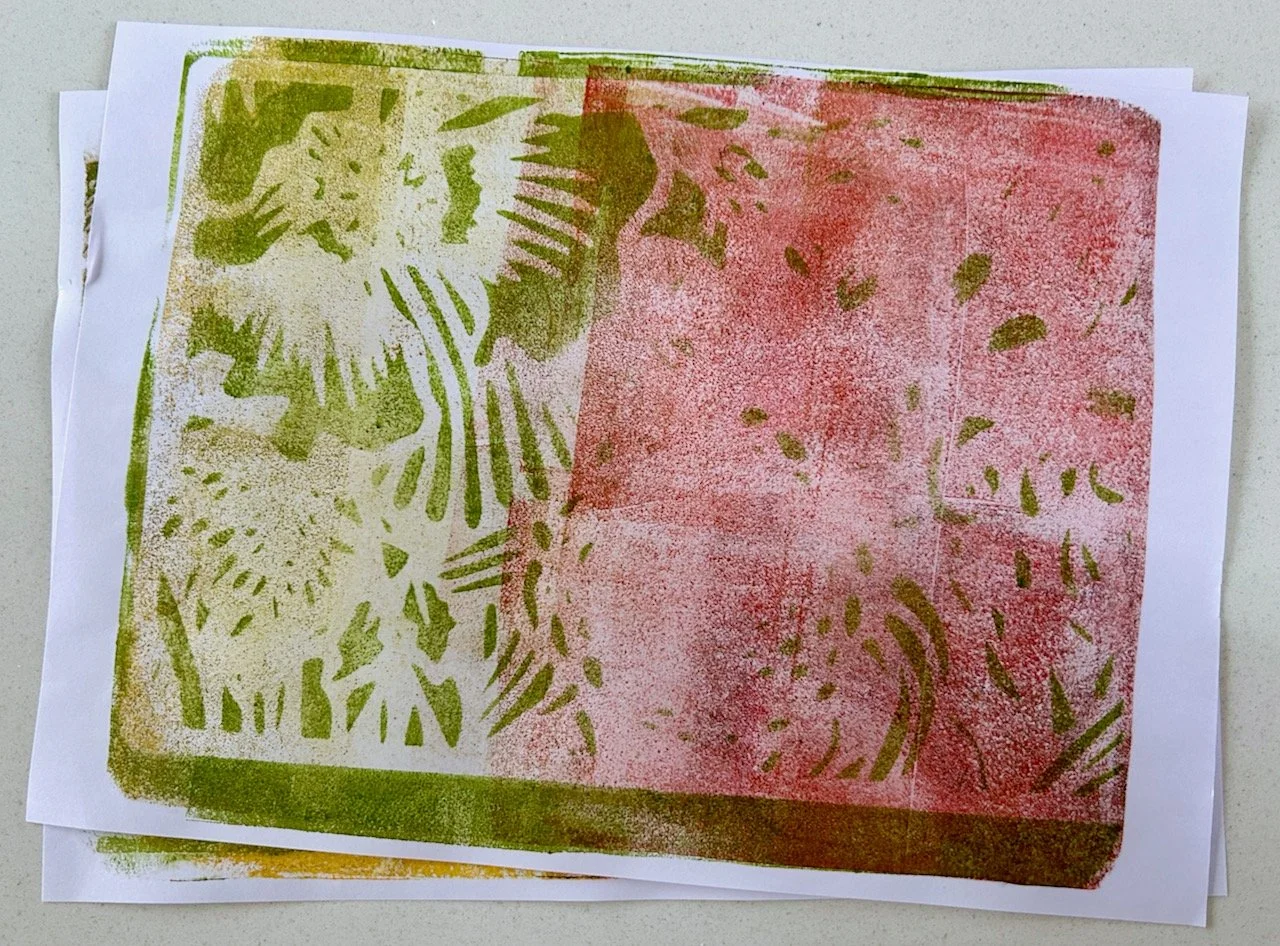
These three gift tags were originally intended as a card, however I realised my knowledge of birds is lacking and one (now cut out and discarded) wasn’t right at all. Not wanting to lose all of my work I repurposed these further making gift tags and adding ribbon saved from Christmas crackers many years ago as ties - and I’m not sure you’d know if I’d not told you.

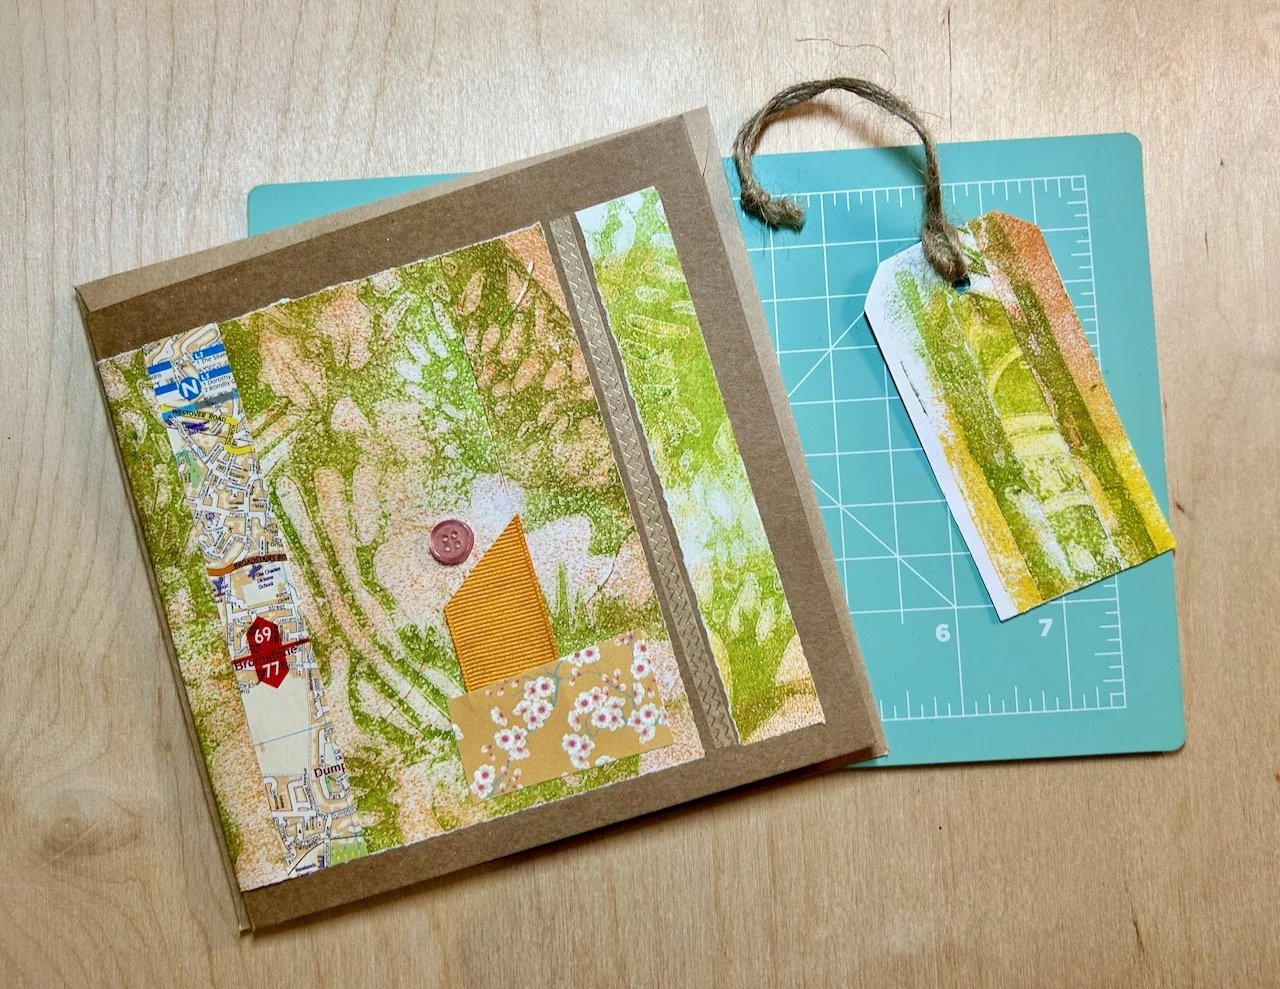
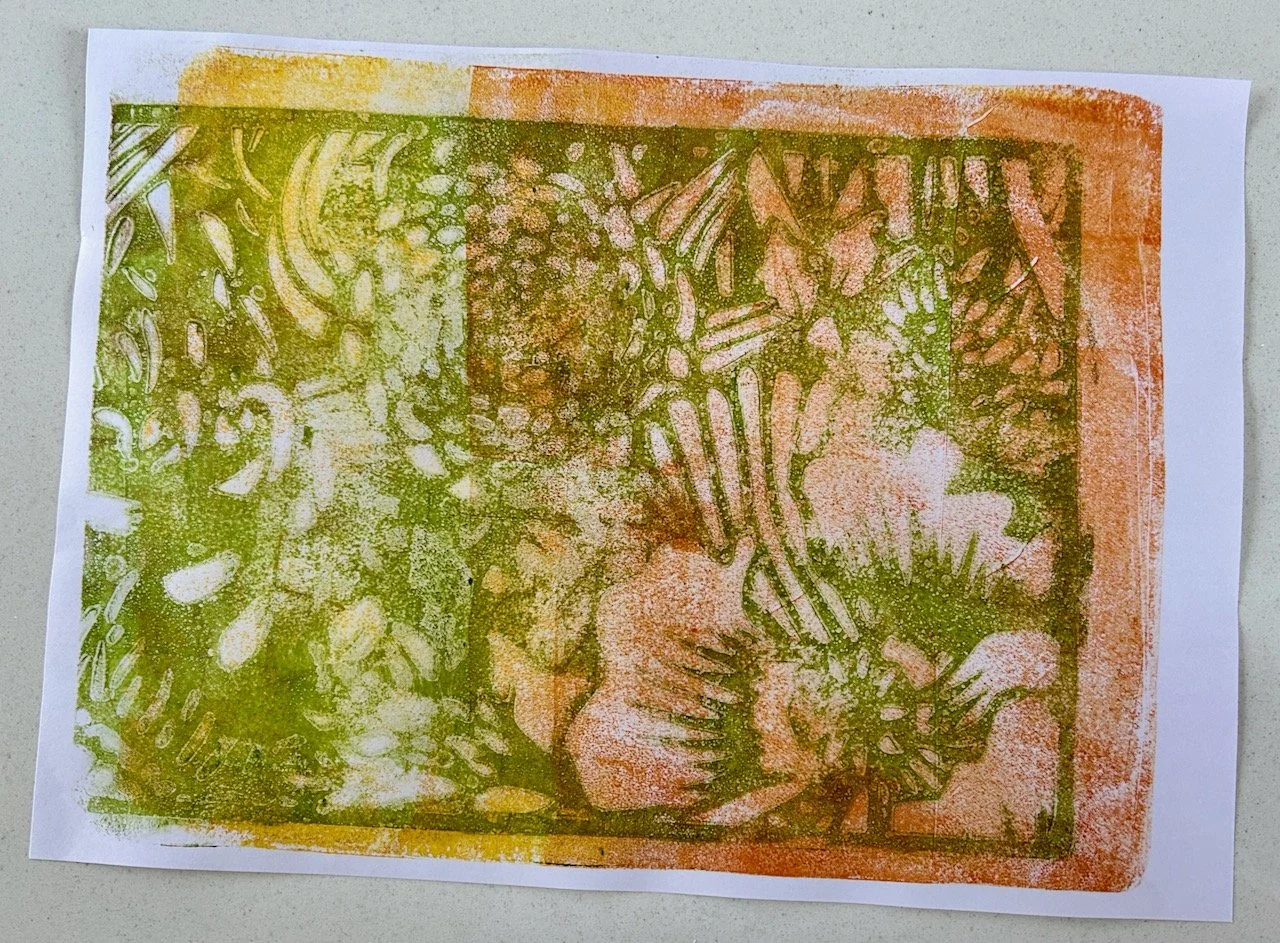
A gift tag to complement the card - both use green, yellow and orange gelli printing.  The card also has scraps of ribbon and paper, a strip of map and a button

My final make was again to avoid throwing away small scraps leftover from the card - and another gift tag. I think I could quite get into having coordinating cards and gift tags, though I’m not sure anyone other than me would notice!

I just know that there’s so many more uses for all of the gelli printing I already have, let alone the ones I’ve yet to print. I’m also pretty sure that this new craft is here to stay!

PostCommentLove

Creating plaids with gelli plate printing

In my previous post on learning to gelli print I shared how to print using stencils and shapes. Today I’m sharing how to create plaids, which I think is one of my favourite approaches so far. As with gelli plate printing generally, it’s quite random - so if you’re a perfectionist or like things measured exactly this may not be the craft for you. However, if you’re happy to go with the flow and see how things turn out, then I think you’ll love it.

I ended up with three plaid designs from the class which I’m sharing here, but this is something I will try again as it’s great to see how it’s going to turn out.

To create plaids you need more paper

It’s simple really, but you need to cut lengths of paper in the width you want, or varying widths to create your horizontal and vertical stripes. First you work the ‘stripes’ one way, and then the other, laying them on the gelli plate and working quickly as is the gelli printing way, so that your thin layer of paint doesn’t dry on the plate.

The results can be pretty spectacular, and you can reuse the extra strips of paper as many times as you need to to get the design you’re after. And even when that’s done, the strips of paper will be covered in their own unique colours and can be used for example in card making - the possibilities are endless.

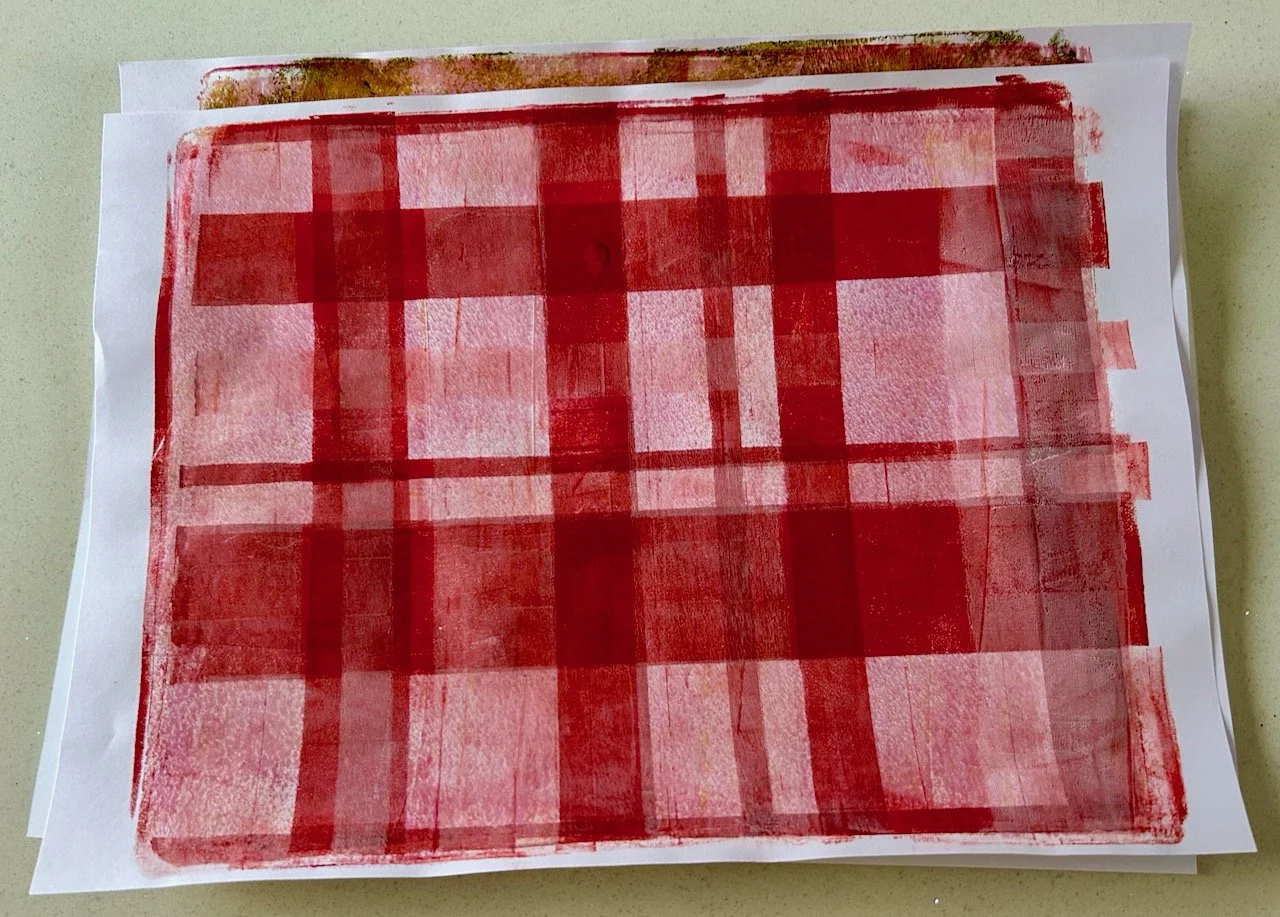
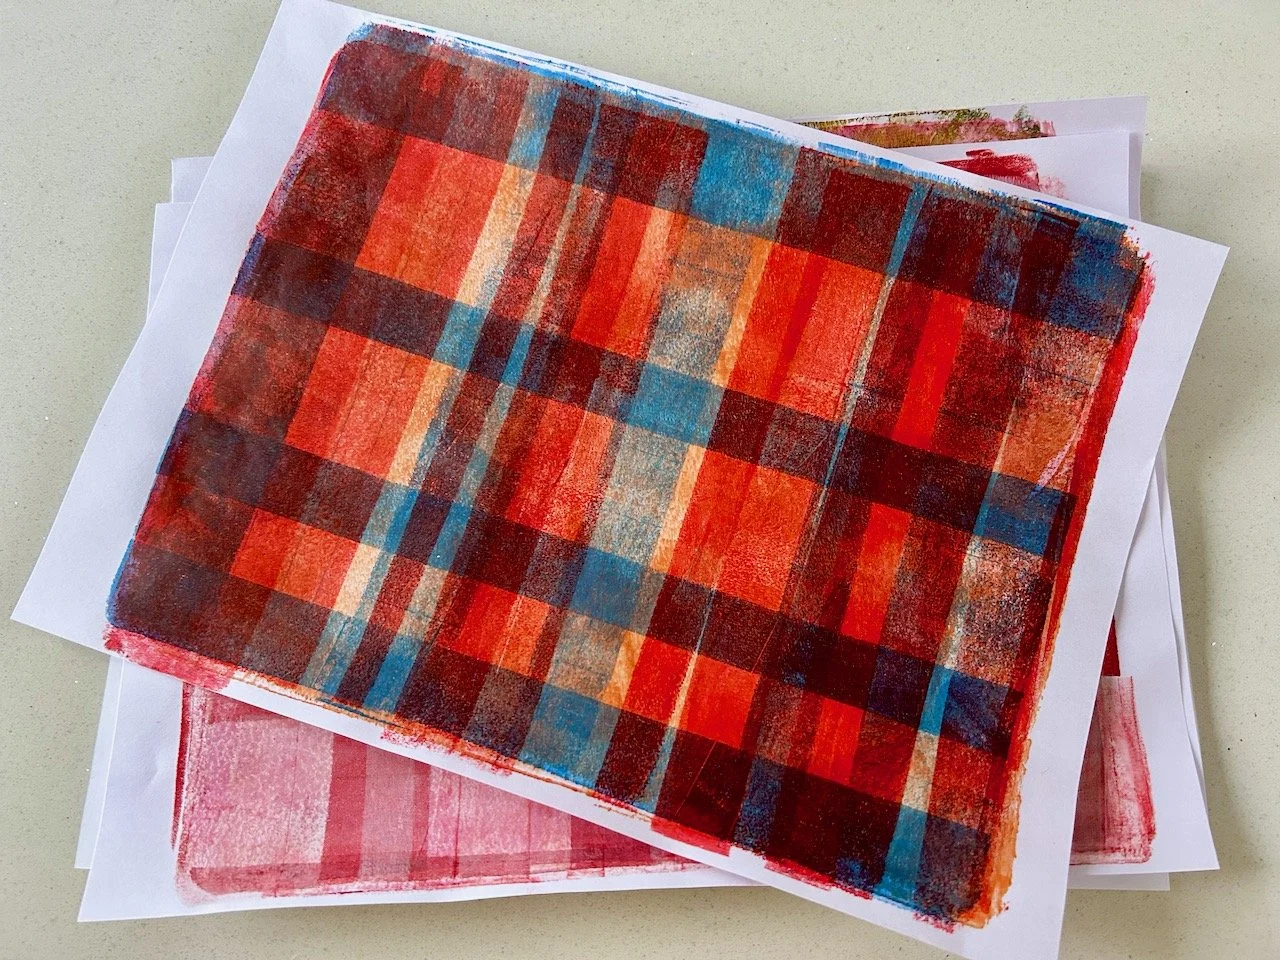
Red and pink plaid created with gelli plate printing

Though that’s the danger I’ve found with gelli plate printing - I’m keeping more and more pieces with the view that I could use those ‘one day’ - a bit like you do, or well I do anyway, when cutting out fabric. And how small is too small, well one thing’s for sure and I think they’re probably different sizes for fabric and paper, just don’t get me to commit to what that is for either of them!
Experimenting with colours

You only have to Google ‘colour wheel’ to discover the theories and relationships between colour, and how you can use primary, secondary and tertiary colours, and I’m not about to explain that here, you’ll be pleased to know. But after trying the complementary colours above, I wanted to try something bolder for my next print - and I think the blue works with the reds and oranges, don’t you?

Orange, red and blue working well (despite how it sounds) for another gelli plate printing plaid

Using up those misprints

This is a great way to use, or reuse those prints which didn’t quite work the first time as you’re printing over the top adding more paint and therefore more interest as you go.

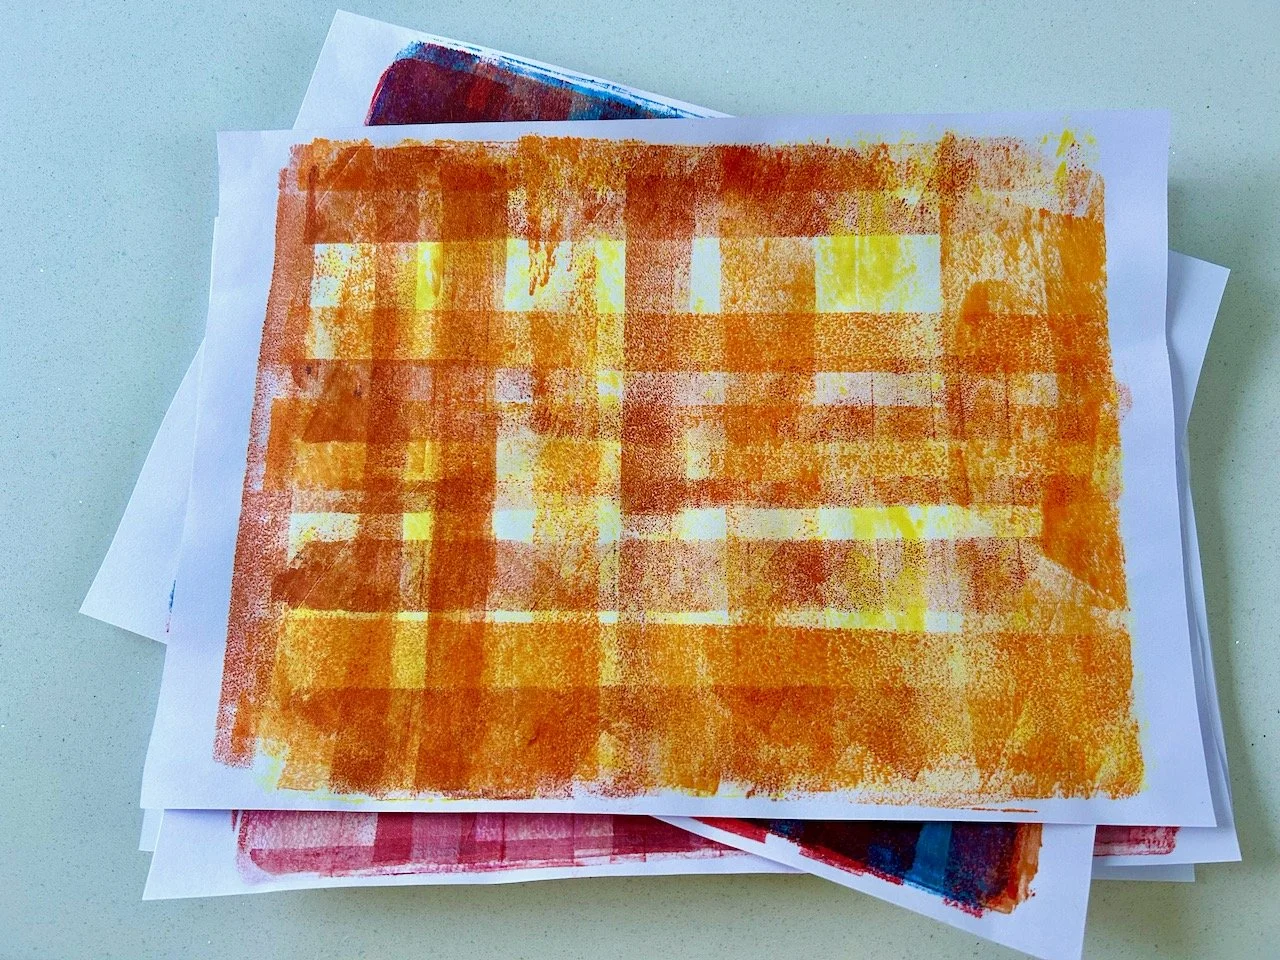
In the image below my starting point was a very patchy yellow print, but by adding vertical and horizontal stripes in reds and oranges I’ve created a pattern that I really like for it’s ‘distressed’ look, and which I know I’ll find plenty of uses for in my paper crafting days ahead.

A more distressed plaid with less full coverage using yellow, orange and rust coloured paint

Here I’ve only scratched the surface of the many, many combinations and patterns this technique can create - but as a taster I think you can see that it’s one that’s intriguing and has the potential for further exploration when I set up my gelli plate at home.

Yes I succumbed and bought my own gelli plate - it was inevitable really wasn’t it?

Gelli printing using stencils and shapes

In my first post on Getting started with Gelli Plate Printing I shared the basic equipment needed and my first prints using single and two colours, here I’m going to share how using stencils and masks can bring even more texture and interest. These bring another dimension to the prints, and endless possibilities.

I already have a number of stencils, which I’m keen to try out in this new craft that’s quickly becoming one I can’t see stopping anytime soon. I’ve purchased my own gelli plate and brayer online as this is a craft that has so much potential, and is fun to do and thankfully isn’t that messy either (which is always a bonus).

Using stencils

The possibilities are endless, as are the colour combinations. It’s also easy to get two prints from the same stencil and paint application, as long as you work relatively quickly and don’t let the paint dry. I chose to use a thin plastic reusable stencil with a flowery pattern. The first two images below show the first and second prints using a single paint application, and how they differ; the third image shows a final feint print to remove the paint that remained on the gelli plate.

The third print using the residue of the paint on the gelli plate produces a very pale and ghost-like print

In some ways the second print is my favourite, but I know that all of them will be useful - and used - in my future papercraft crafts.

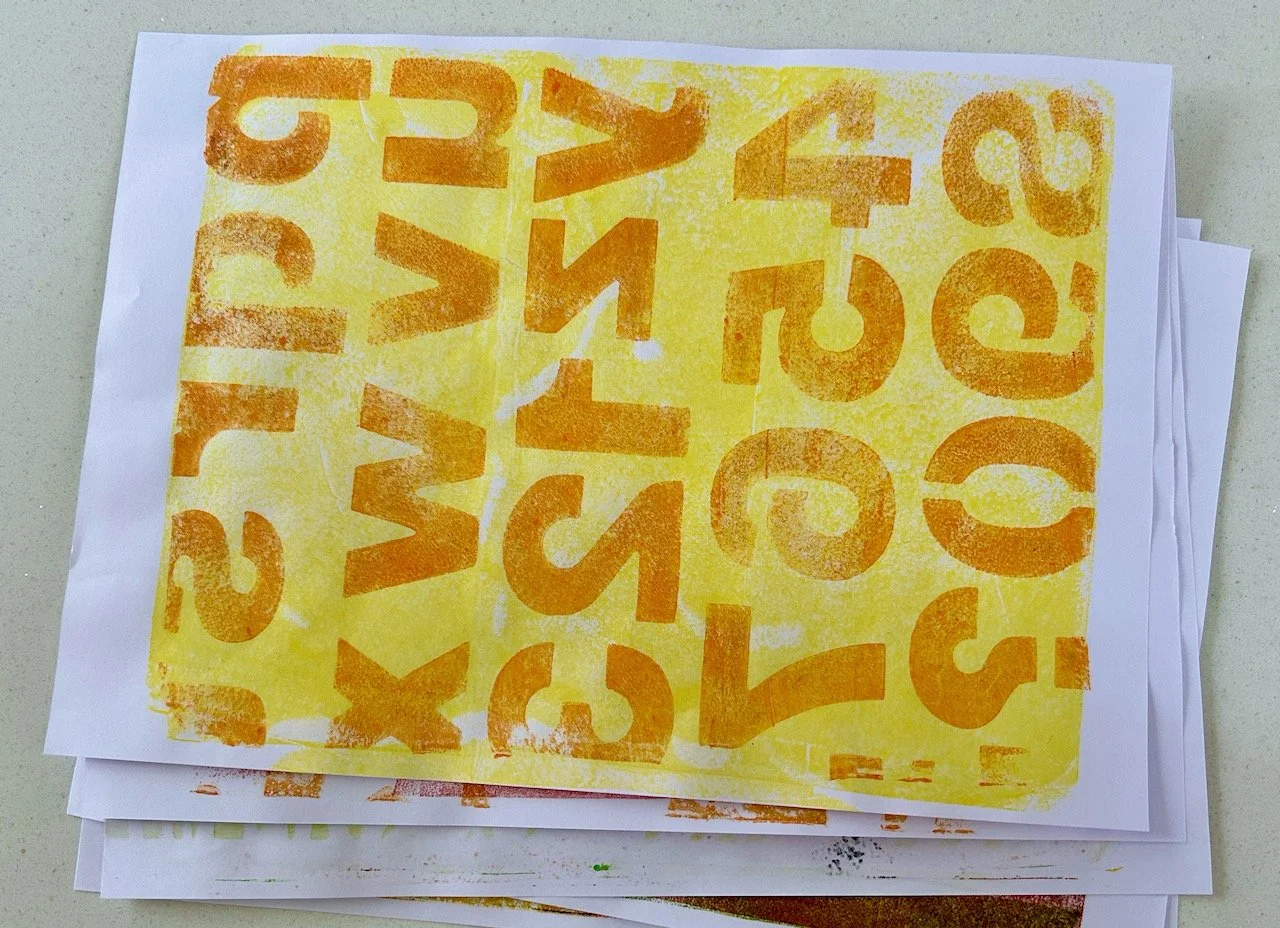
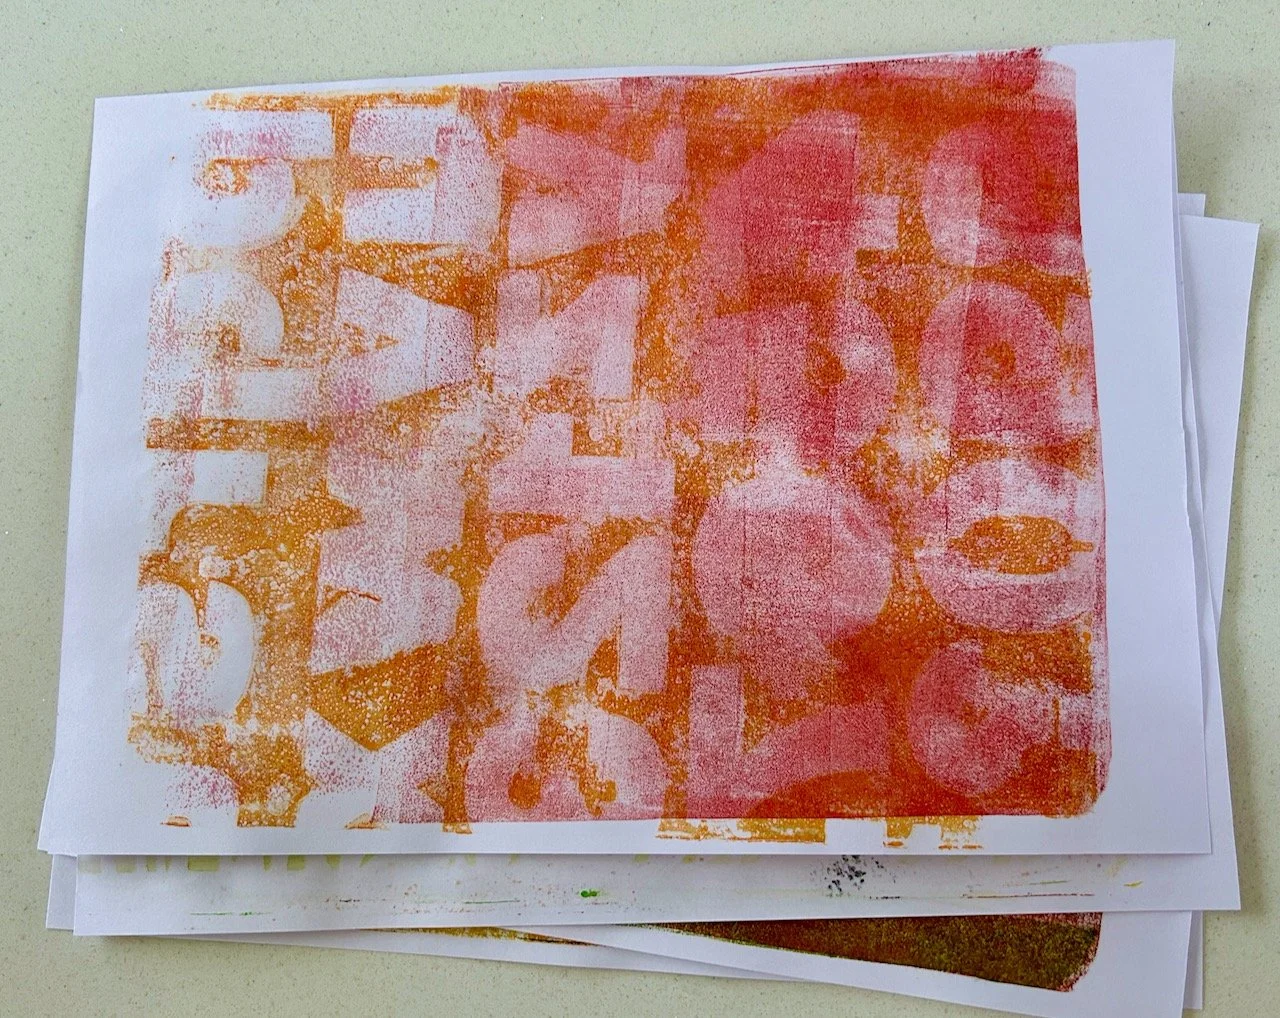
I also tried an alphabet and number stencil. I didn’t reverse this as partly this was a test of the process, but also it’s not text that needs to be read, however if that wasn’t the case the stencil will need to be reversed to avoid the mirror effect. Again I pulled two prints from a single paint application, and the softer second print is definitely my favourite of the two.

Using a number and lettering stencil with orange paint on a yellow background
The second print using the letter/number stencil on an orange and pink background

Using masks

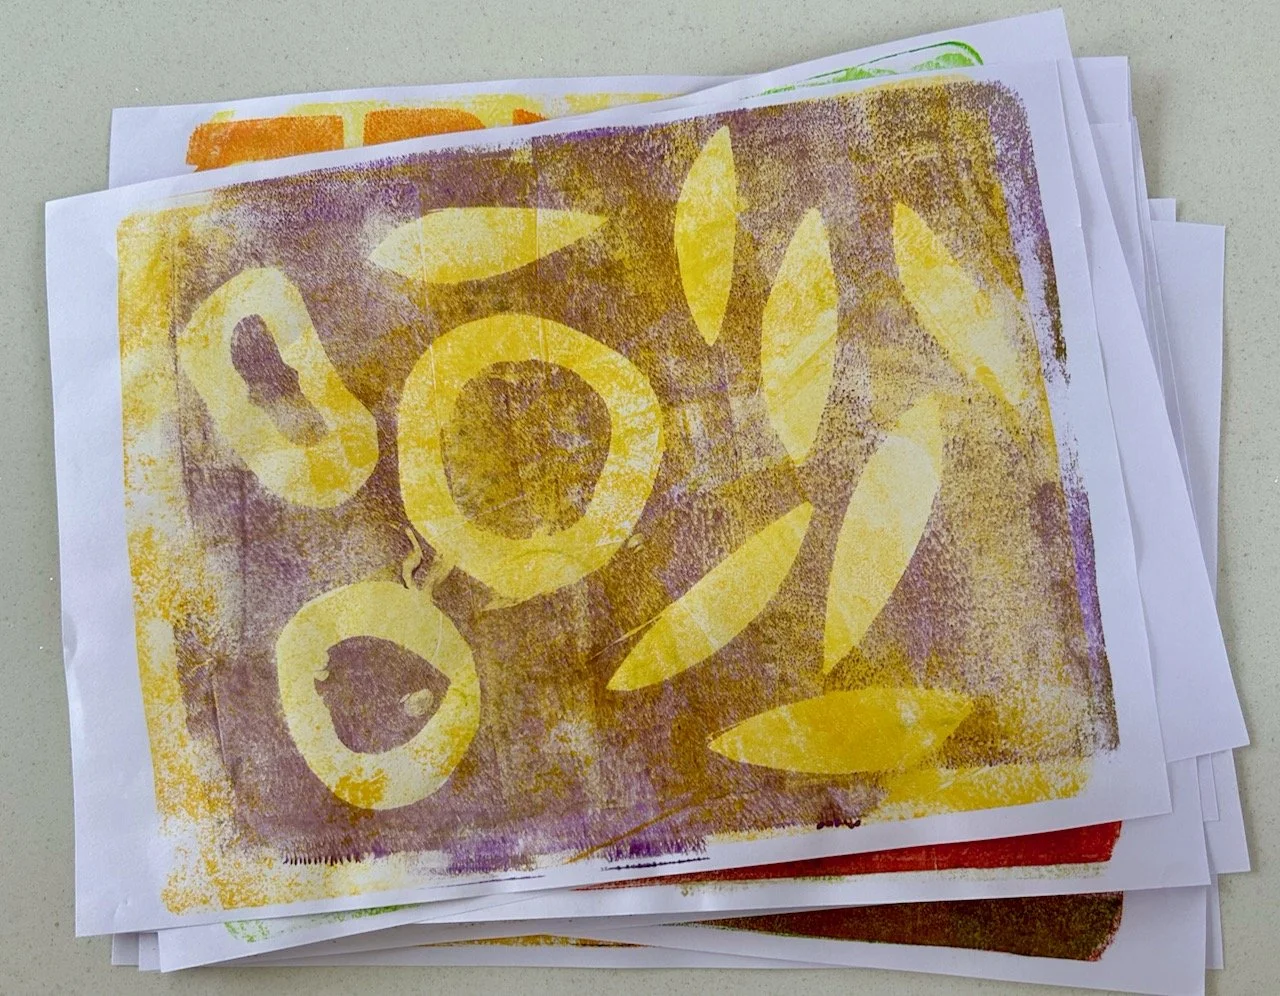
Another technique that we tried on the course was cutting out shapes to mask areas. I cut simple blob-like circles and leaf type shapes for this. I liked the results of this less than the stencils above, but I think my choice of shapes and colours also contributed to that.

Unlike using stencils the second pull using the same paint application didn’t really add anything, the outline shape was too feint to keep. But all was not lost as the beauty of gelli plate printing is that you can reuse prints that don’t quite work out.

Using other items

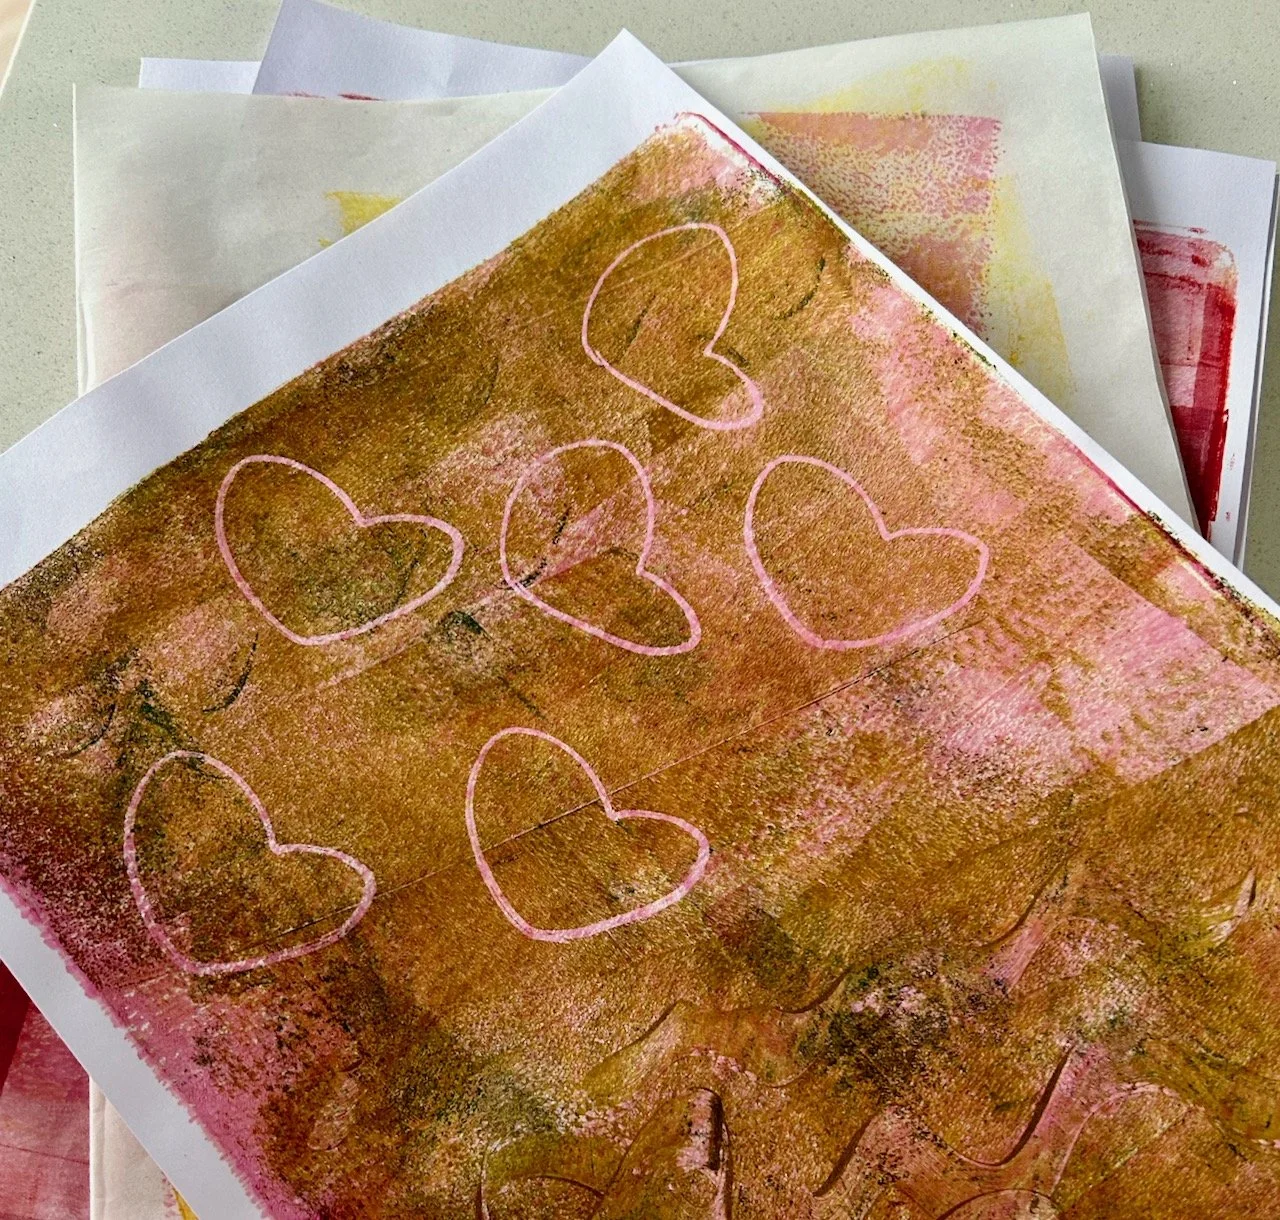
This is where your imagination can run riot. In the image below the hearts are made from a squished toilet roll - and I think they work pretty well. On the right hand side of the hearts I used a plastic glue spreader to make swirls in the paint (care: do this gently to avoid damaging the gelli plate), I think this has potential and it’s something I want to try again but perhaps with more advance thought on what shapes to try.

I also want to try using bubble wrap, scrunched up foil and paper and especially leaves. I don’t know how successful these will be, but half the fun will be experimenting. I’m sure there are many more things I can try - perhaps some lace too - and many that I haven’t thought of yet, but are no doubt lurking in my craft room somewhere!

The worst that can happen is that I’ll end up with textured papers that I can use in collages and in card making. How can that be a bad thing?