Our Gargano adventure in numbers

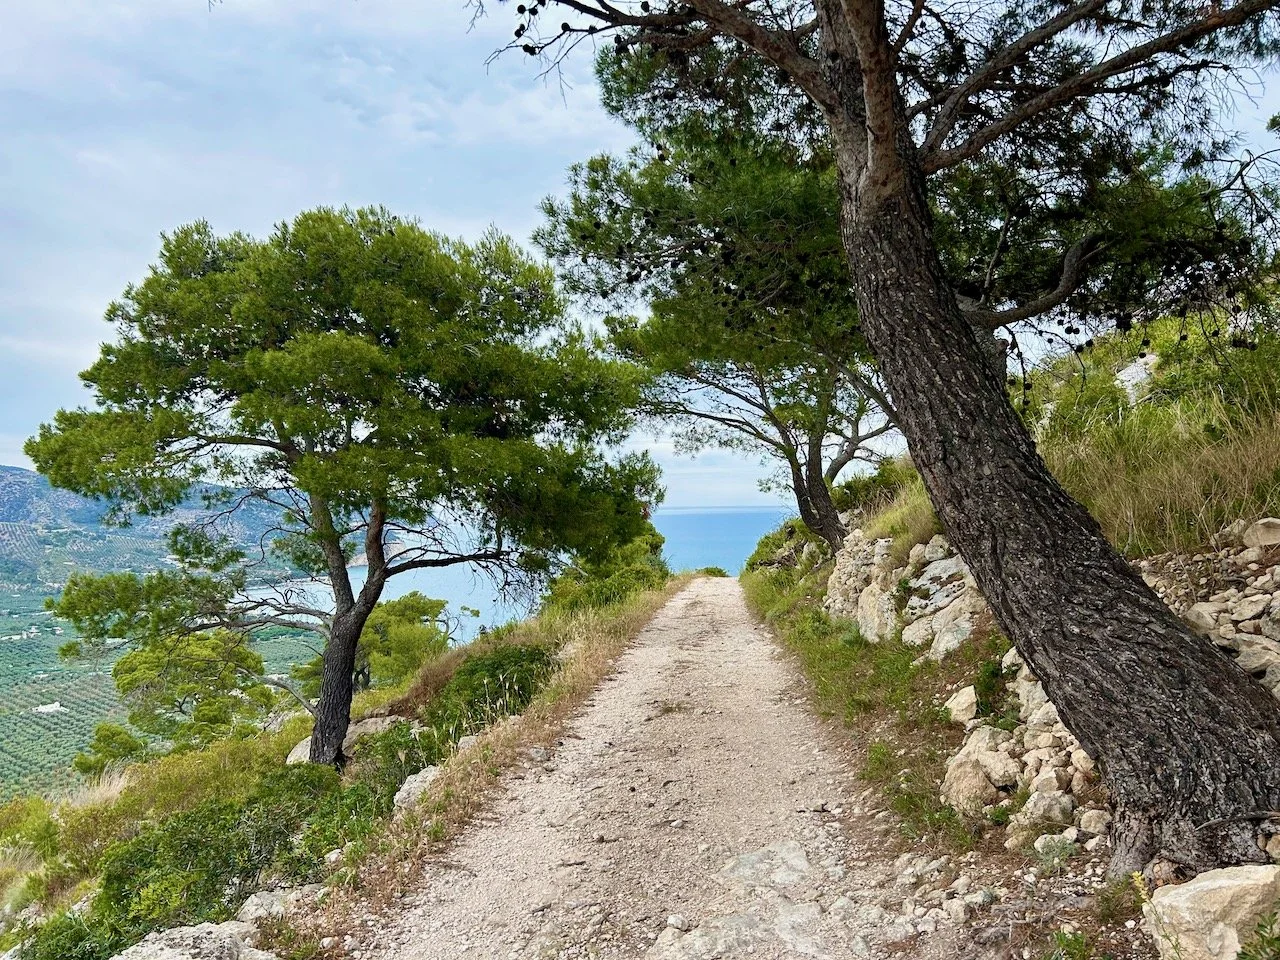
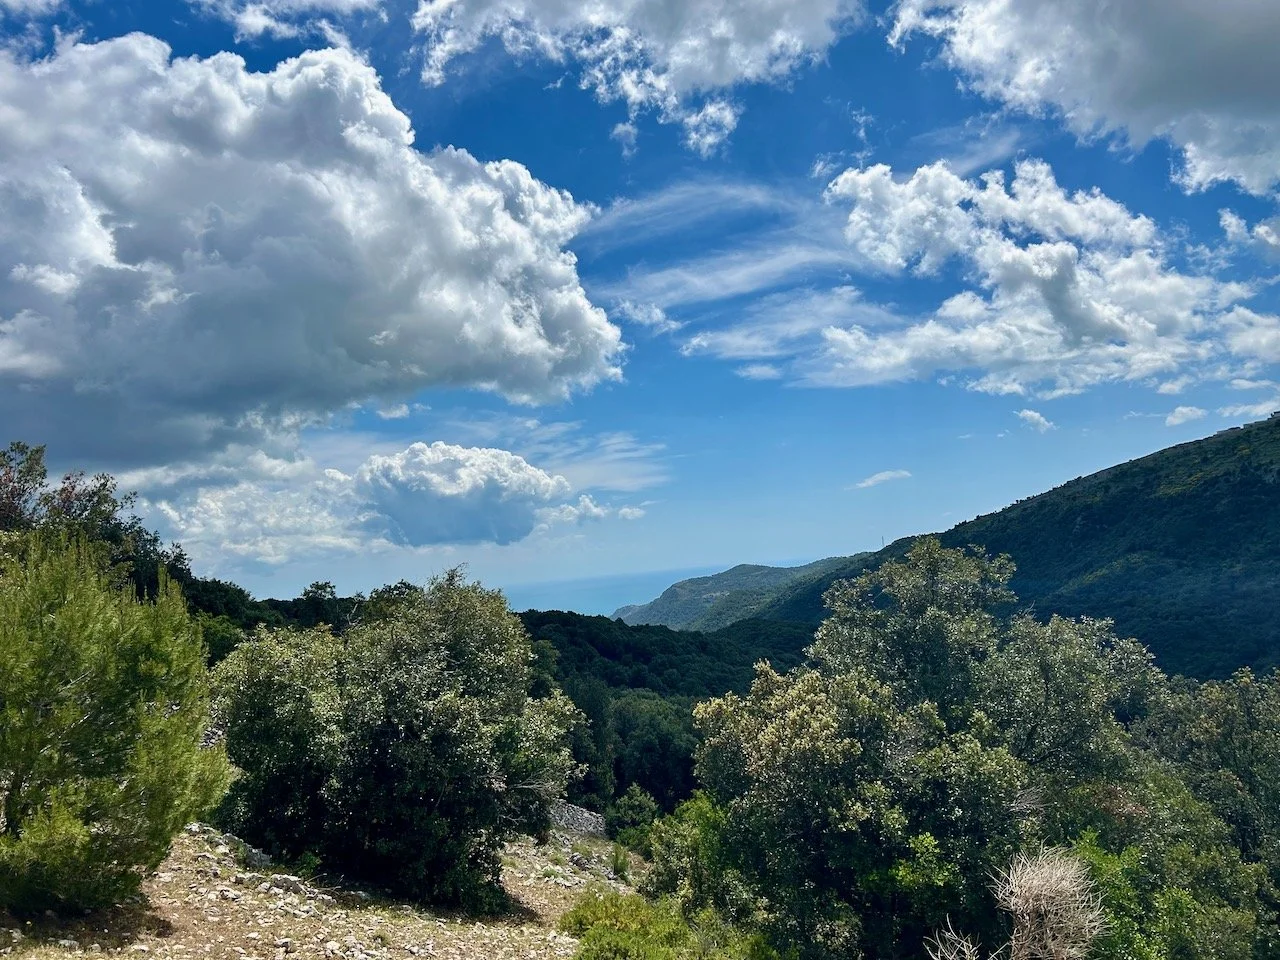
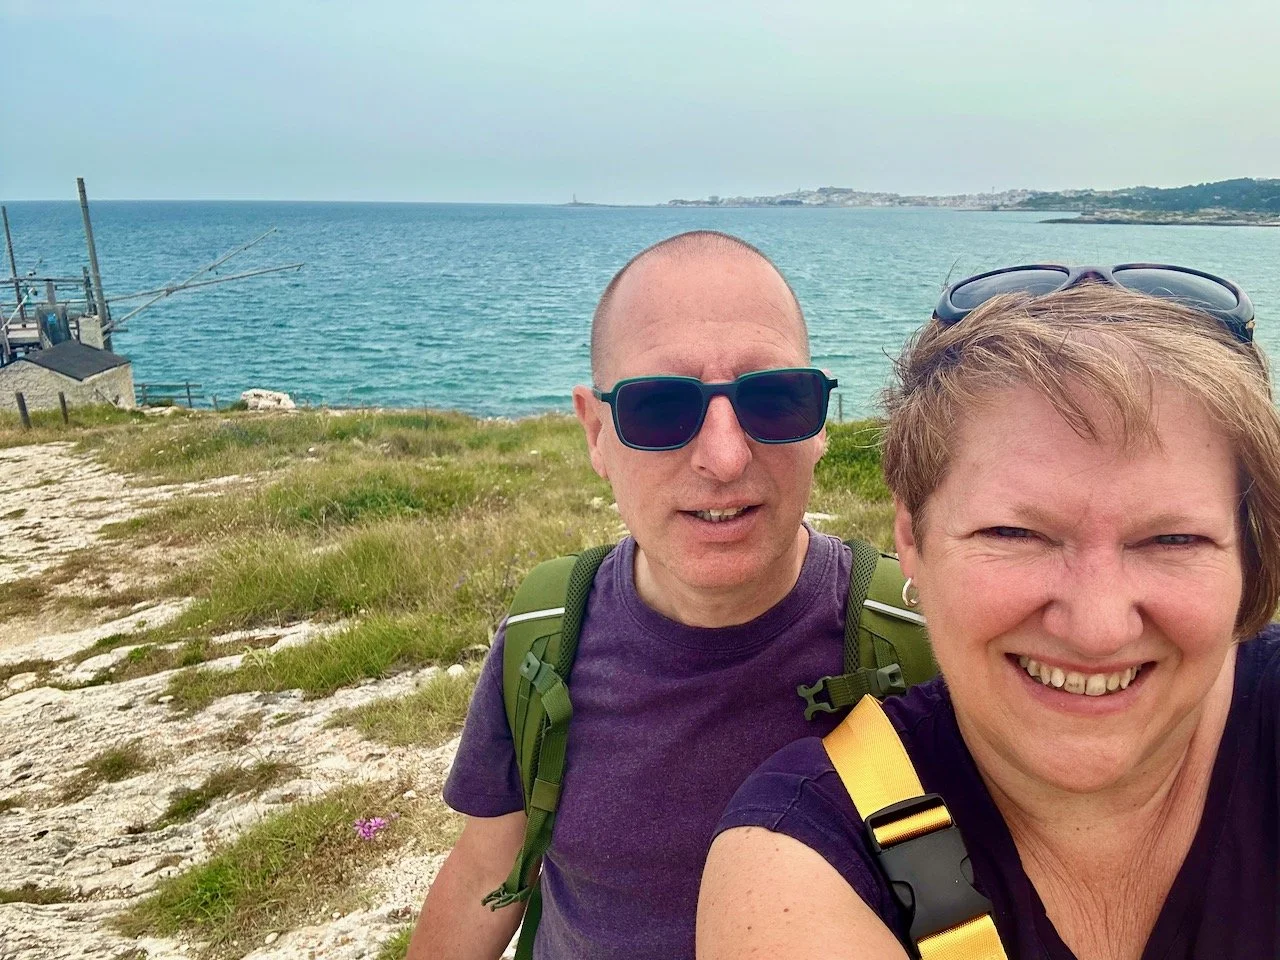
I’m ending this series of posts sharing our experiences when we explored a small part of the Gargano Peninsula following a self-guided walking tour with a summary of our trip in numbers, for the geek in me.

So here goes

Some walking numbers*:

  • Number of days walking: 7

  • Number of miles walked: 57 1/2 miles

  • Average number of steps: 21,562 steps

  • Total number of steps: 150,940 steps

  • Average pace: 25.69/mile (according to Strava) and

  • the most challenging walk I’ve ever done, but also probably the most beautiful too.

* These numbers exclude airport travel days.

the stunning view down to the coast on the most challenging walk for me

And some more numbers:

  • 4 hotels

  • 2 flights

  • 4 taxis

  • 580 photos taken

  • 12 blog posts

  • so many great memories and

  • 1 fabulous holiday!

MOH & I with a trebucchi in the background

Post Comment Love 14 - 16 November

Hello there, and welcome to this week’s #PoCoLo - a relaxed, friendly linky which I co-host with Suzanne, where you can link any blog post published in the last week. We know you’ll find some great posts to read, and maybe some new-to-you blogs too, so do pop over and visit some of the posts linked, comment and share some of that love.

Please don’t link up posts which are older as they will be removed, and if you see older posts are linked then please don’t feel that it’s necessary to comment on those. If you were here last week it was great to have you along, if you’re new here we’re pleased you’ve joined us.

This week I’m mostly feeling accomplished - not only are my bay trees (pictured - with raindrops obviously!) recovering better than I could have hoped for from their yellow-ness earlier in the summer, MOH has put some shelves up in the cupboard my craft room and I’ve unwittingly rearranged the whole room (more on that next week) discovering many things I’d forgotten I had in the process.

I haven’t done as much sewing as I would have liked to, but that’s on my list for next week as well as a visit to the Knit & Stitch Show in Harrogate with friends from my sewing group.

Have a great week.

much healthier, much greener bay tree leaves - covered in raindrops

Repurposing old clothes as pouches

You know I like a pouch or two, and you’ve probably worked out that I don’t really like to throw things away if they still have another use in them. Today I’m sharing a couple of recent makes which combines both of those, and I’m very happy with the outcomes, and hopefully you’ll be persuaded to try projects with clothes you have loved too.

T-shirt to project bag

I really loved this Joules t-shirt and was happy to rediscover it in my wardrobe this summer, but really it was long past its best to wear - even for gardening, and so it was retired briefly. But I kept seeing it in the corner of my craft room, and I knew that if I didn’t cut it up soon then it might very well make its way back into my wardrobe.

So I had a look through the rest of my scraps, and in particular the old clothes that I’d already cut up before we moved and found the remnants of an old brightly coloured Phase 8 tunic which made the perfect pairing. Once again I loosely followed the instructions for the vinyl fronted pouches, but without the vinyl front and supersized.

I wanted to keep the embroidered Joules logo, and so cut the front of my new project bag from the back of the t-shirt. As I was sewing I realised that I also wanted to see snippets of the fabric I’d chosen for the lining, which if I’m honest looks better as this pouch rather than with the brown trousers I regularly used to pair it with for the office!

That meant I needed to add a strip of the lining fabric to the back section of the project bag to be, so that when I turned the surplus fabric over to encapsulate the rough edges it would be on display. Mission accomplished, and a few decorative splashes of zigzag additions to bolster some of the seams and I was done.

I told you the lining was bright, didn’t I? I’ve immediately put this project bag to use and its currently storing a selection of fabrics for a future make I’m contemplating - in fact it came with me to my patchwork group like this, and after lots of playing around testing out the placements of fabric it came home looking pretty much the same, but with the added ideas and advice from more experienced quilters than me.

I’ve a feeling this will be a small make for the new year unless I have a burst of inspiration, time and inclination!

Geometrical yo-yo storage

The second pouch is one that I’ve made this week to solve a specific problem (not really a problem, but it’s definitely solved). The material I’ve used was once a vest top, and unusually for me is more coordinating than contrasting, well on the outside anyway.

I wasn’t sure how this fabric would sew as it’s quite stretchy, so instead of using another t-shirt I had in mind I opted for this contrasting batik fabric which I’m sure I bought back at one of the larger shows I went to in London and was well due a sewing outing.

The problem it needed to solve was to provide a home for my giant yo-yo maker (well it’s the biggest one I have), which as you can see was struggling to fit into one of the pouches from the recent batch I’d made.

And it does - phew. The maths had me doubting myself at one or more points, but my reasoning for adjusting the original pattern instructions worked out ok.

I even added some of the rolled hem detailing to the bottom of the pouch as a reminder of its previous purpose. And I smiled to myself as I put the completed pouch back in its new home, wondering if my choices has been influenced at all by the wicker basket this time round…

But what’s even better is that I’ve still some of this fabric left, and I have the trimmings which are now very happily wound together and sitting in my waste weaving pile, no doubt they’ll show up in another project one day!