


You’ll know that I like a garden show or two. Along with MOH I’ve been to Gardeners’ World Live a few times, and we’ve also been to the Chelsea Flower Show too, so when I saw that Newark had its own Garden Show I was keen to go along and see what it had to offer.
The show took place last weekend at the Newark Showground, and we went along on the Friday. The weather wasn’t its best (no surprises there - it’s not been its best for a while has it?), but armed with footwear for muddy paths (which weren’t needed) we were prepared. It wasn’t my first time at Newark Showground, as I’d been along to the Newark Quilt Show in January there too. The garden show was on a different section of the showground and with more exhibitors and mostly outside it took up more space too.
We pre-paid for our tickets online and while there was the opportunity to purchase tickets on the door when we arrived, I’m not sure if this would be the same on the most likely busier weekend days. Entry seemed a bit chaotic and somewhat relaxed, but as it was the first day I’m sure that improved.
I wasn’t quite sure what to expect as the information ahead of our visit was sparse; a list of exhibitors would have been useful though not having this clearly didn’t stop us attending!
Plants galore
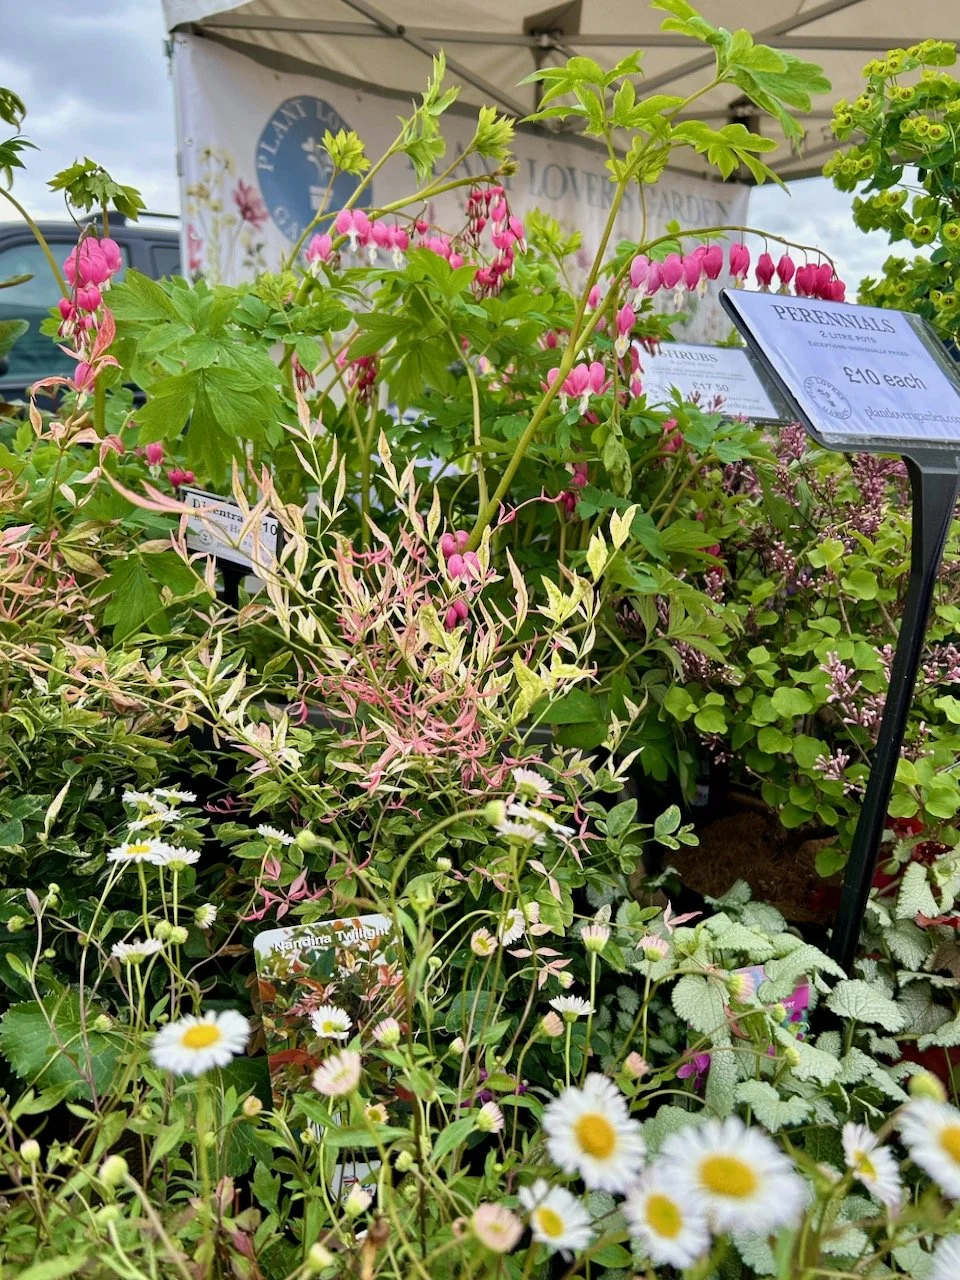
As soon as we entered the show we were faced with plants galore - what struck me though was how reasonable their prices were. We spotted some pretty decent sized (but not huge) olive trees for around £60 - an absolute bargain. But as we’re not in the market for an olive tree we moved on pretty quickly before we were tempted.
Actually we weren’t in the market for much on this visit. We were keen to continue our research into garden furniture, and to generally be inspired. We definitely left with inspiration for our future garden plans, but that was mostly plants and sculptures rather than furniture based - and we left with a couple of plants for the patio too, but more on those later.

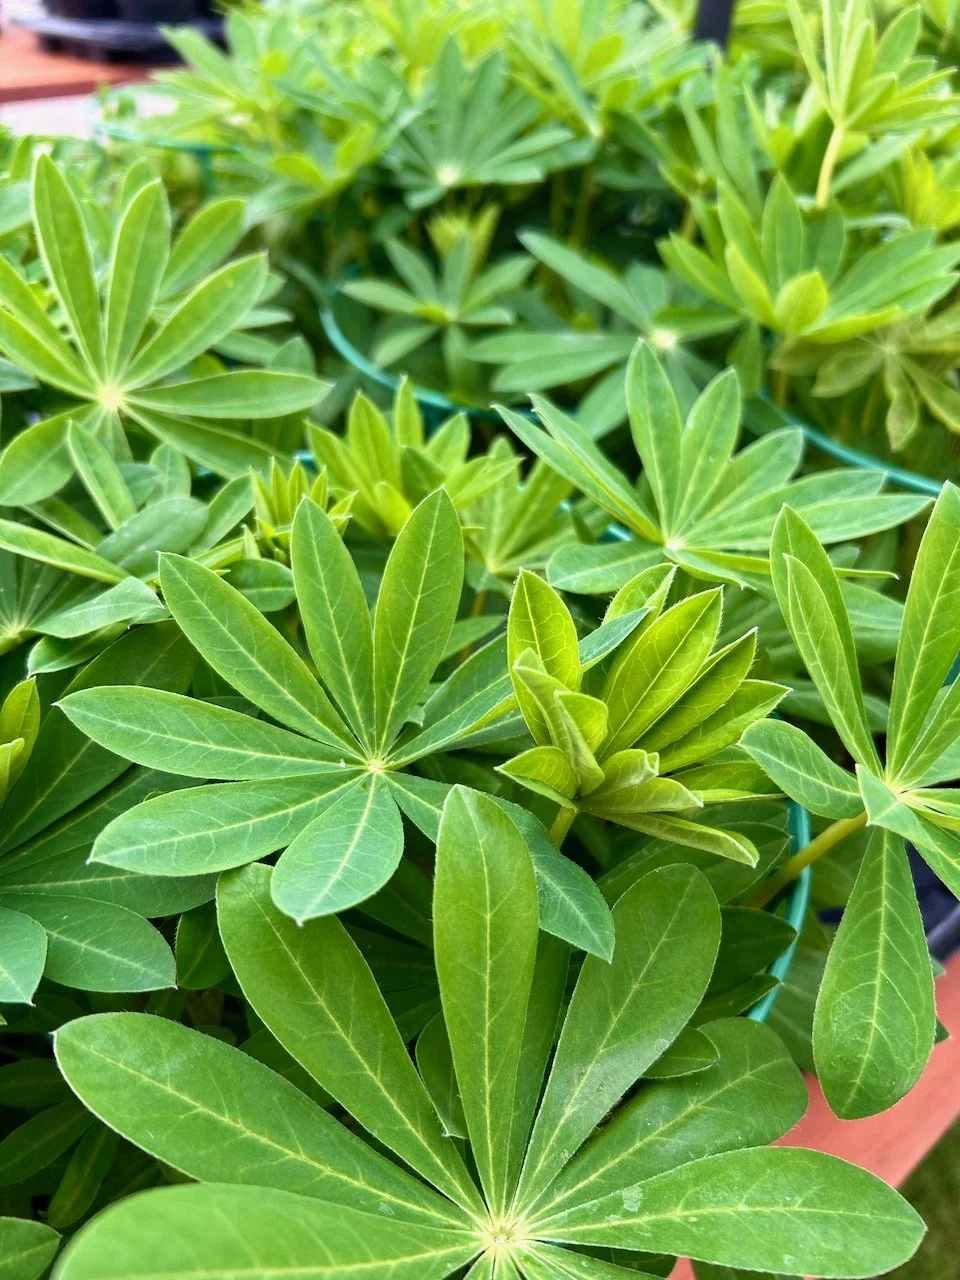
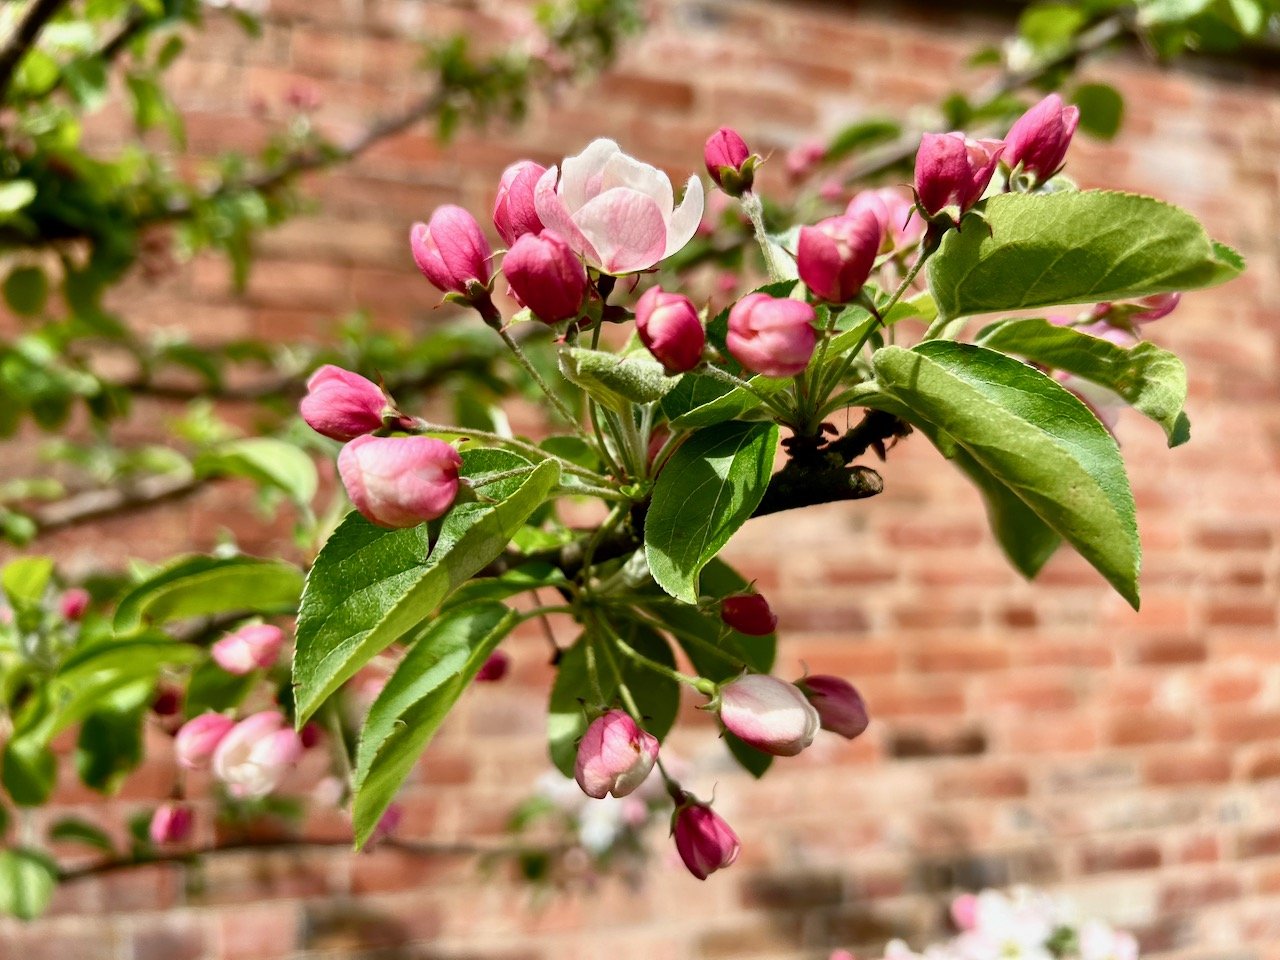
I’m a big fan of lupins, and have tried several times to grow them successfully in my last garden. However it wasn’t to be, I think because we had so many snails and slugs, and to be honest it wasn’t worth the effort and disappointment, as just when I thought we’d be ok, the local slimy population enjoyed their feast. However I’m nothing if not persistent, and with a new garden which seems to have significantly less lupin destroyers, I’m trying again. This time though I’m trying with two of these bigger plants, which are now on the edge of our patio - wish me luck, and let’s hope that these lupins don’t act as calling cards for the local slugs and snails which so far have been giving our garden a wide berth! I’ll let you know how it goes in my regular monthly garden updates.
A plant trend to watch for?
One stand we visited had the Mother Plants and its seedlings on display, which was something I’d not seen before but it was an approach I liked - as there right in front of you was the inspiration to purchase and care for the seedling, showing you what you could aim for. Given the notices on each mother plant I suspect a fair few people would like to skip the nurturing stage and take home a larger plant, but the smaller plants are clearly more preferable pricewise.
That’s not the trend though, I also spotted quite a few fiery flowered plants, whether the flowers were deep oranges, reds or yellows I wonder if this is a plant trend to watch for this year. Only time will tell, but it’s a plant trend I could get on board with!


Going large with plants and garden ornaments
It was harder to leave this red leafed banana plant though - at just £50 it was a bargain. It’s a beauty isn’t it?
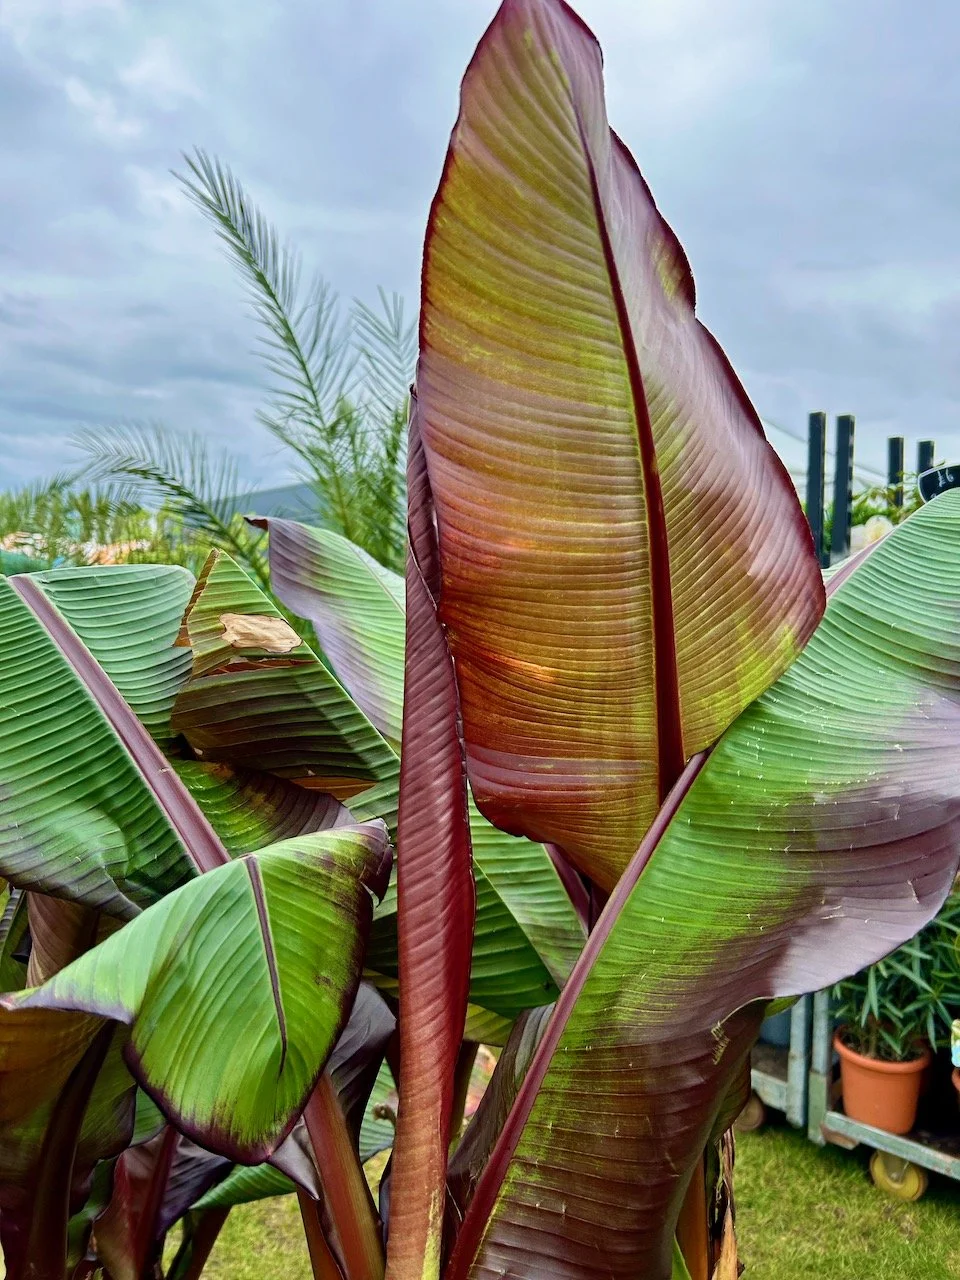
I know MOH is a fan of more exotic plants, and I've a tentative idea forming for our future garden plans, but we’d seen this too early for us. I’ve noted it mentally (and now here too) as something to build into our plans, and the Newark Show as a future source for this and other plants, but not just yet. I want a bit more time getting to know our garden and how we’ll use it before working out what to do in our new space - and for this summer I’ve set ourselves the target of working that out, much to MOH’s amusement.
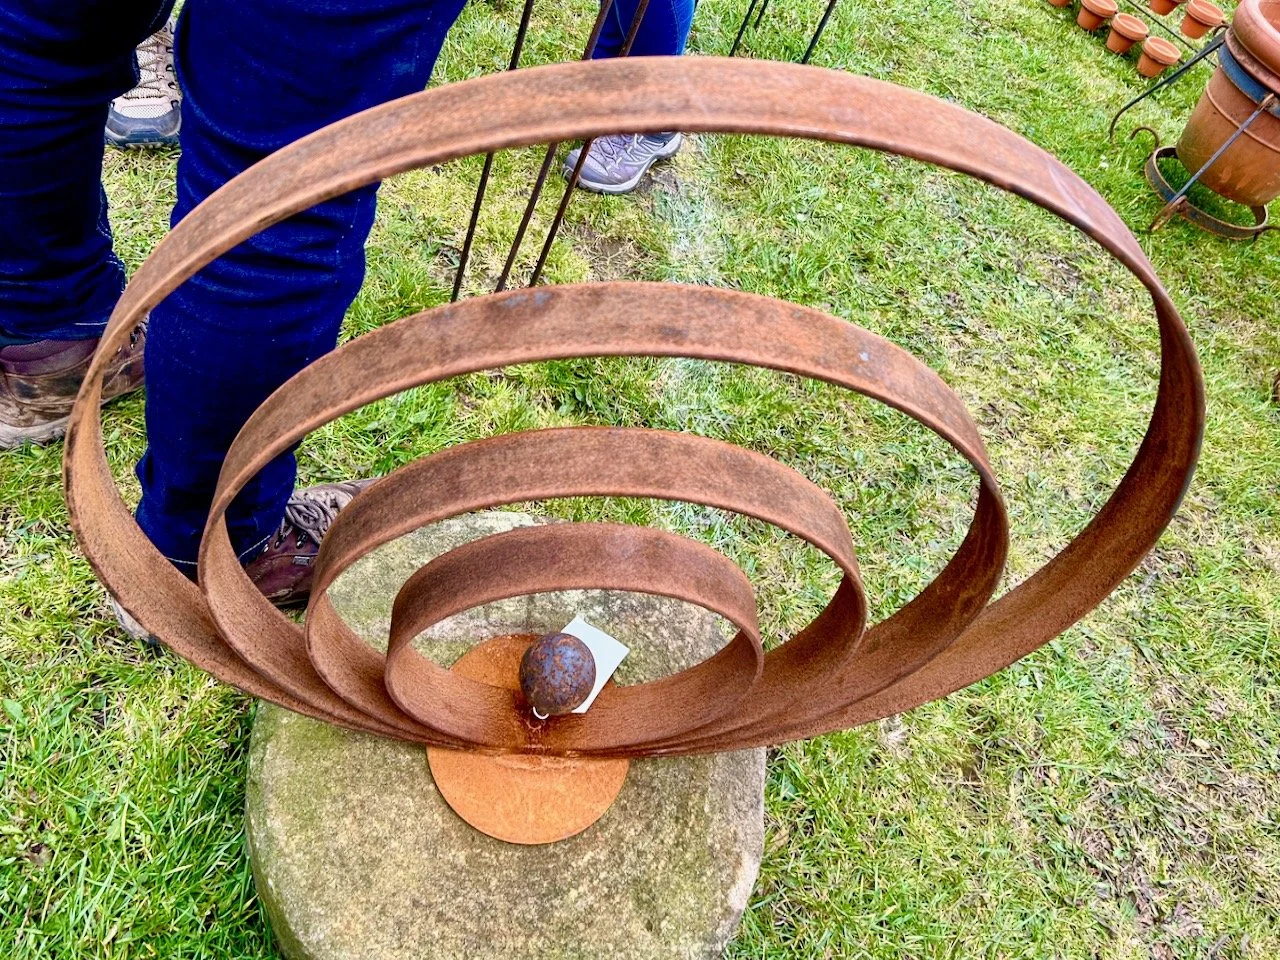
I fell for the iron garden ornaments. That wasn’t a surprise to me or MOH. The five rings sculpture mounted on a mill stone was three times as much as the banana plant, and that also was hard to leave there. In fact I liked this and other garden ornaments on this stall that I contacted the show’s organisers later that day when I realised I’d been so smitten with the items on display I had no idea who was selling them. And the show’s organisers came through for me really quickly, with a brief description of the items and where they were located they were able to provide the info I thought I’d captured, but hadn’t. Phew.
These wheels were from another stall and also appealed, as I’m keen for our new garden to not be ‘brand, brand new’ everywhere but for the space to acknowledge that our new build barn and its garden were built on the land of a former farm. Clearly it will have brand new things too, as it won’t be a heritage garden, and because it already has the modern patio and heat pump in the space.
Reconditioned tools and more plants
The wheels above where on the same stand as these reconditioned work tools - it was another fascinating stand with many things to look at and admire. There’s something about old tools isn’t there? For me its the craftsmanship, but also the memories they evoke - as well as the wonder at doing everything by hand and without our go to electric garden tools of today.

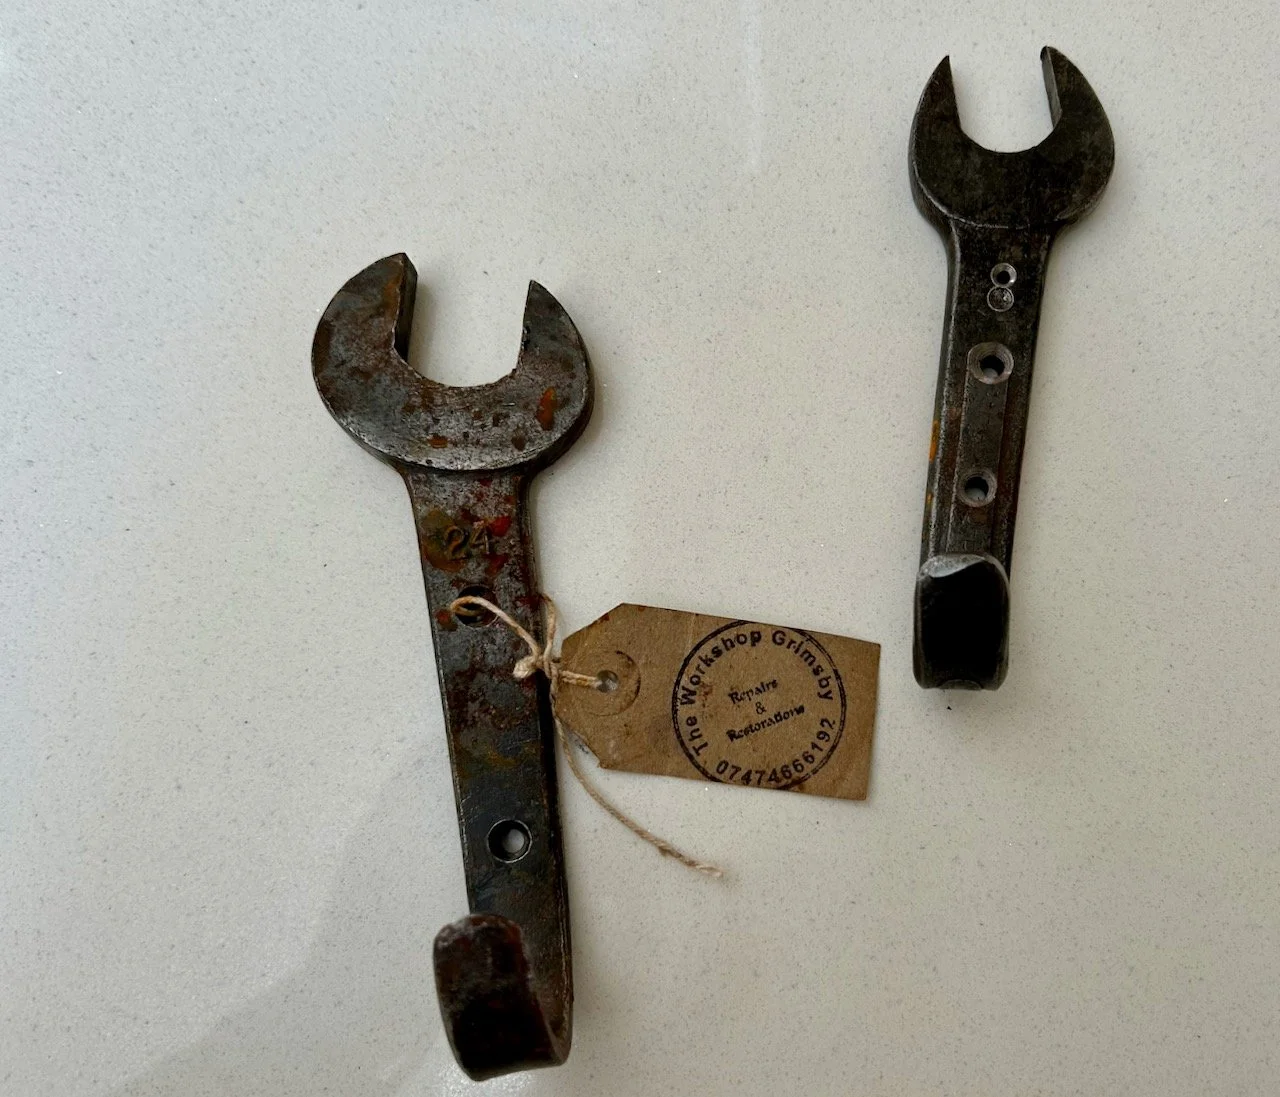
We left with a couple of ‘spanner hooks’ because we liked them, and they made us smile - and at £6 each it was worth that alone. We’ll probably use the in the garage somewhere, rather than the house (mainly as we don’t need any more hooks indoors) but their exact location is not yet decided.
There was still plenty more to see, and plenty more temptation too.
As well as the exhibitors outside there were a number of stalls inside which we had a wander around. There were food stalls in here as well as outside, and while we left with some pistachio baklava and Turkish Delight and ate the most wonderful chicken gyros during our visit, for us these weren’t the main purpose for our visit.
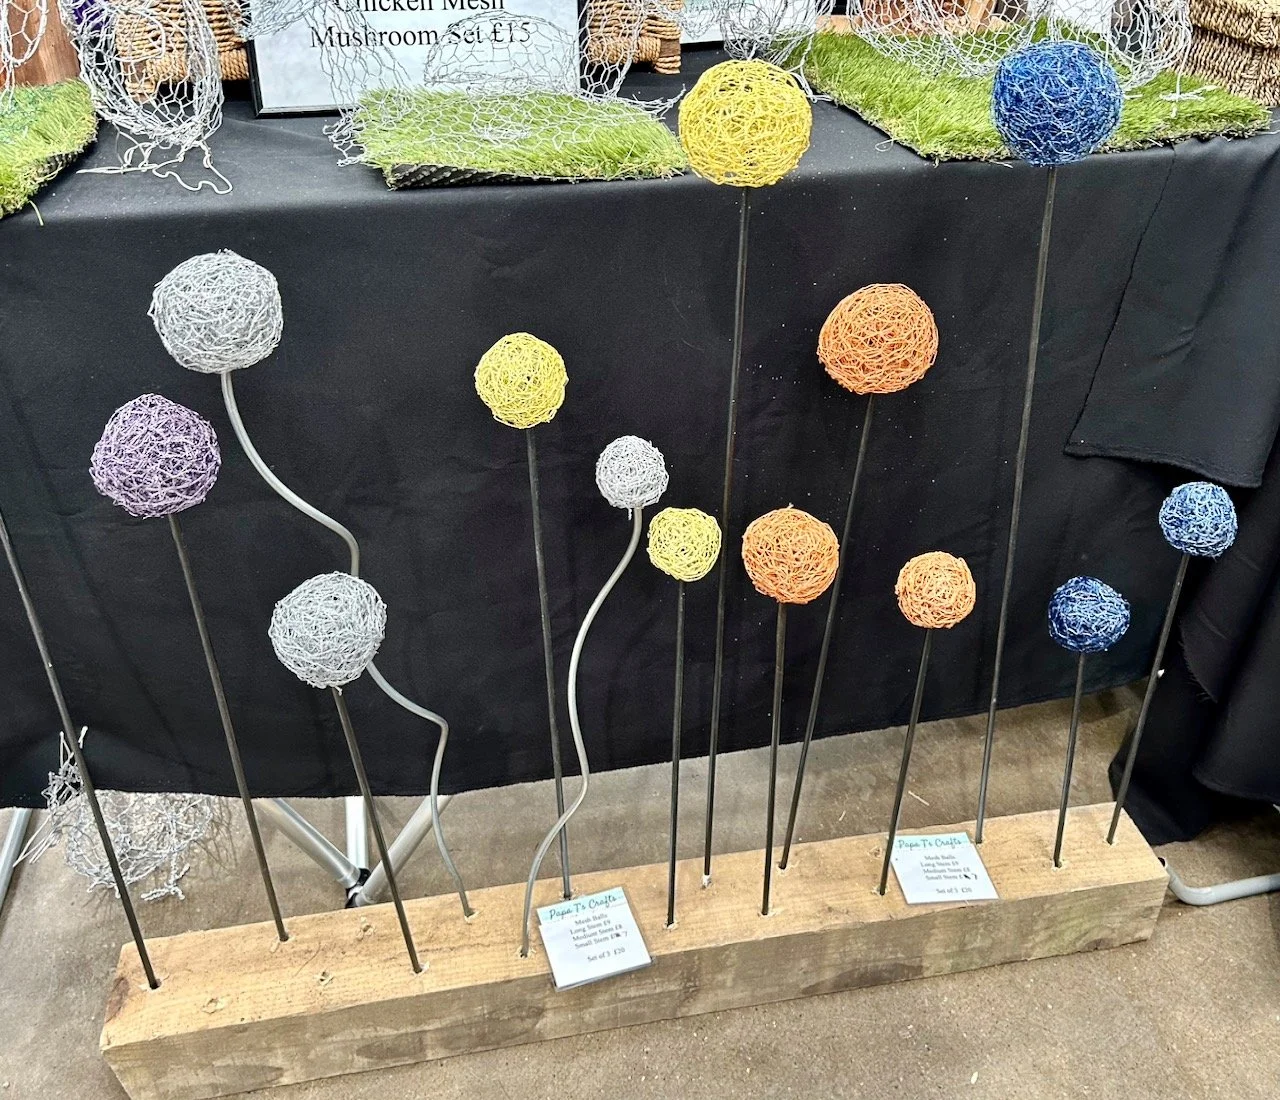
One of the indoor stands is worthy of a mention though. I’ve not seen anything like these chicken wire spheres before, but think they could also have a use bringing height and interest to a flower bed. For me I prefer the natural chicken wire silver version and straight poles and for outdoor use as they’d weather and get more interesting, but speaking to Papa T’s Crafts he said that people have said they’ll use them indoors too, which I can also see.
So not a bad first visit to our own very local garden show. It’s likely that we’ll be back next year to see what they have and maybe even to buy more plants - but first we need to do the basics and understand our garden more, and actually I think we’ll need to get a new lawnmower soon too. That was one of the things we’d hoped to scope out at the show but it wasn’t to be, which was a shame.
A great fact finding visit, and hopefully next year we’ll have some more spring appropriate weather!